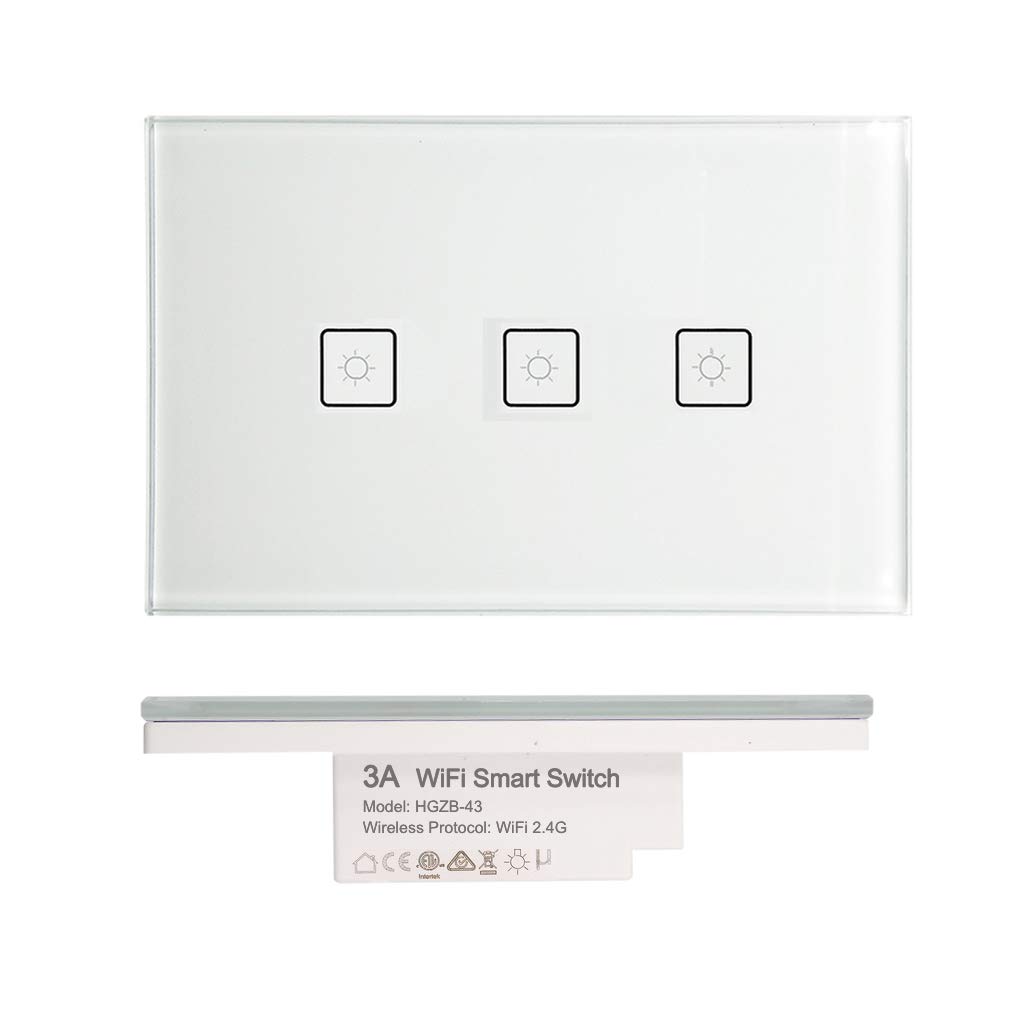
Available from:
Amazon.com.au
Manufacturer:
3asmarthome.com
| GPIO # | Component |
|---|---|
| GPIO00 | LedLink |
| GPIO01 | None |
| GPIO02 | Led 3 |
| GPIO03 | Button 2 |
| GPIO04 | Relay 2 |
| GPIO05 | Button 3 |
| GPIO09 | None |
| GPIO10 | None |
| GPIO12 | Button 1 |
| GPIO13 | Relay 1 |
| GPIO14 | Led 2 |
| GPIO15 | Relay 3 |
| GPIO16 | Led 1 |
| GPIO17 | None |
{"NAME":"3A Smart Home ","GPIO":[544,0,290,33,225,34,0,0,32,224,289,226,288,0],"FLAG":0,"BASE":18}{"NAME":"3A Smart Home ","GPIO":[52,0,55,18,22,19,0,0,17,21,54,23,53],"FLAG":0,"BASE":18}The RXD0 pin is used as one of the touch inputs, so you can’t use the serial port for flashing (unless you cut a track). However tuya-convert works fine to flash it. After Tasmota is installed, a relay will click once per second as this in the default location for the status LED. You just need to connect quickly to the AP, and browse to 192.168.4.1/md, and configure it as a generic module to stop the clicking. You can then go through the normal process, and restore this template.
Some numbers I found internally (taking off the cover) are 120K3S_WIFI_SV5 (for searching). I have uploaded a bunch of images here: https://github.com/sillyfrog/contact/issues/3
Finally, as there are a number of LED’s, the new v9.1+ template correctly configures LedLink.


