


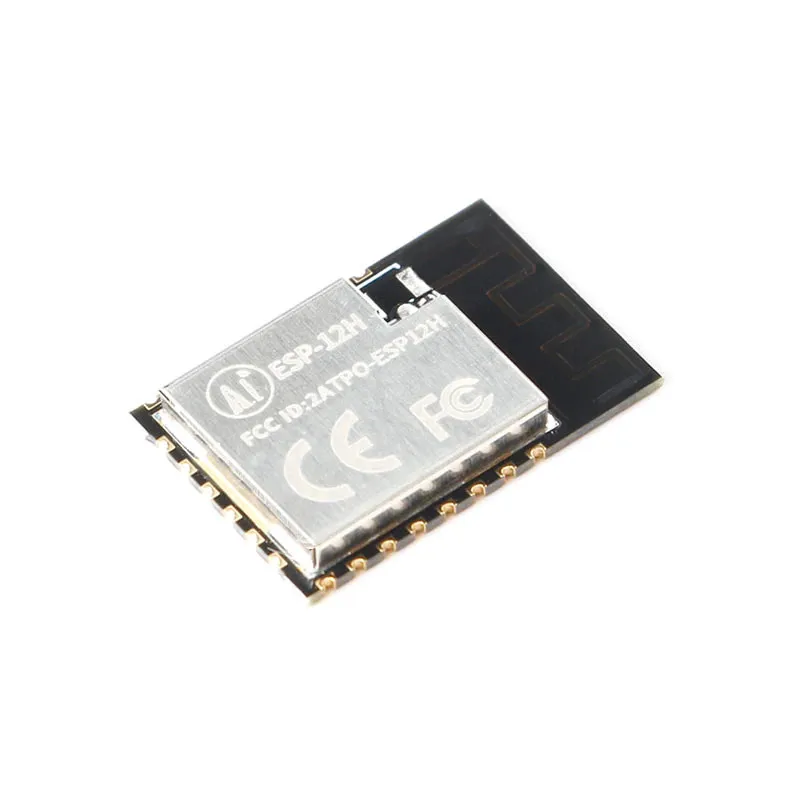
Available from:
Aliexpress.com
Manufacturer:
Alibaba.com
| GPIO # | Component |
|---|---|
| GPIO00 | User |
| GPIO01 | User |
| GPIO02 | User |
| GPIO03 | None |
| GPIO04 | None |
| GPIO05 | User |
| GPIO06 | None |
| GPIO07 | User |
| GPIO08 | User |
| GPIO09 | User |
| GPIO10 | User |
| GPIO11 | User |
| GPIO12 | User |
| GPIO13 | None |
| GPIO14 | None |
| GPIO15 | None |
| GPIO16 | None |
| GPIO17 | None |
| GPIO18 | None |
| GPIO19 | User |
| GPIO20 | User |
| GPIO21 | User |
| GPIO33 | User |
| GPIO34 | User |
| GPIO35 | None |
| GPIO36 | None |
| GPIO37 | User |
| GPIO38 | None |
| GPIO39 | None |
| GPIO40 | None |
| GPIO41 | None |
| GPIO42 | None |
| GPIO43 | User |
| GPIO44 | User |
| GPIO45 | None |
| GPIO46 | None |
{"NAME":"ESP-12H","GPIO":[1,1,1,0,0,1,0,1,1,1,1,1,1,0,0,0,0,0,0,1,1,1,1,1,0,0,1,0,0,0,0,0,1,1,0,0],"FLAG":0,"BASE":1}
Read my guide on replacing a compatible module.
Early line of ESP-12H modules has a labelling error. IO28 is supposed to be IO29. The image above is the correct pinout. Note that IO28 is not configured as a GPIO in the standard IO multiplexer setup, and not available in Tasmota.
Flashing
Flash using Tasmota Web Installer and select Tasmota ESP32-S2 option.
For esptool.py download i.e. tasmota32s2.factory.bin and run esptool.py write_flash 0x0 tasmota32s2.factory.bin
To put ESP32-S2 in flash mode GPIO0 needs to be pulled low.
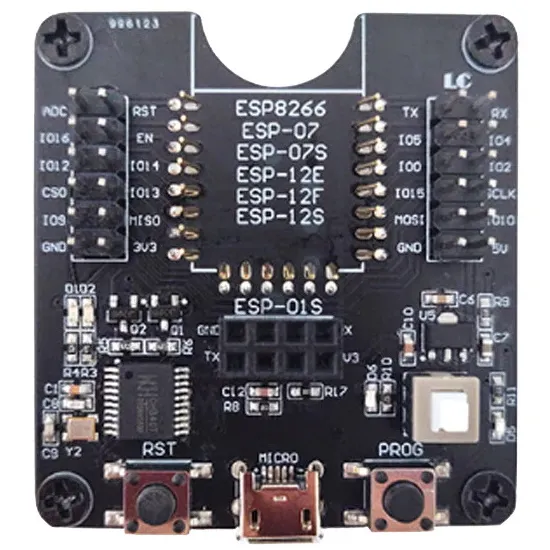
You can purchase (AliExpress, Amazon, Banggood) a test board for effortless flashing.
Running
ESP32’s are power hungry on boot and the USB to serial adapter might not be able to provide enough power for that. Use a stable 3.3v power supply that can supply more than 500 mA.