


Available from:
Aliexpress.com
Amazon.com
Aliexpress.com
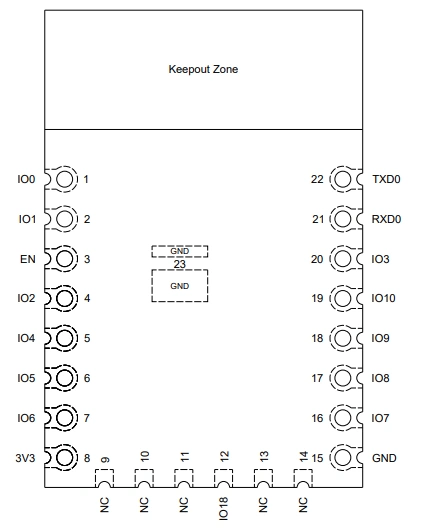
| GPIO # | Component |
|---|---|
| GPIO00 | User |
| GPIO01 | User |
| GPIO02 | User |
| GPIO03 | User |
| GPIO04 | User |
| GPIO05 | User |
| GPIO06 | User |
| GPIO07 | User |
| GPIO08 | User |
| GPIO09 | User |
| GPIO10 | User |
| GPIO11 | None |
| GPIO12 | None |
| GPIO13 | None |
| GPIO14 | None |
| GPIO15 | None |
| GPIO16 | None |
| GPIO17 | None |
| GPIO18 | User |
| GPIO19 | User |
| GPIO20 | User |
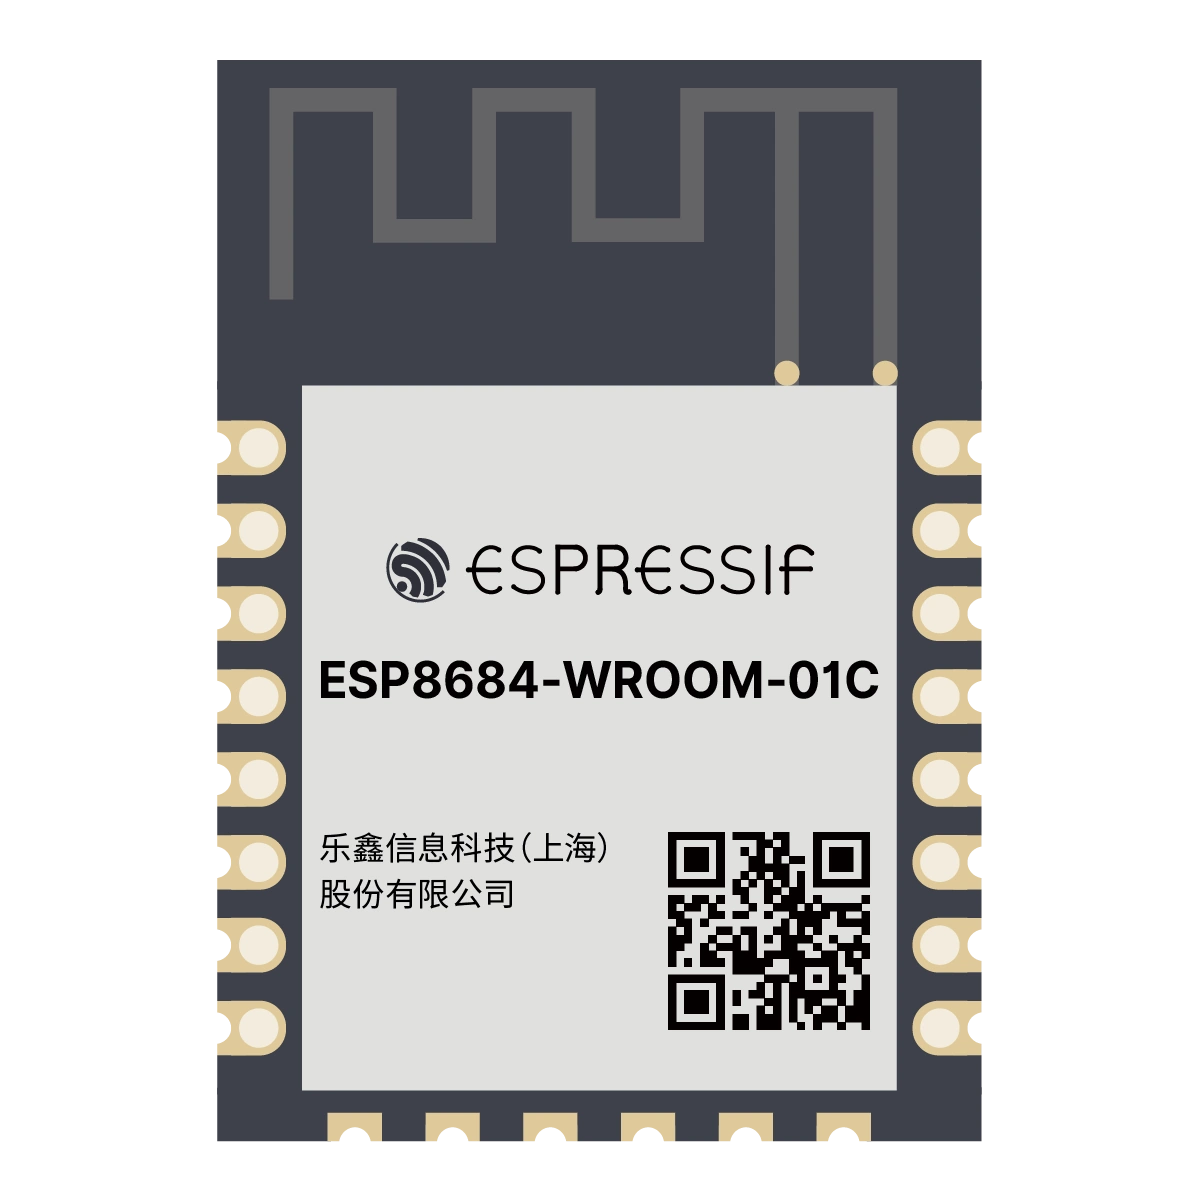
{"NAME":"ESP8684-WROOM-01C","GPIO":[1,1,1,1,1,1,1,1,1,1,1,0,0,0,0,0,0,0,1,1,1],"FLAG":0,"BASE":1}
Read my guide on replacing a compatible module.
There are two different versions of this module:
- ESP8684-WROOM-01C-H4 with 4Mb flash
- ESP8684-WROOM-01C-H2 with 2Mb flash is not recommended for Tasmota due to low flash space.
Flashing
There are no official binaries for ESP32-C2. You need to compile your own using tasmota32c2-arduino30 environment in Platformio.
To flash with esptool.py download the created tasmota32c2-arduino30.factory.bin from /build_output/firmware and run esptool.py write_flash 0x0 tasmota32c2-arduino30.factory.bin
To put ESP32-C2 in flash mode GPIO8 needs to be pulled high and GPIO9 pulled low.
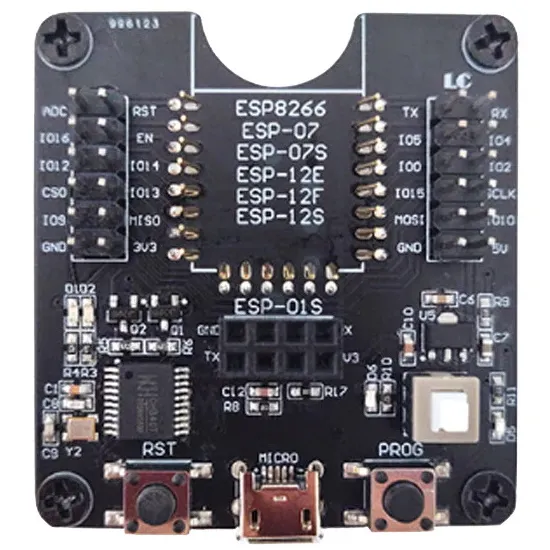
You can purchase (AliExpress, Amazon, Banggood) a test board for effortless flashing.
Running
For normal operation connect EN to VCC (pull high) to enable the chip. GPIO9 has an internal pullup and it needs to be high on power up for the module to boot so try and avoid that pin similar to GPIO0 on ESP8266.
ESP32’s are power hungry on boot and the USB to serial adapter might not be able to provide enough power for that. Use a stable 3.3v power supply that can supply more than 500 mA.