


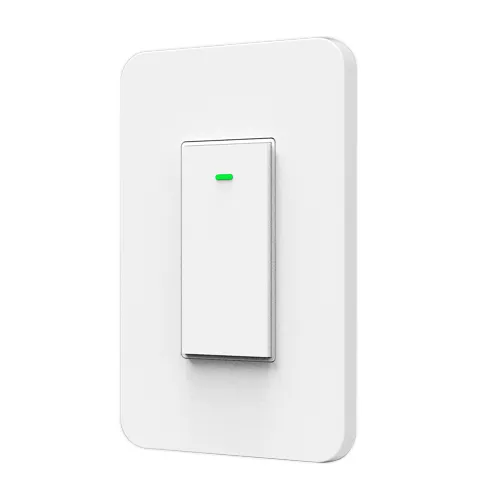
3 Way Smart Light Switch (KS-602F)
Available from:
Amazon.ca
Manufacturer:
Hidintech.com
Install method:
Tuya-Convert
| GPIO # | Component |
|---|---|
| GPIO00 | User |
| GPIO01 | User |
| GPIO02 | User |
| GPIO03 | User |
| GPIO04 | User |
| GPIO05 | User |
| GPIO09 | None |
| GPIO10 | None |
| GPIO12 | User |
| GPIO13 | User |
| GPIO14 | User |
| GPIO15 | User |
| GPIO16 | User |
| FLAG | None |
Configuration (old format, will be converted to new template when applied)
{"NAME":"KS-602F","GPIO":[255,255,255,255,255,255,0,0,255,255,255,255,255],"FLAG":0,"BASE":54}
WARNING: New Tuya devices have replaced their Wi-Fi module with one incompatible with Tasmota!!!
Tuya-Convert might not be possible for this device since the template was added (2021-12-01).
Tuya-Convert might not be possible for this device since the template was added (2021-12-01).
This is for the KS-602F 3-way switch. Based on Tuya MCU module (54)
In December of 2020, this product was ordered and successfully flashed with Tasmota version 9.2.0 as follows:
- Disassemble the switch and solder 2mm pin headers to the J1 connector holes on the top of the board containing the esp8266 chip (there are two boards in the switch). This may void any warranty.
- Refer to https://tasmota.github.io/docs/Getting-Started/ for general instructions on flashing devices. A CH340G Serial Adapter from the link was used in this example.
- Connect the Serial Adapter to the J1 pins using guidance from “Serial Connection” section of the link.
- Follow flashing instructions in the “esptool.py” section of the link using a recent version of esptool (3.1-dev worked). Tasmotizer was unable connect to this device using the CH304G Serial Adapter.
- After the device is flashed, follow the “Initial Configuration / Using Web UI” instructions.
- Connect to the module over your local Wi-Fi and click the “Configure Module” button in the UI and set “Module type” to “Tuya MCU (54)” and save.
- Disconnect the Serial Adapter and Reassemble the switch. The plastic moulding on the switch accommodates the pin headers so you can leave them soldered in.
- It may be helpful to wire the switch into a spare 3-gang electrical box with a cord, manual 3-way switch, and receptacle for a test light to do testing before wiring it into the wall.