Available from:
Amazon.com
Install method:
USB to Serial
| GPIO # | Component |
|---|---|
| GPIO00 | Button1 |
| GPIO01 | None |
| GPIO02 | None |
| GPIO03 | None |
| GPIO04 | HLW8012 CF |
| GPIO05 | HLWBL CF1 |
| GPIO09 | None |
| GPIO10 | None |
| GPIO12 | HLWBL SELi |
| GPIO13 | Led2i |
| GPIO14 | Led1i |
| GPIO15 | Relay1 |
| GPIO16 | None |
| FLAG | None |
{"NAME":"SK03 Outdoor","GPIO":[17,0,0,0,133,132,0,0,131,57,56,21,0],"FLAG":0,"BASE":57}SK03 Outdoor Smart Plug which can be found as different brand names on Amazon. The ESP8266 module inside is a TYWE3S by Tuya. The power monitoring is a HLW8012 much like the original Sonoff POW and other power monitoring modules.
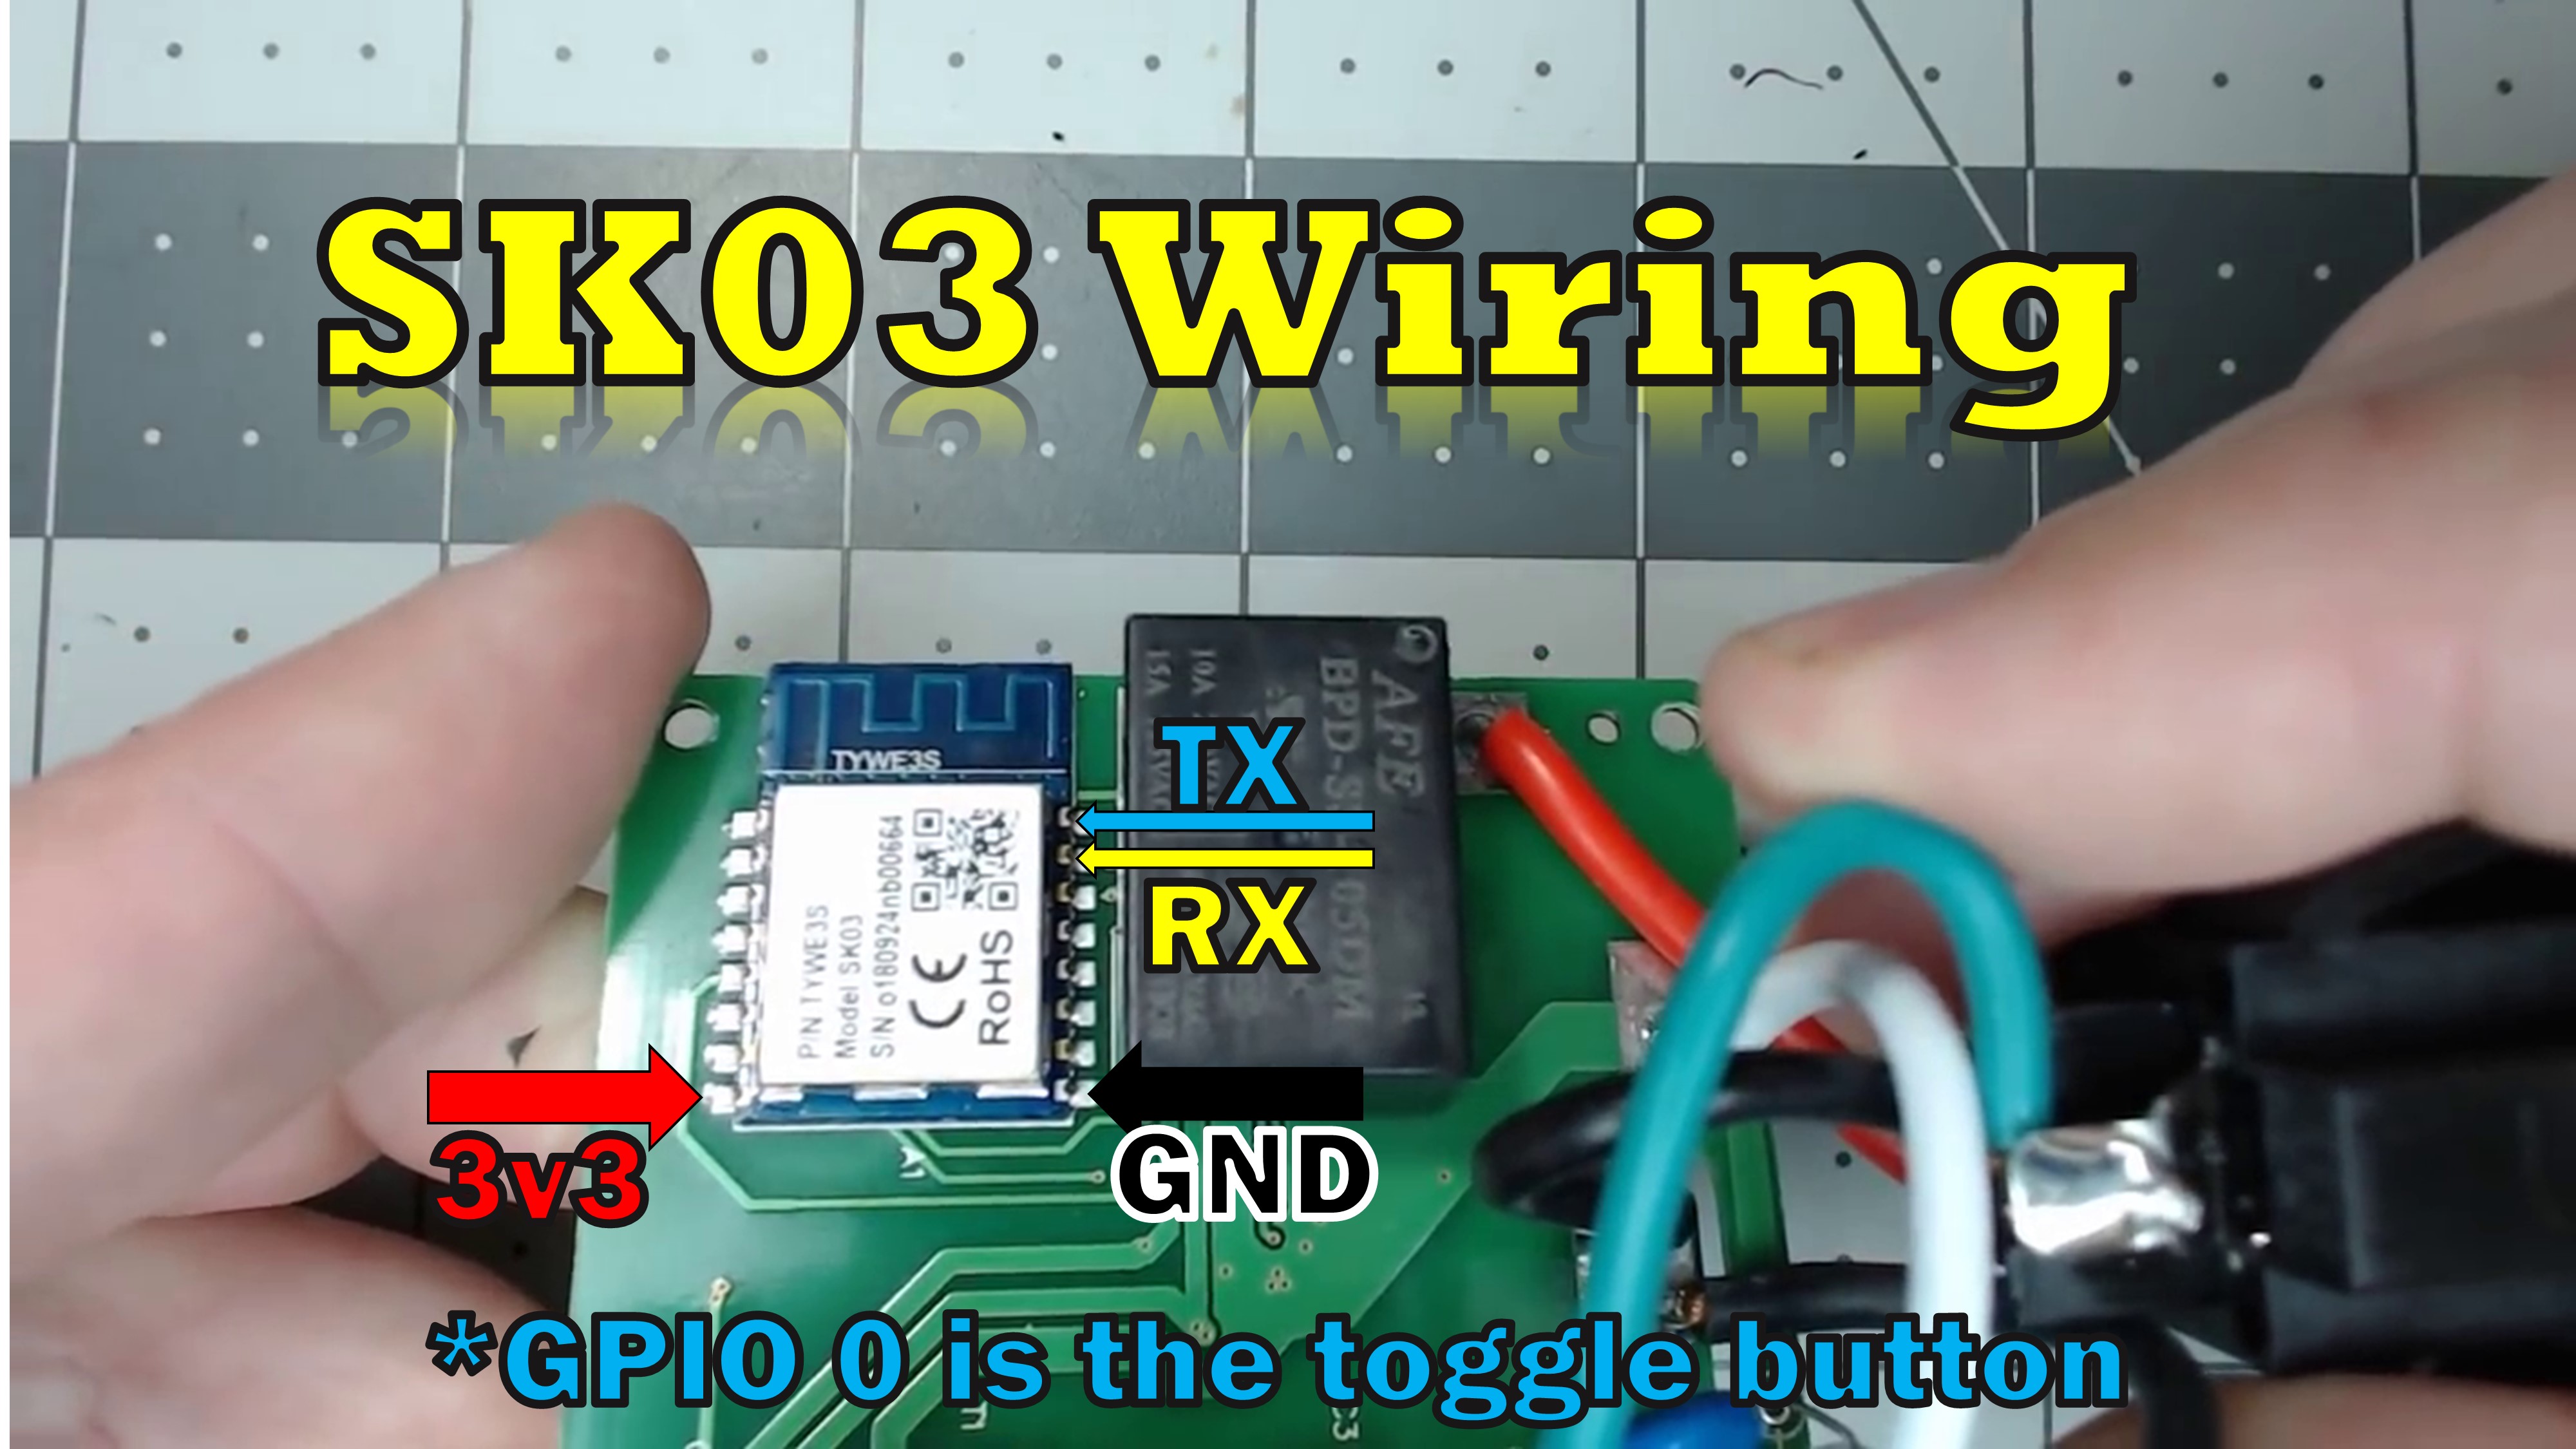
Pull the four rubber pads off the bottom to expose the screws and the unit opens up. Unscrew the small screws from the board and it comes out of the case. The relay is close to the soldering points on the Tuya module but it can be done if you are careful. GPIO0 is the button on the underside so you do not need to solder to that point, just hold the button during boot for your flashing process like you would with a Sonoff Basic.
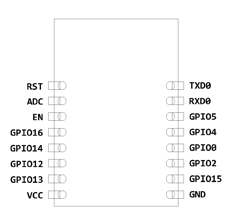
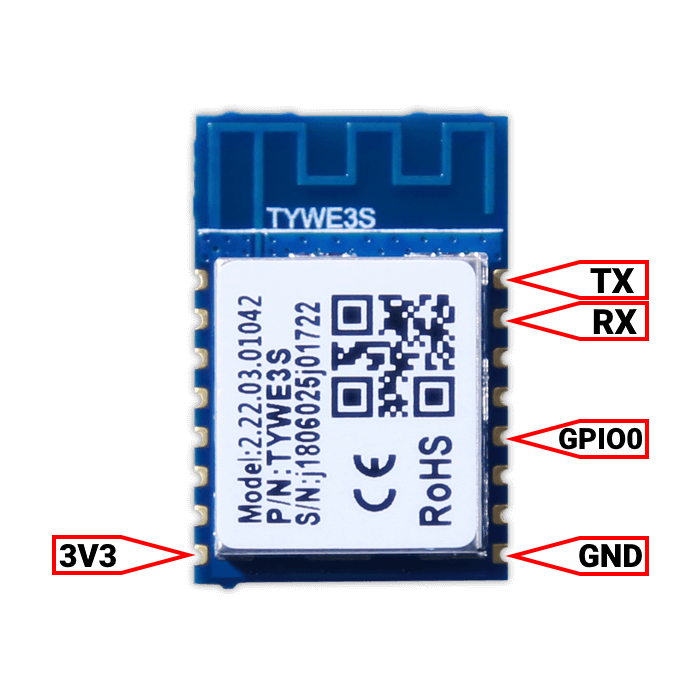
Information regarding the standard soldering and pinouts for the TYWE3S module:


Pinout
 .
.


