Available from:
Aliexpress.com
Amazon.com
Install method:
USB to Serial
| GPIO # | Component |
|---|---|
| GPIO00 | Button 1 |
| GPIO01 | None |
| GPIO02 | None |
| GPIO03 | None |
| GPIO04 | None |
| GPIO05 | Relay 2 |
| GPIO09 | Button 2 |
| GPIO10 | None |
| GPIO12 | Relay 1 |
| GPIO13 | Led_i 1 |
| GPIO14 | None |
| GPIO15 | None |
| GPIO16 | None |
| GPIO17 | None |
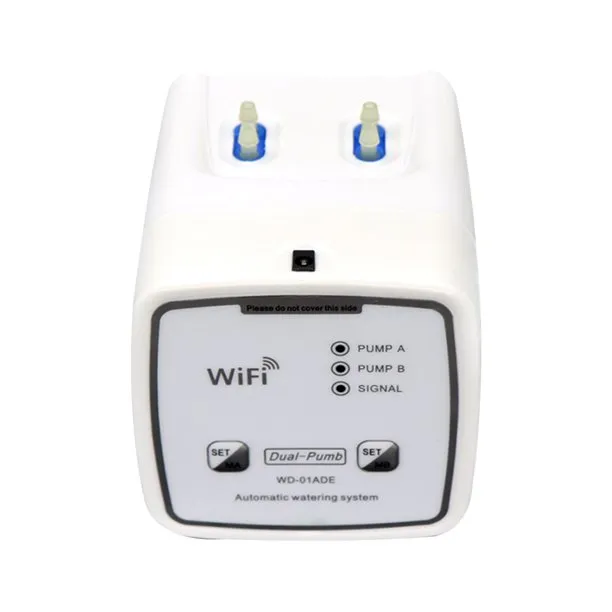
{"NAME":"WD-01ADE","GPIO":[32,0,0,0,0,225,33,0,224,320,0,0,0,0],"FLAG":0,"BASE":18}Dual-pump home plant irrigation system. Runs using included power plug, via USB or four AAA batteries. Each pump can be triggered independently.
While flashing the ESP can be powered via serial, but it will not boot normally. Disconnect VCC from the serial-to-USB adapter and use the included power cable instead to power the device.
Flashing
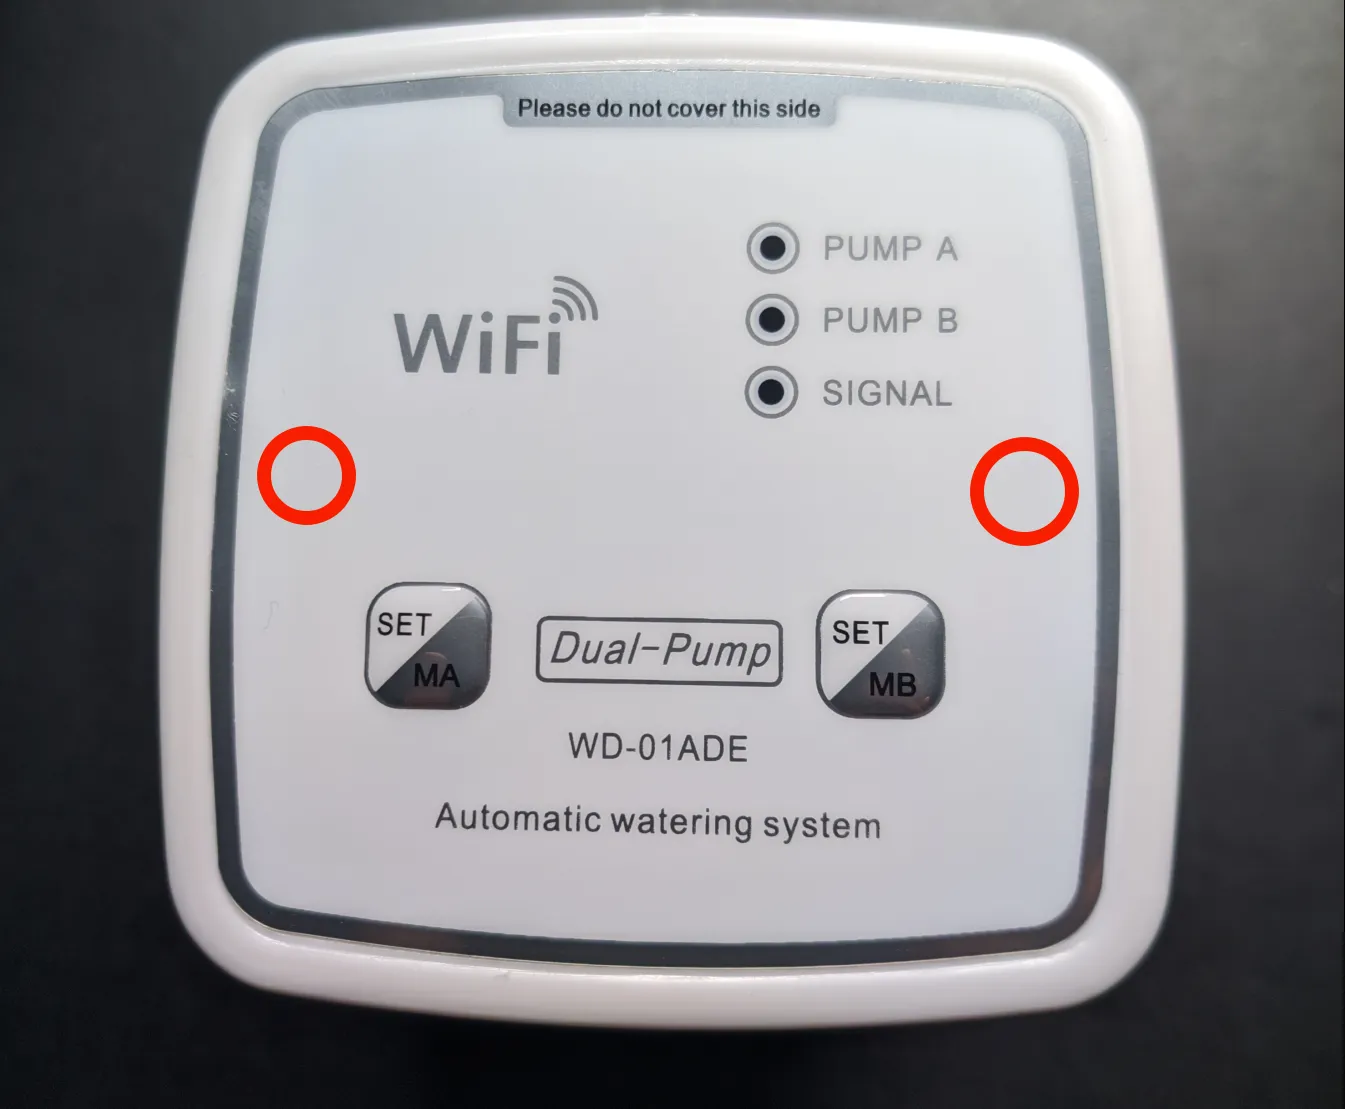
- Use a dull blade or thin plastic piece to move the front cover aside so that you can unscrew the two hidden screws. While removing the front cover some plastic tabs may break on the sides.

-
Disconnect and mark the battery, pump A and pump B connectors from the board.
-
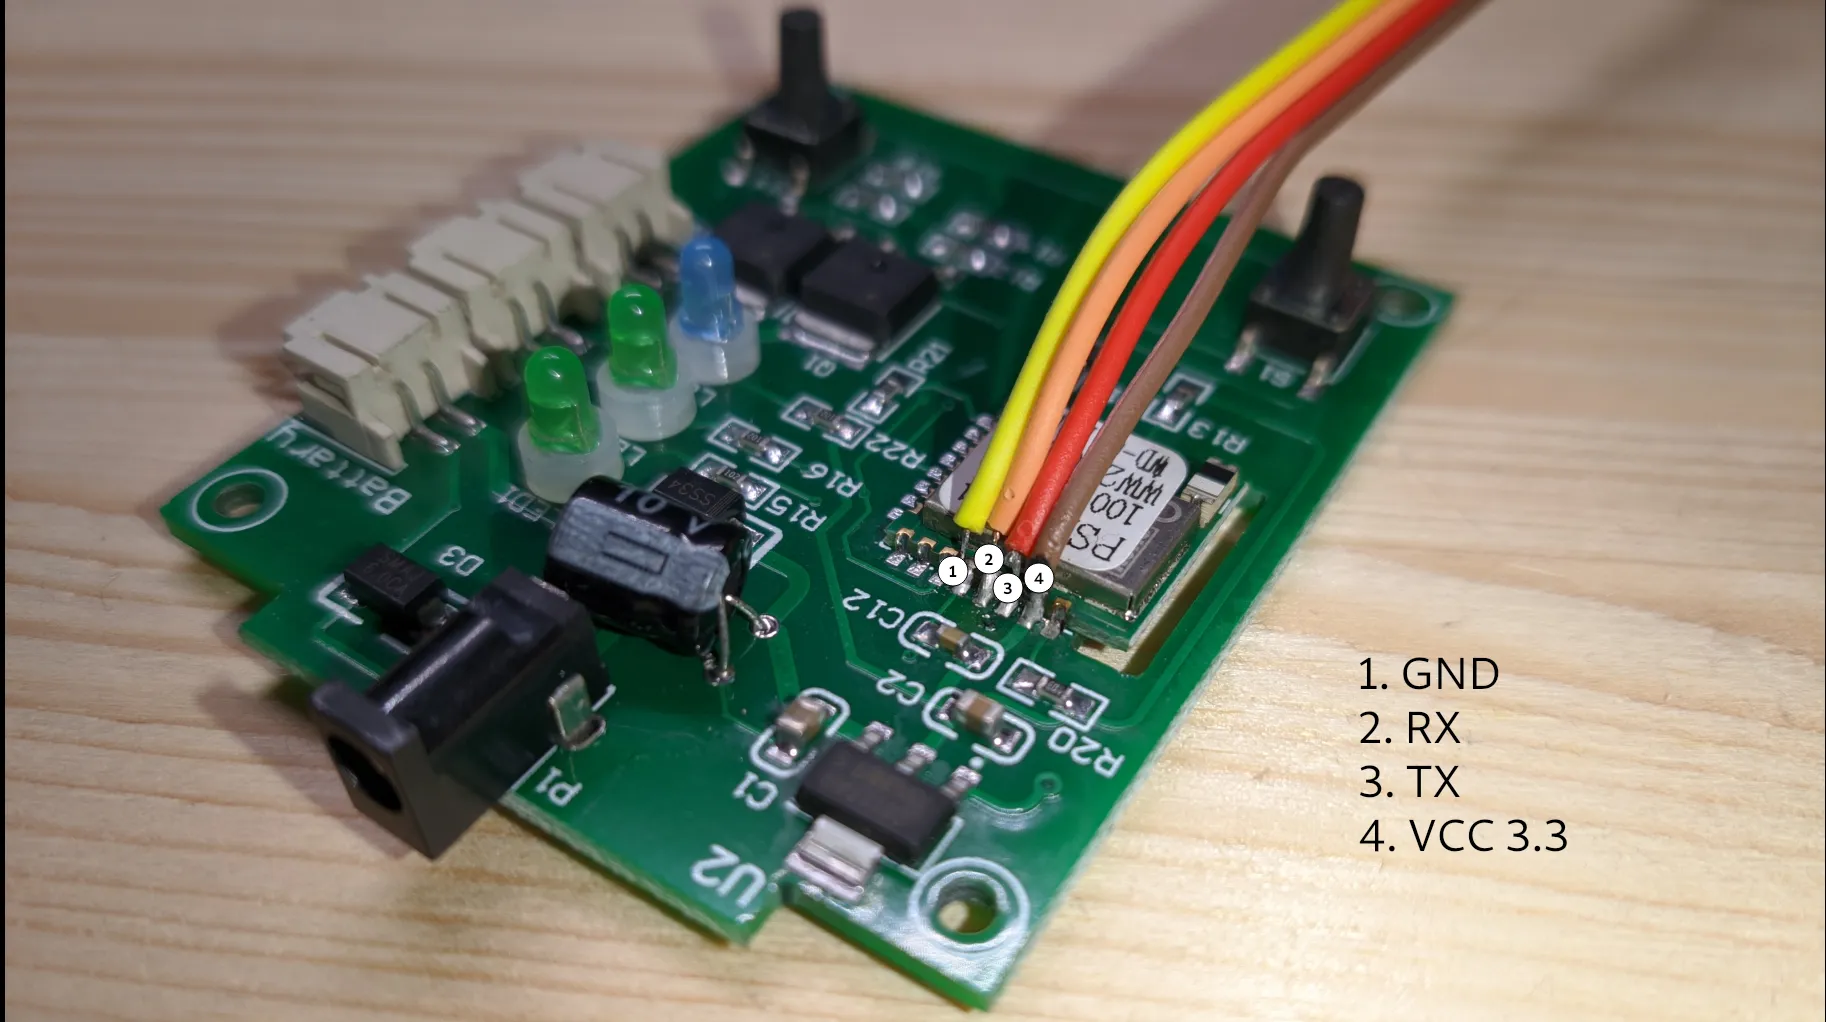
Unscrew the board and solder some jumper wires to the PSF-B04 chip.

- Press button S1 while hooking up the serial connection to enter flash mode.
Home Assistant
For use with Home Assistant its advised to set friendly names for the relays:
Backlog FriendlyName1 Pump A; FriendlyName2 Pump B
Newer version without ESP
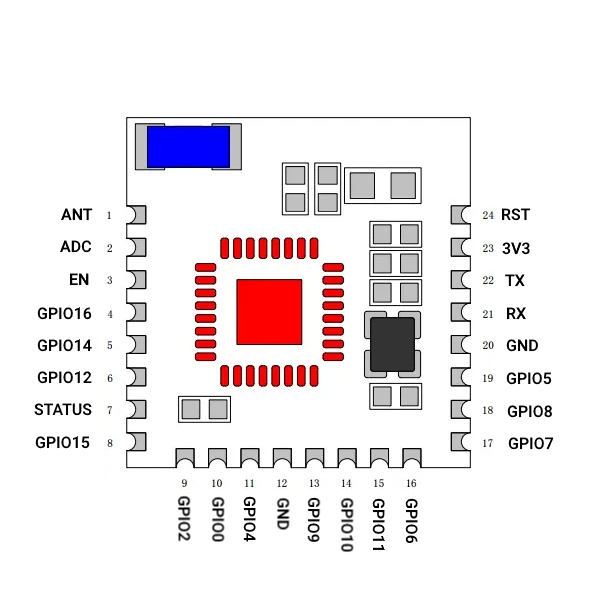
A newer version exists with the same model number, but it no longer features an ESP chip, but a CBU chip. The board has been redesigned and is no longer compatible with a PSF-B04. Luckily an ESP8685-WROOM-06 still fits altough 1 pin is mapped to a “NC” pin, so I had to add a wire to another pin. This pin is used for the blue “WLAN” led.
{"NAME":"WD-01ADE","GPIO":[544,225,224,32,1,1,1,33,1,1,1,0,0,0,0,0,0,0,1,1,1,1],"FLAG":0,"BASE":1}
Pinout
 .
.


