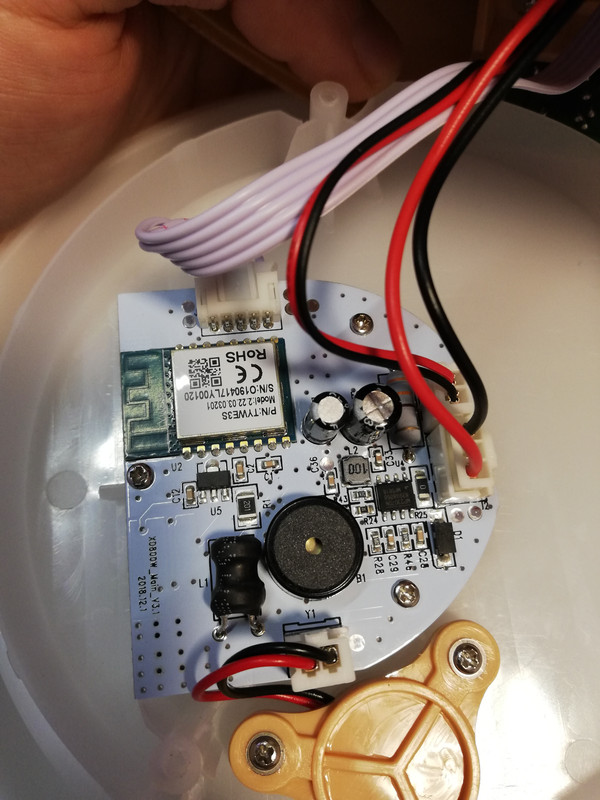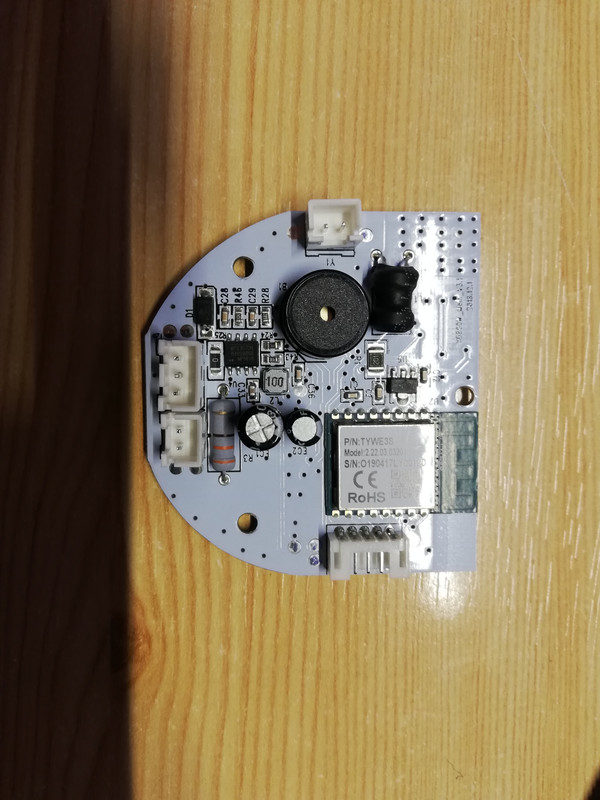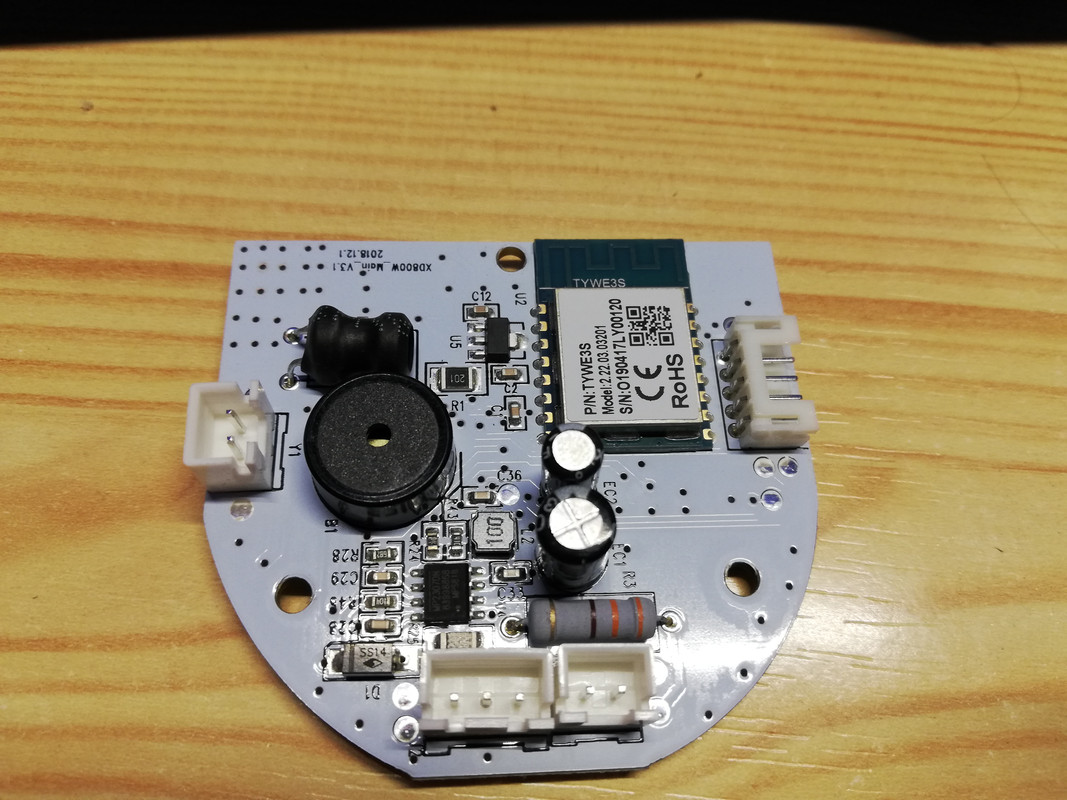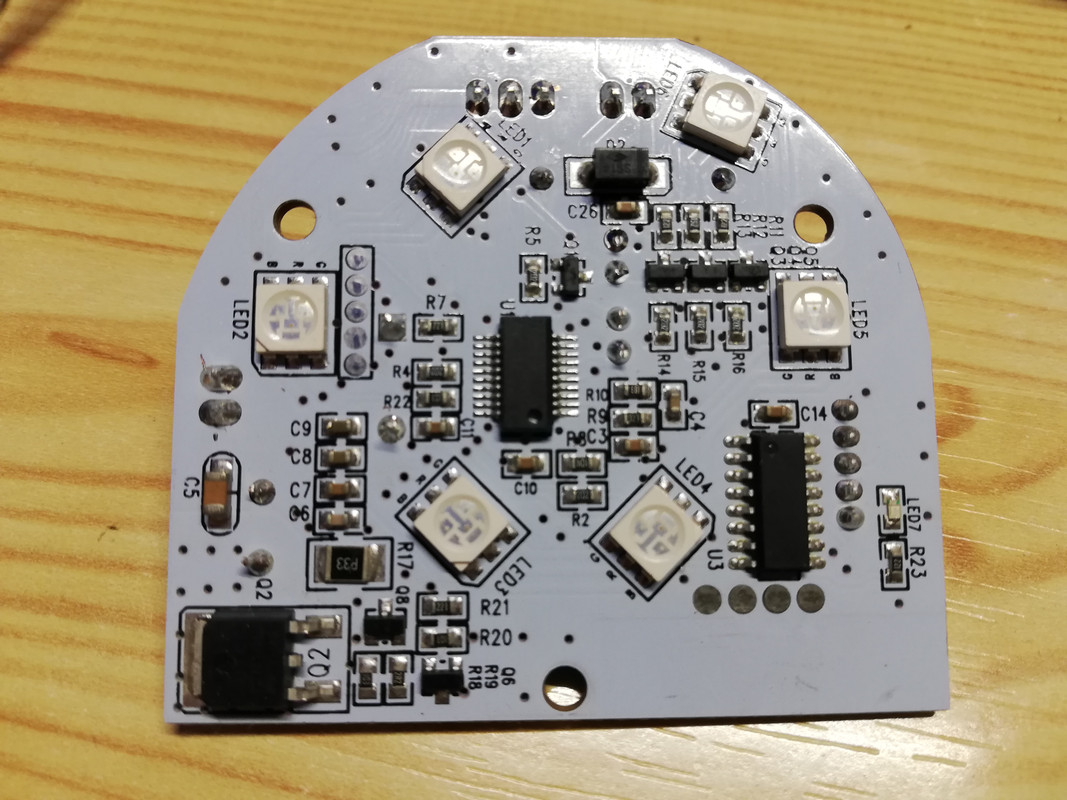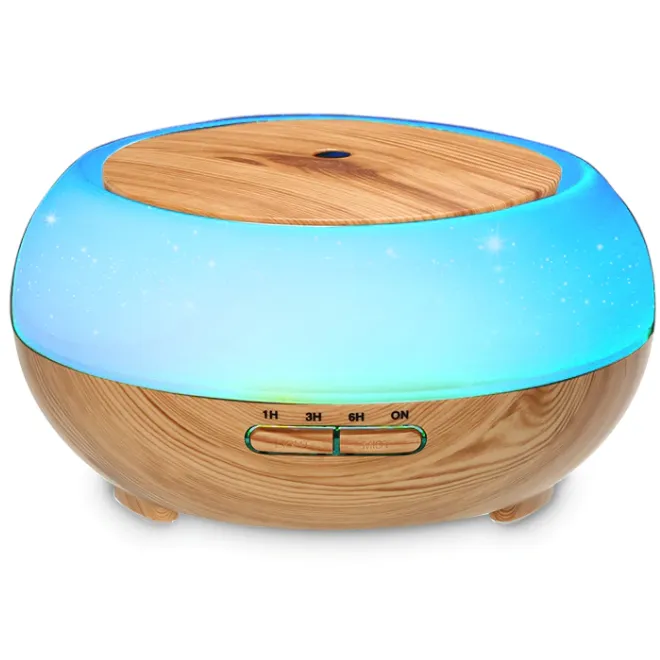
Available from:
Aliexpress.com
Banggood.com
| GPIO # | Component |
|---|---|
| GPIO00 | None |
| GPIO01 | Tuya Tx |
| GPIO02 | None |
| GPIO03 | Tuya Rx |
| GPIO04 | None |
| GPIO05 | None |
| GPIO09 | None |
| GPIO10 | None |
| GPIO12 | None |
| GPIO13 | None |
| GPIO14 | None |
| GPIO15 | None |
| GPIO16 | None |
| GPIO17 | None |
{"NAME":"XD800W","GPIO":[0,2272,0,2304,0,0,0,0,0,0,0,0,0,0],"FLAG":0,"BASE":54}Models are marked as 802W to 808W there is just different top cover.
Please read TuyaMCU wiki entry to understand the terminology and configuration process.
Functions
dpID 1device mode:0 = off / 1 = continuousType1dpID 2error notification ?:0 = ok / 1 = errorType1dpID 3set timer0 = off / 1 = 1 hour / 2 = 3 hours / 3 = 6 hoursnot needed with Tasmota, there’s a Timer function Type4dpID 5light switch:0 = off / 1 = onType1dpID 6light mode:0 = off / 1 = rgb cycle 3 = single colorType4dpID 8led color:14 char value in hex(can define only RGB and send HSV value as max:RRGGBBffff6464) Type4
I found the built in buzzer very loud so I dropped little hot glue to the center of it for quieter operation!
Configuration
Backlog TuyaMCU 11,1; TuyaMCU 12,5; TuyaMCU 21,7; TuyaMCU 24,8; TuyaMCU 61,4; TuyaMCU 62,6
After a restart issue the rest of configurations:
Backlog TuyaRGB 3; DimmerRange 1,255; TuyaEnumList 1,1; TuyaEnumList 2,1; Rule0 1
Label webUI buttons and set friendly names for power outputs:
Backlog WebButton1 Diffuser; WebButton2 Light; FriendlyName1 Diffuser Fan; FriendlyName2 Diffuser Light
Rules used to prevent the device going into countdown mode (f.e. using on device controls) and complete MCU status update on restart. Second rule turns on RGB cycle mode instead of using Tasmota light schemes which don’t work with this device.
Rule1 on tuyareceived#dptype4id3!=0 do tuyasend4 3,0 endon on scheme#data!=0 do backlog0 scheme 0; tuyaenum2 1 endon
What you get
Power1turns the diffuser on or off in stored mist strength mode as device power statusPower2controls the light as an RGB Light.TuyaEnum1is for mist strength status and control:0for low /1for highTuyaEnum2is for light mode status
Home Assistant configuration
Use blueprint import button then create an automation from the blueprint which will send MQTT discovery payloads to Home Assistant. New entities should appear under the same Device Card in Tasmota integration.
First we need to create a ruleset to send data to specific topics used in HA configurations:
Rule2 on tuyareceived#dptype1id2 do publish stat/%topic%/error %value% endon on tuyareceived#dptype4id4==1 do publish stat/%topic%/fanmode high endon on tuyareceived#dptype4id4==0 do publish stat/%topic%/fanmode low endon
NOTE: verify that dpId2 is used for error reporting and id4 for mist strenght. If not change to the right number
PCB
