


Available from:
Aliexpress.com
Install method:
USB to Serial
| GPIO # | Component |
|---|---|
| GPIO00 | None |
| GPIO01 | Tuya Tx |
| GPIO02 | None |
| GPIO03 | Tuya Rx |
| GPIO04 | None |
| GPIO05 | None |
| GPIO09 | None |
| GPIO10 | None |
| GPIO12 | None |
| GPIO13 | None |
| GPIO14 | None |
| GPIO15 | None |
| GPIO16 | None |
| FLAG | None |
{"NAME":"Y09","GPIO":[0,107,0,108,0,0,0,0,0,0,0,0,0],"FLAG":0,"BASE":54}This device now comes with a Wi-Fi module incompatible with Tasmota
Please read TuyaMCU article to understand the terminology and configuration process.
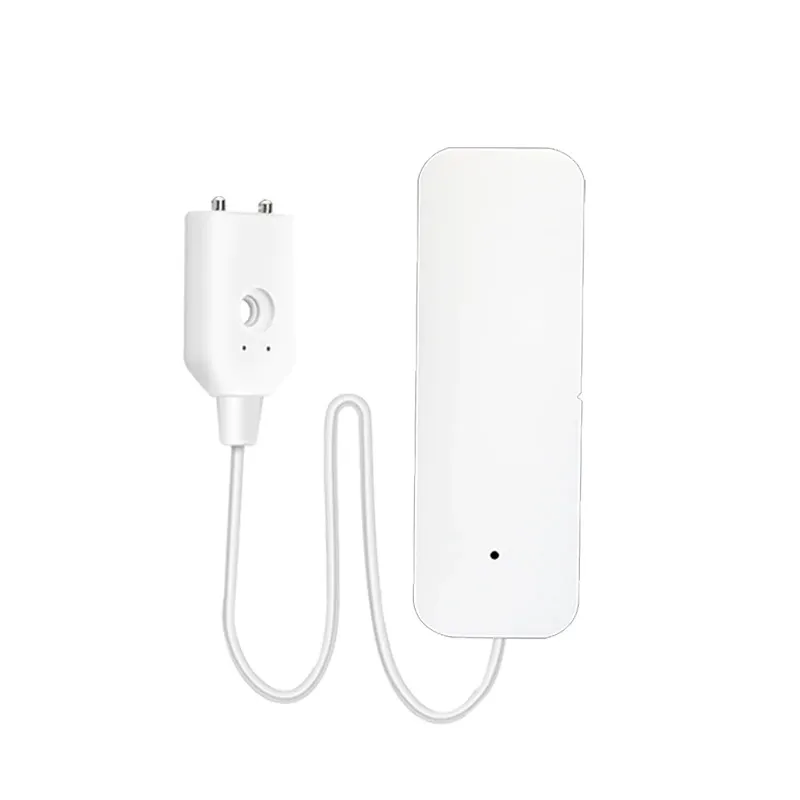
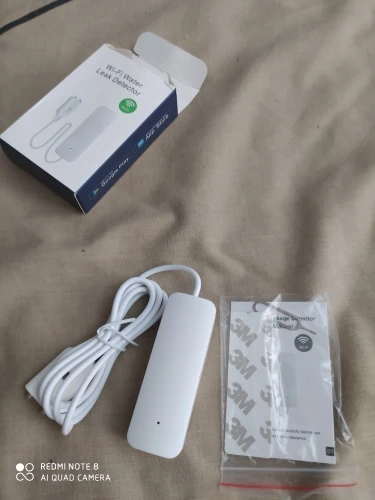
This is a Tuya/Smart Life battery powered contact (Water Leak) sensor. Runs on two AAA batteries (not supplied with the device).

Flashing
There’s an unofficial binary, compiled from current development release. Flash at your own risk.
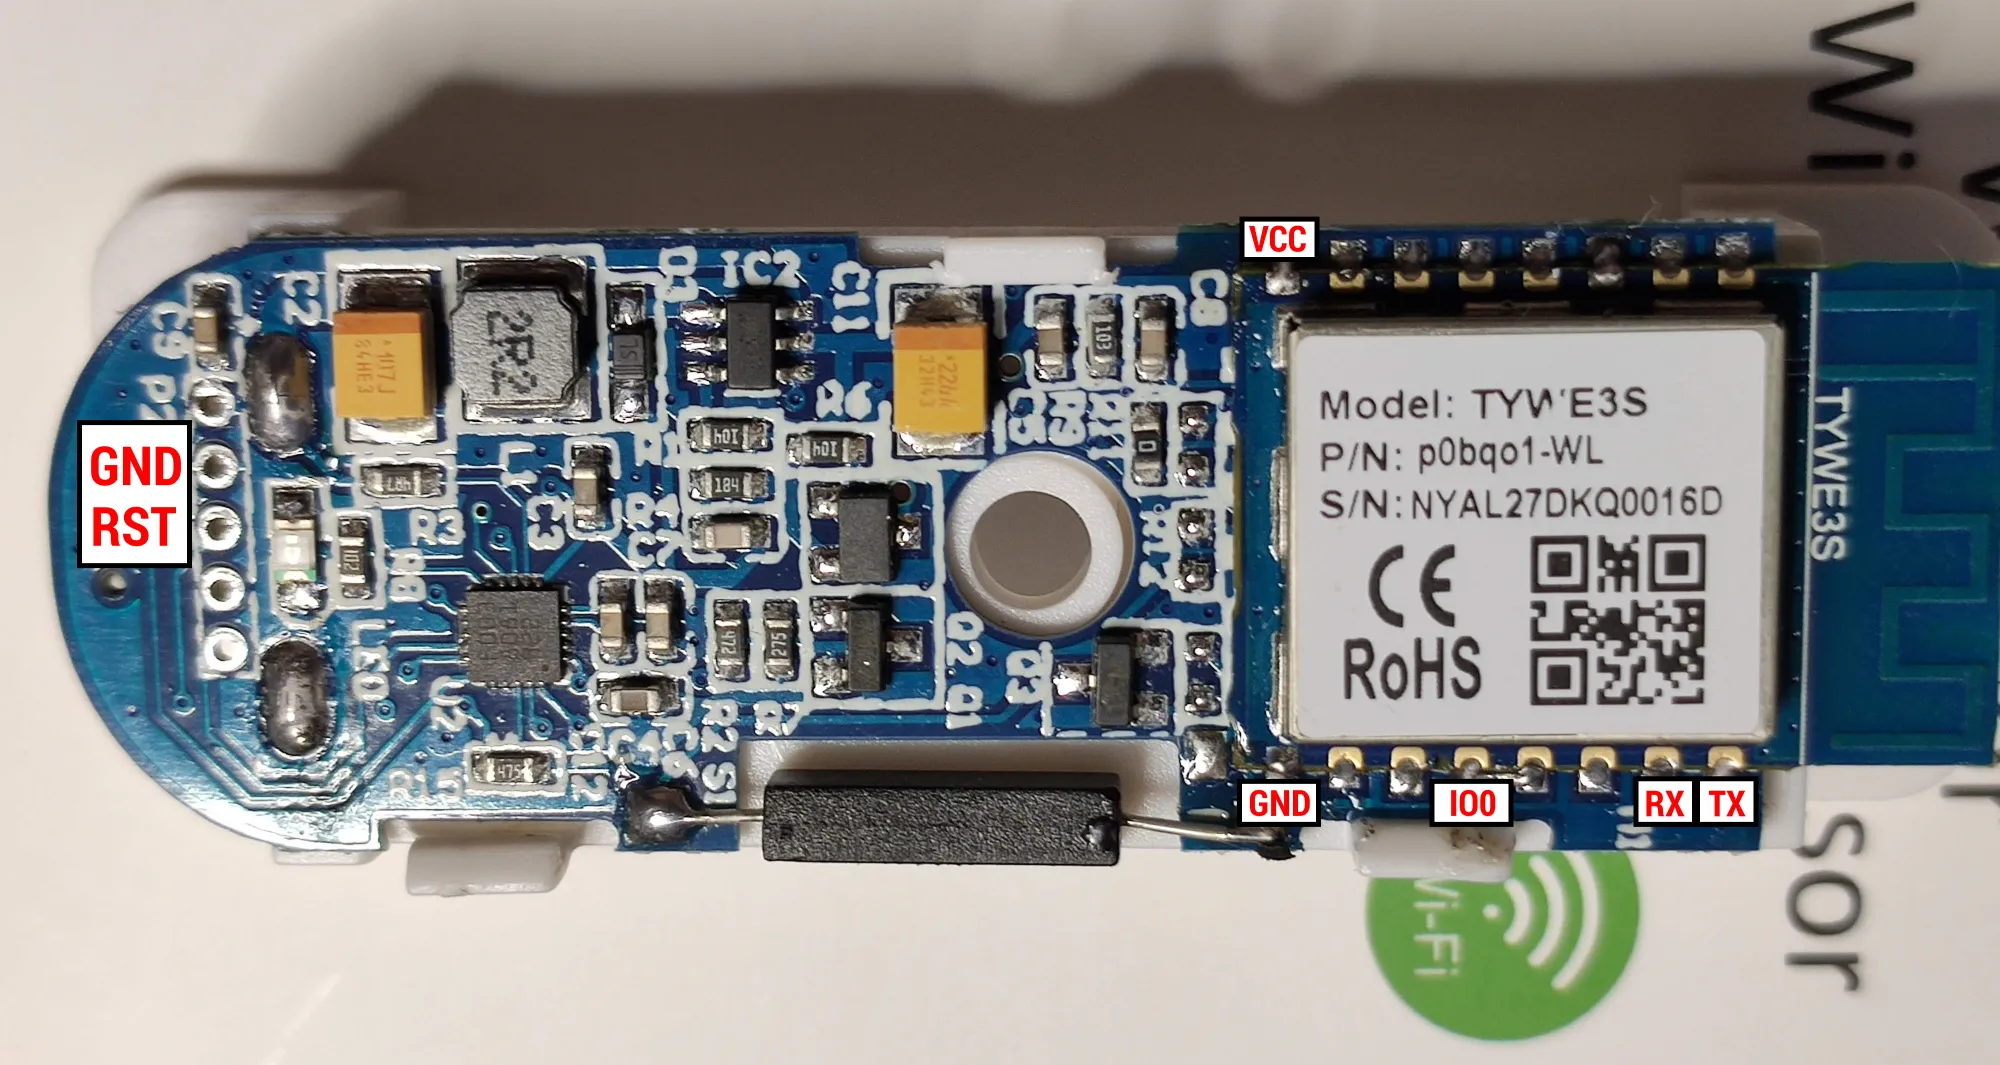
Serial
To flash the device solder directly to TYWE3S TX, RX, GPIO0, VCC and GND pins (optionally solder GPIO0 to GND but you only need to connect it to GND during boot). You also need to disable the MCU by connecting RST to GND, otherwise you will be unable to flash.
Configuration
If you’re using battery power you need to prevent the device from going to sleep by actuating the reed switch constantly (approximately every 5 seconds) during the configuration or use the serial message.
You can use
SerialSend5 55AA000200010002
shortly after boot to put the device into wi-fi search mode (rapidly blinking red LED) which will keep it powered on for around 60 seconds.
Change device to a TuyaMCU module (or apply the provided template, result is the same)
Module 54
Disable multipress button options to prevent a device reset or Wi-Fi AP config mode, disable Power Cycle recovery, turn on TuyaReceived publish to MQTT and set switchmode to follow instead of toggle
Backlog SetOption1 1; SetOption65 1; SetOption66 1; SwitchMode 1
If you are using a new device and replacing the CB3S module to flash Tasmota, you may also need to set the MCU baud rate to 115200 for it to work:
SetOption97 1
Switch the device to battery powered sensor mode (fnId 51):
TuyaMCU 51,21
Check with TuyaMCU for the following configuration:
{""TuyaMCU"":[{""fnId"":11,""dpId"":1},{""fnId"":51,""dpId"":21}]}
Functions
Rule1 ON TuyaReceived#Data=55AA0002000001 DO publish2 stat/%topic%/STATUS OPEN ENDON ON TuyaReceived#Data=55AA00050005010400010110 DO publish2 stat/%topic%/STATUS CLOSED ENDON
Optionally: If OPEN/CLOSED seems inverted, one may also try the following alternative Rule1:
Rule1 ON TuyaReceived#Data=55AA0002000001 DO publish2 stat/%topic%/STATUS CLOSED ENDON ON TuyaReceived#Data=55AA00050005010400010110 DO publish2 stat/%topic%/STATUS OPEN ENDON ON TuyaReceived#Data=55AA0005000501040001000F DO publish2 stat/%topic%/STATUS CLOSED ENDON
Rule2 ON TuyaReceived#Data=55AA00050005030400010213 DO publish2 stat/%topic%/BATT high ENDON ON TuyaReceived#Data=55AA00050005030400010114 DO publish2 stat/%topic%/BATT medium ENDON ON TuyaReceived#Data=55AA00050005030400010015 DO publish2 stat/%topic%/BATT low ENDON
Don’t forget to turn on the rule:
Backlog Rule1 1; Rule2 1
Home Assistant
setup MQTT Sensors :
  - platform: mqtt
    name: Water Leak Wifi Sensor
    state_topic: stat/water_leak_wifi/STATUS
    value_template: ''

  - platform: mqtt
    name: Water Leak Wifi Sensor Battery
    state_topic: stat/water_leak_wifi/BATT
    value_template: ''
    icon: 'mdi:battery'
”