


Available from:
Aliexpress.com
Amazon.com
Manomano.de
Install method:
Tuya-Convert
| GPIO # | Component |
|---|---|
| GPIO00 | None |
| GPIO01 | Serial Tx |
| GPIO02 | None |
| GPIO03 | Serial Rx |
| GPIO04 | None |
| GPIO05 | None |
| GPIO09 | None |
| GPIO10 | None |
| GPIO12 | Relay1 |
| GPIO13 | Button1n |
| GPIO14 | None |
| GPIO15 | None |
| GPIO16 | None |
| FLAG | None |
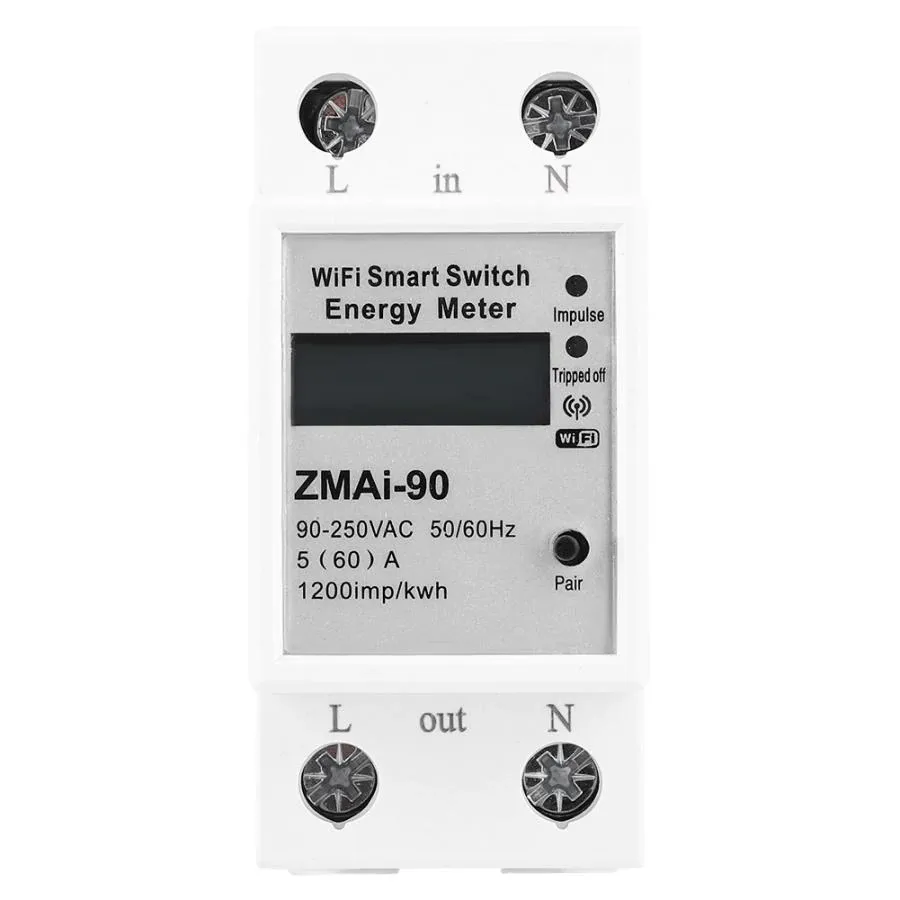
{"NAME":"ZMAi-90","GPIO":[0,148,0,149,0,0,0,0,21,90,0,0,0],"FLAG":0,"BASE":18}Tuya-Convert might not be possible for this device since the template was added (2020-05-12).
Full instructions here
There is a more recent version of the device which uses TuyaMCU protocol for communications instead of its custom serial protocol. To configure this version, don’t use this template but use “Tuya MCU (54)” module (command module 54`) and the following settings entered via the console.
Backlog SetOption66 1; TuyaMCU 0,17; TuyaMCU 32,18; TuyaMCU 31,19; TuyaMCU 33,20; SetOption59 1
Backlog Rule1 1; Rule1 on System#Boot do RuleTimer1 5 endon on Rules#Timer=1 do backlog SerialSend5 55aa0001000000; RuleTimer1 5 endon
There is even newer version of ZMAI-90 with WB3S module. It turns out its pin to pin compatible with ESP12E, so replacing the WB3S module with ESP12E flashed with tasmota will gives tasmota compatibility.
However this one even use different TuyaMCU protocol and to configure this verson you need to put:
Backlog SetOption66 1; TuyaMCU 11,16; TuyaMCU 36,6; TuyaMCU 37,1; SetOption59 1; SetOption72 1
Rule1 on System#Boot do RuleTimer1 10 endon on Rules#Timer=1 do backlog TuyaSend8; RuleTimer1 10 endon
credit: https://community.home-assistant.io/t/help-with-zmai-90-and-esphome-or-tasmota/308554/2?u=tesna