


Available from:
Airgradient.com
Manufacturer:
Airgradient.com
Install method:
USB to Serial
| GPIO # | Component |
|---|---|
| GPIO00 | SAir Rx |
| GPIO01 | User |
| GPIO02 | SAir Tx |
| GPIO03 | None |
| GPIO04 | I2C SDA 1 |
| GPIO05 | I2C SCL 1 |
| GPIO09 | User |
| GPIO10 | User |
| GPIO12 | PMS5003 TX |
| GPIO13 | User |
| GPIO14 | PMS5003 |
| GPIO15 | User |
| GPIO16 | User |
| GPIO17 | User |
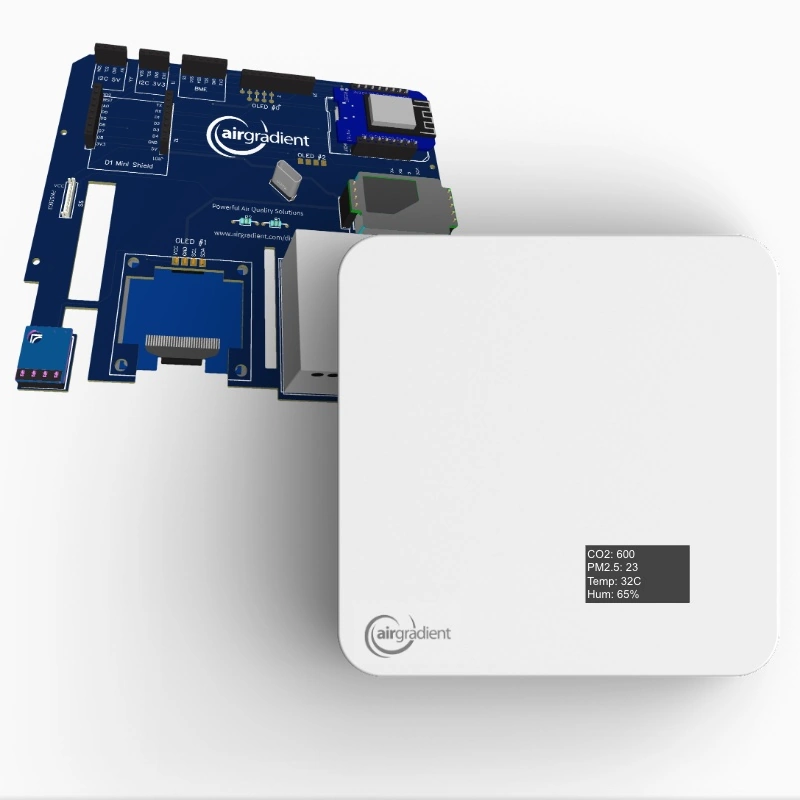
{"NAME":"AirGradient Pro","GPIO":[1600,1,1632,0,640,608,1,1,1664,1,1696,1,1,1],"FLAG":0,"BASE":18}This is a DIY air quality monitor avaiable as a kit with a custom PCB and case from AirGradient.
Serial Flashing
Flashing is simple as the kit comes with a standard Wemos D1 Mini with a USB header.
Even so, since the device contains both sensors and an OLED display, it requires a custom build of Tasmota with both sets of drivers. The simplest way is to use the Tasmota Special Firmware Web Installer to install Tasmota Platinum. Note: the chip has 4MB of flash, so can handle these larger firmware builds.
With the chip flashed, and the template applied, you should see all the relevant sensor readings in the Tasmota web UI. The only thing left is configuring the display, with the following commands:
backlog displaymodel 7; displayrotate 2; displayrows 8; displaymode 3; webbutton1 Toggle Display; friendlyname1 Air Monitor Display; power on
You should now see the sensor readings scrolling on the display.
Note: For whatever reason, the display defaults to being switched off whenever Tasmota boots, and commands like poweretain and poweronstate don’t seem to affect it. So I added a rule to do so:
backlog rule1 ON System#Boot DO power on ENDON ON; rule1 on