


Available from:
Amazon.co.uk
Install method:
USB to Serial
| GPIO # | Component |
|---|---|
| GPIO00 | None |
| GPIO01 | LedLinki |
| GPIO02 | None |
| GPIO03 | Button1 |
| GPIO04 | Relay4 |
| GPIO05 | Relay3 |
| GPIO09 | None |
| GPIO10 | None |
| GPIO12 | Relay1 |
| GPIO13 | Relay5 |
| GPIO14 | Relay2 |
| GPIO15 | None |
| GPIO16 | None |
| FLAG | None |
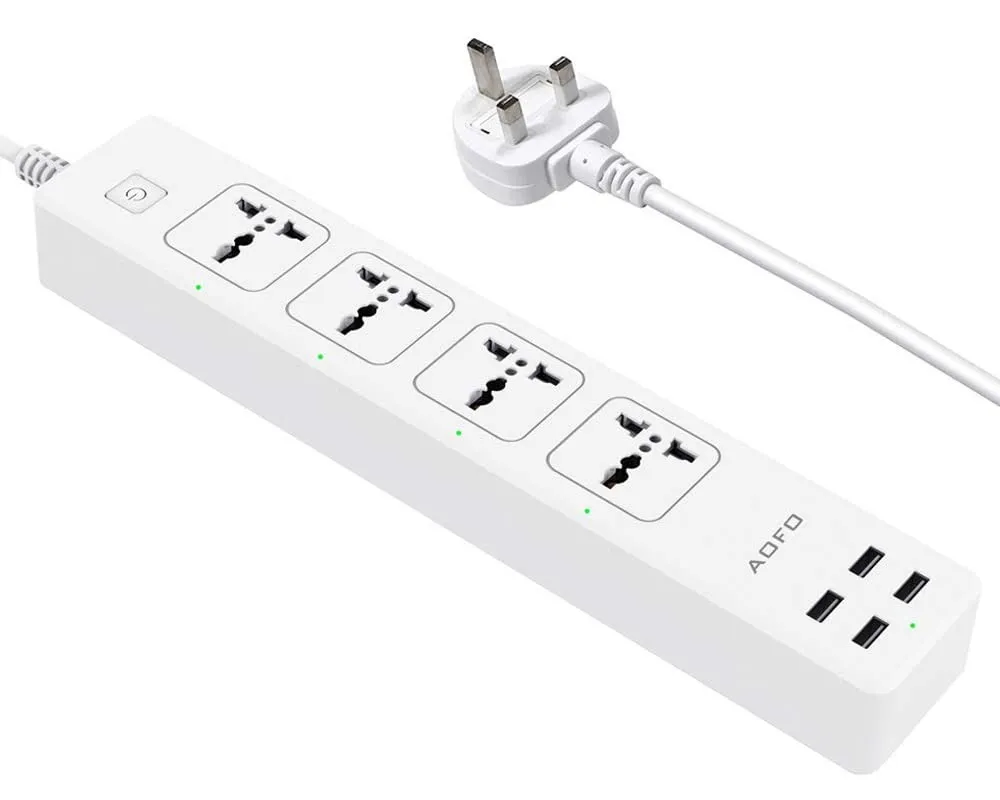
{"NAME":"AOFO C379 4AC+4USB UK ","GPIO":[0,158,0,17,24,23,0,0,21,25,22,0,0],"FLAG":0,"BASE":18}This device now comes with a Wi-Fi module incompatible with Tasmota
Had to disassemble unit (a few screws, back pops off if use a flat blade to separate the grips) to do the flash. Note - the screws on the back (under the white pads) are triangular security screws so you will need the right screwdriver bit to undo them.
Once disassembled, remove the black plastic covering the last two plugs sockets. The GPIO 0 pin that needs to be pulled to ground on powerup is on the back and can be accessied with a small soldering iron via accessed via test point I00 on the back of the package. The power board cab now be flashed with Tasmotizer.
Port numbering is different to the ordering of the other AOFO / TCP power strip with Relays 1 -4 controlling the sockets, starting with Relay 1 nearest to the power cable and Relay 5 controlling the USB sockets.