


Available from:
Bunnings.com.au
Bunnings.co.nz
Install method:
USB to Serial
| GPIO # | Component |
|---|---|
| GPIO00 | None |
| GPIO01 | Led1i |
| GPIO02 | None |
| GPIO03 | Button1 |
| GPIO04 | Relay2 |
| GPIO05 | Relay1 |
| GPIO09 | None |
| GPIO10 | None |
| GPIO12 | Relay4 |
| GPIO13 | Relay3 |
| GPIO14 | None |
| GPIO15 | None |
| GPIO16 | None |
| FLAG | User |
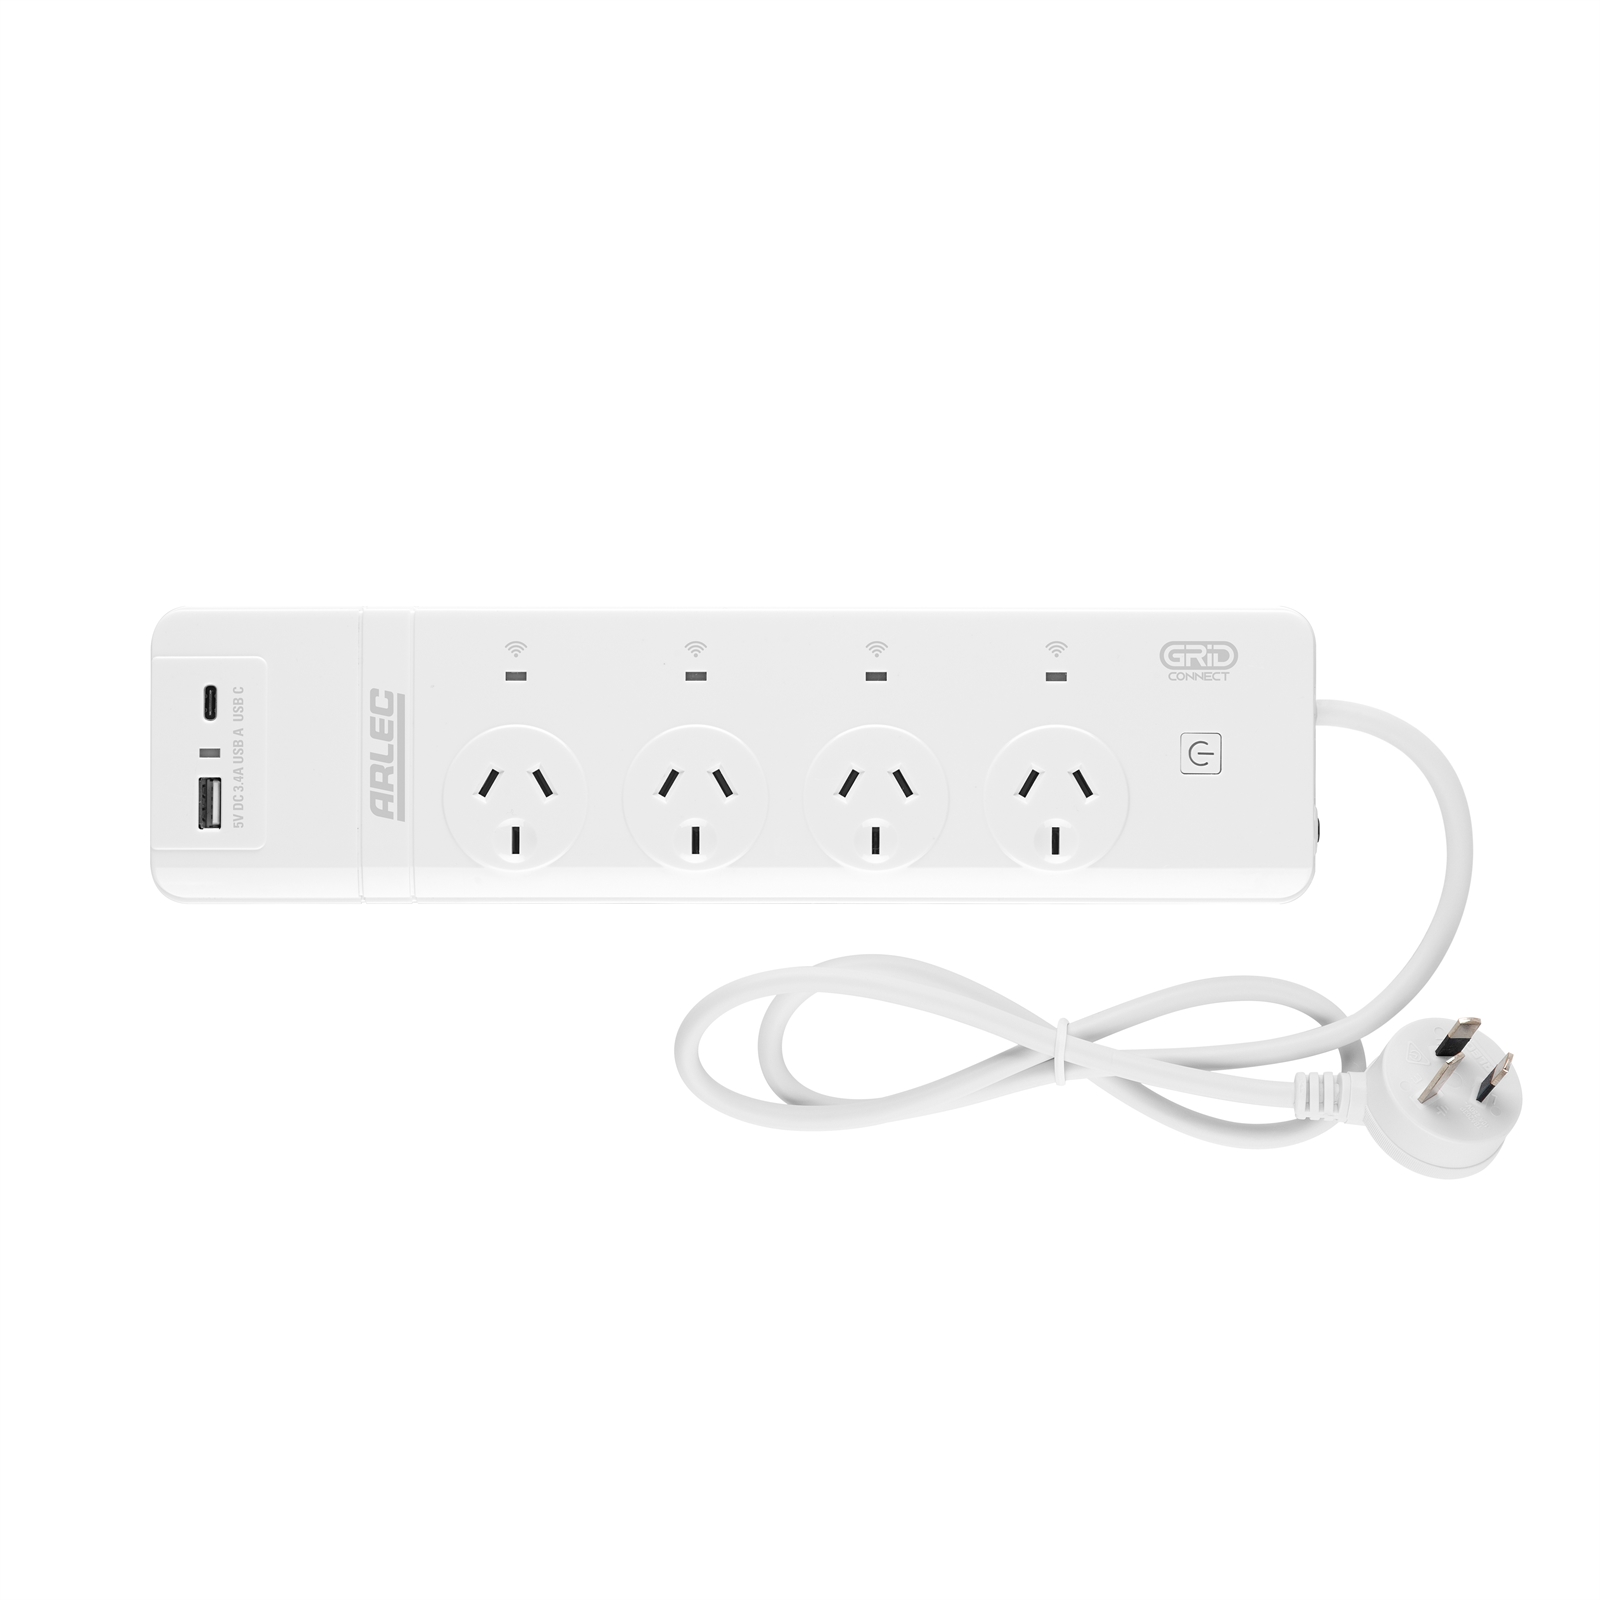
{"NAME":"Arlec PB88UHA","GPIO":[0,56,0,17,22,21,0,0,24,23,0,0,0],"FLAG":15,"BASE":18}INCOMPATIBLE HARDWARE WARNING!
The current version sold at Bunnings now ships with the WB2S module which is not compatible with Tasmota.
Serial Flashing
If Tuya-Convert isn’t working for you, you can flash it over a serial link as described on Tasmota - Getting Started
To do so you do need to open up the power strip and solder on some cables to allow connecting your flashing
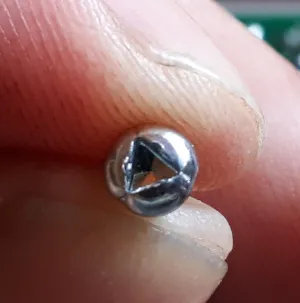
tool / software of choice. You will need a triangular screw driver as the cover is screwed on with with screws as in the picture below:
Please ensure the power strip is not plugged into mains power while soldering on flashing!!!
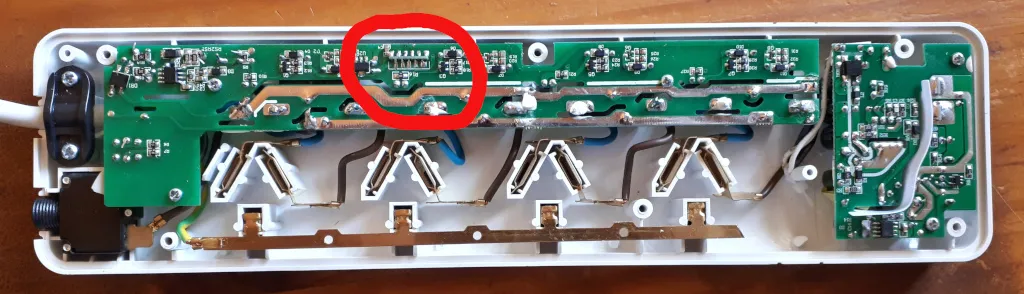
This power strip uses a TYWE2S chip-set. For more information check out the datasheet for TYWE2S
The TYWE2S can be found in the circled location contained on a small daughter PCB soldered onto the main board of the power strip.
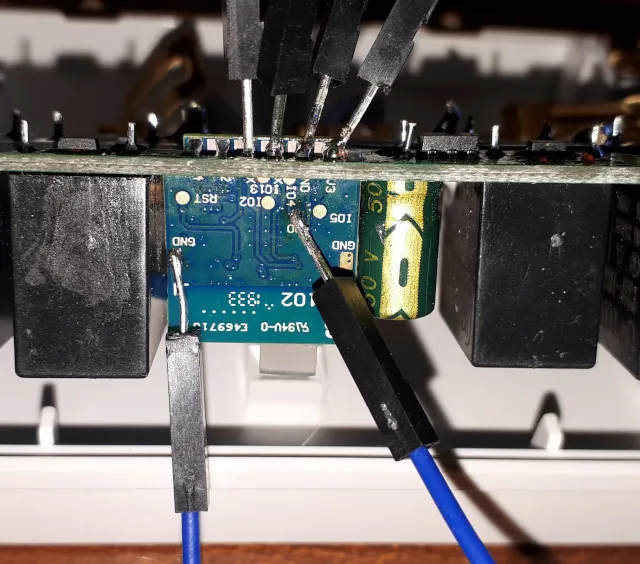
Next step is to connect the serial connection (RX, TX), and GND and 3V3 (VCC) for the serial connection as per image below. Note, you also need to connect GPIO0 to GND to put the TYWE2S chip into programming mode. GPIO0 is exposed on the easily accessible side of the TWYE2S and is labeled on the PCB IO0.
Here is an image of how I soldered on fly leads for the serial connection on my power strip:location:
After that follow the guide linked above to flash Tasmota.
Pinout
 .
.