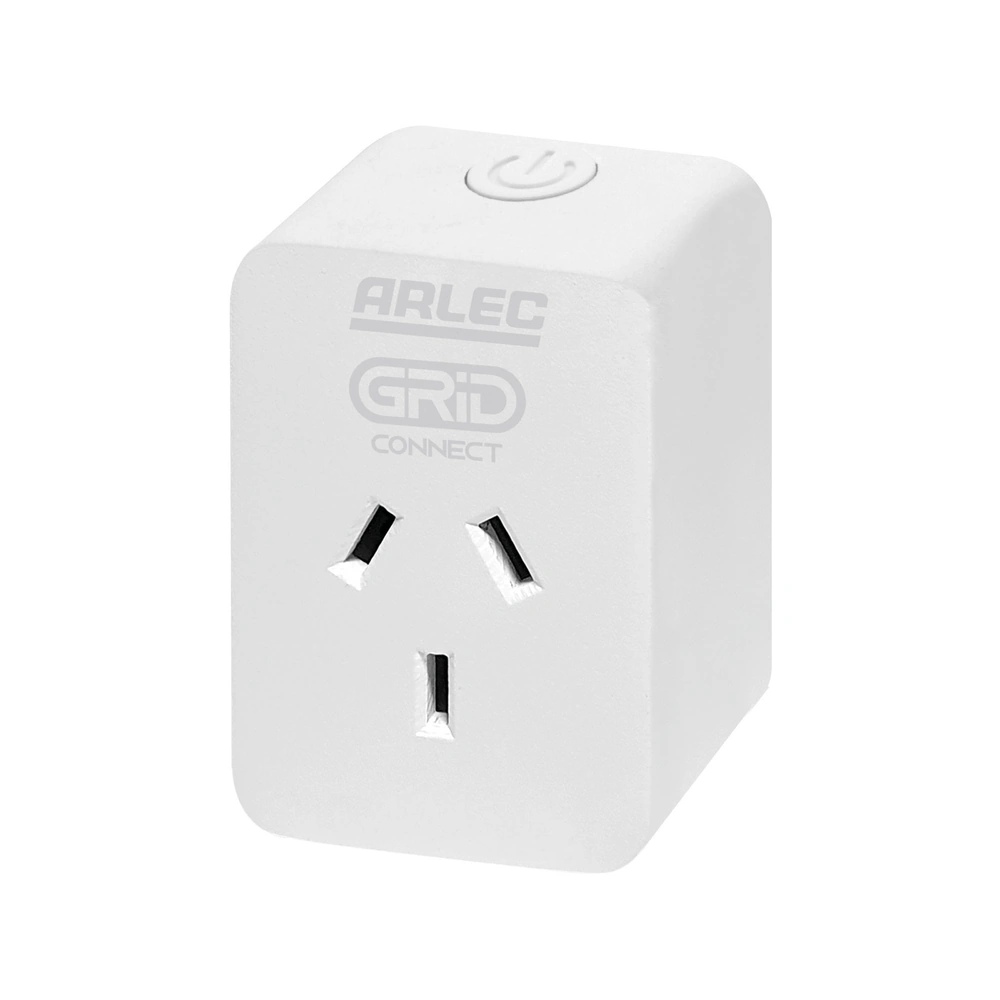
Available from:
Bunnings.com.au
Install method:
Replace module
| GPIO # | Component |
|---|---|
| GPIO00 | None |
| GPIO01 | None |
| GPIO02 | None |
| GPIO03 | Button 1 |
| GPIO04 | HLWBL CF1 |
| GPIO05 | HLWBL SELi |
| GPIO09 | None |
| GPIO10 | None |
| GPIO12 | Relay 1 |
| GPIO13 | BL0937 CF |
| GPIO14 | Led_i 1 |
| GPIO15 | None |
| GPIO16 | None |
| GPIO17 | None |
{"NAME":"PC191HAS2 CB2S","GPIO":[0,0,0,32,2656,2624,0,0,224,2720,320,0,0,0],"FLAG":0,"BASE":18}{"NAME":"PC191HAS2 WB2S","GPIO":[0,32,0,0,2720,2656,0,0,2624,224,288,0,0,0],"FLAG":0,"BASE":1}This device uses WB2S module which needs to be replaced with ESP-02S, WT-01N or WT32C3-01N. Besides the module, this process will require a heat gun, soldering tools and moderate soldering skill.
To use this device with Tasmota, the CB2S module which needs to be replaced with ESP-02S, WT-01N or WT32C3-01N.
Updated verion that uses the WB2S module should use the PC191HAS2-1 template.
The device is ultrasonically welded in its plastic case. Now screws the weld can be broken easily with a utility knife or spudger, without too much trouble. Once disassembled there are no screws inside and the mains terminals pull through the enclosure. Reassembly with strong glue to maintain mains isolation.


