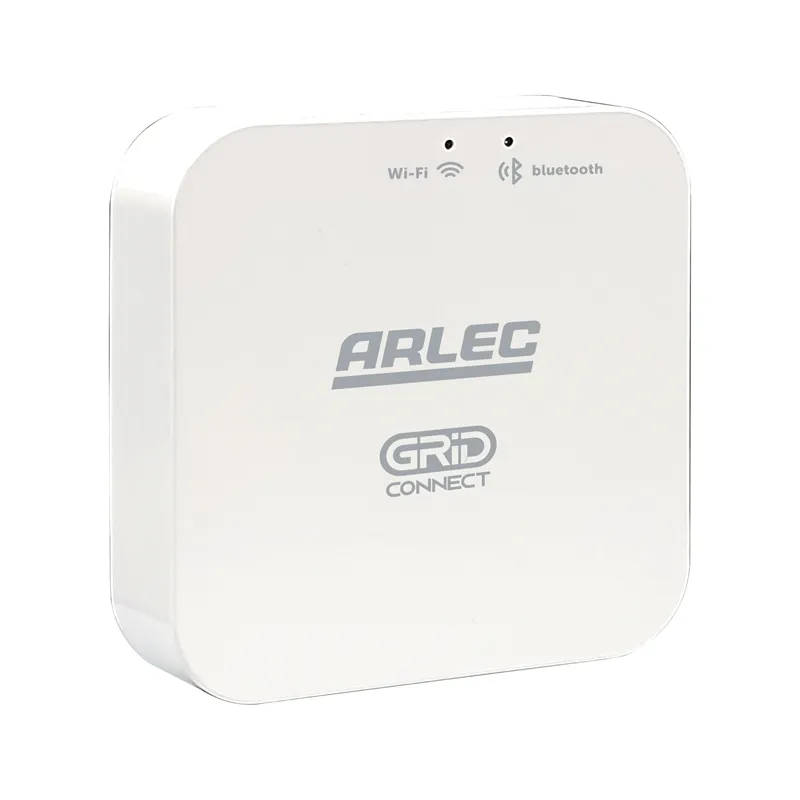
Arlec Smart Home Hub Bluetooth Gateway (SGS01HA)

Available from:
Bunnings.co.nz
Install method:
USB to Serial
| GPIO # | Component |
|---|---|
| GPIO00 | None |
| GPIO01 | Tuya Tx |
| GPIO02 | None |
| GPIO03 | Tuya Rx |
| GPIO04 | None |
| GPIO05 | None |
| GPIO09 | None |
| GPIO10 | None |
| GPIO12 | None |
| GPIO13 | None |
| GPIO14 | None |
| GPIO15 | None |
| GPIO16 | None |
| FLAG | None |
Configuration (old format, will be converted to new template when applied)
{"NAME":"Arlec Hub","GPIO":[0,107,0,108,0,0,0,0,0,0,0,0,0],"FLAG":0,"BASE":54}-
Initially pair the hub and all sensors using the Tuya app
-
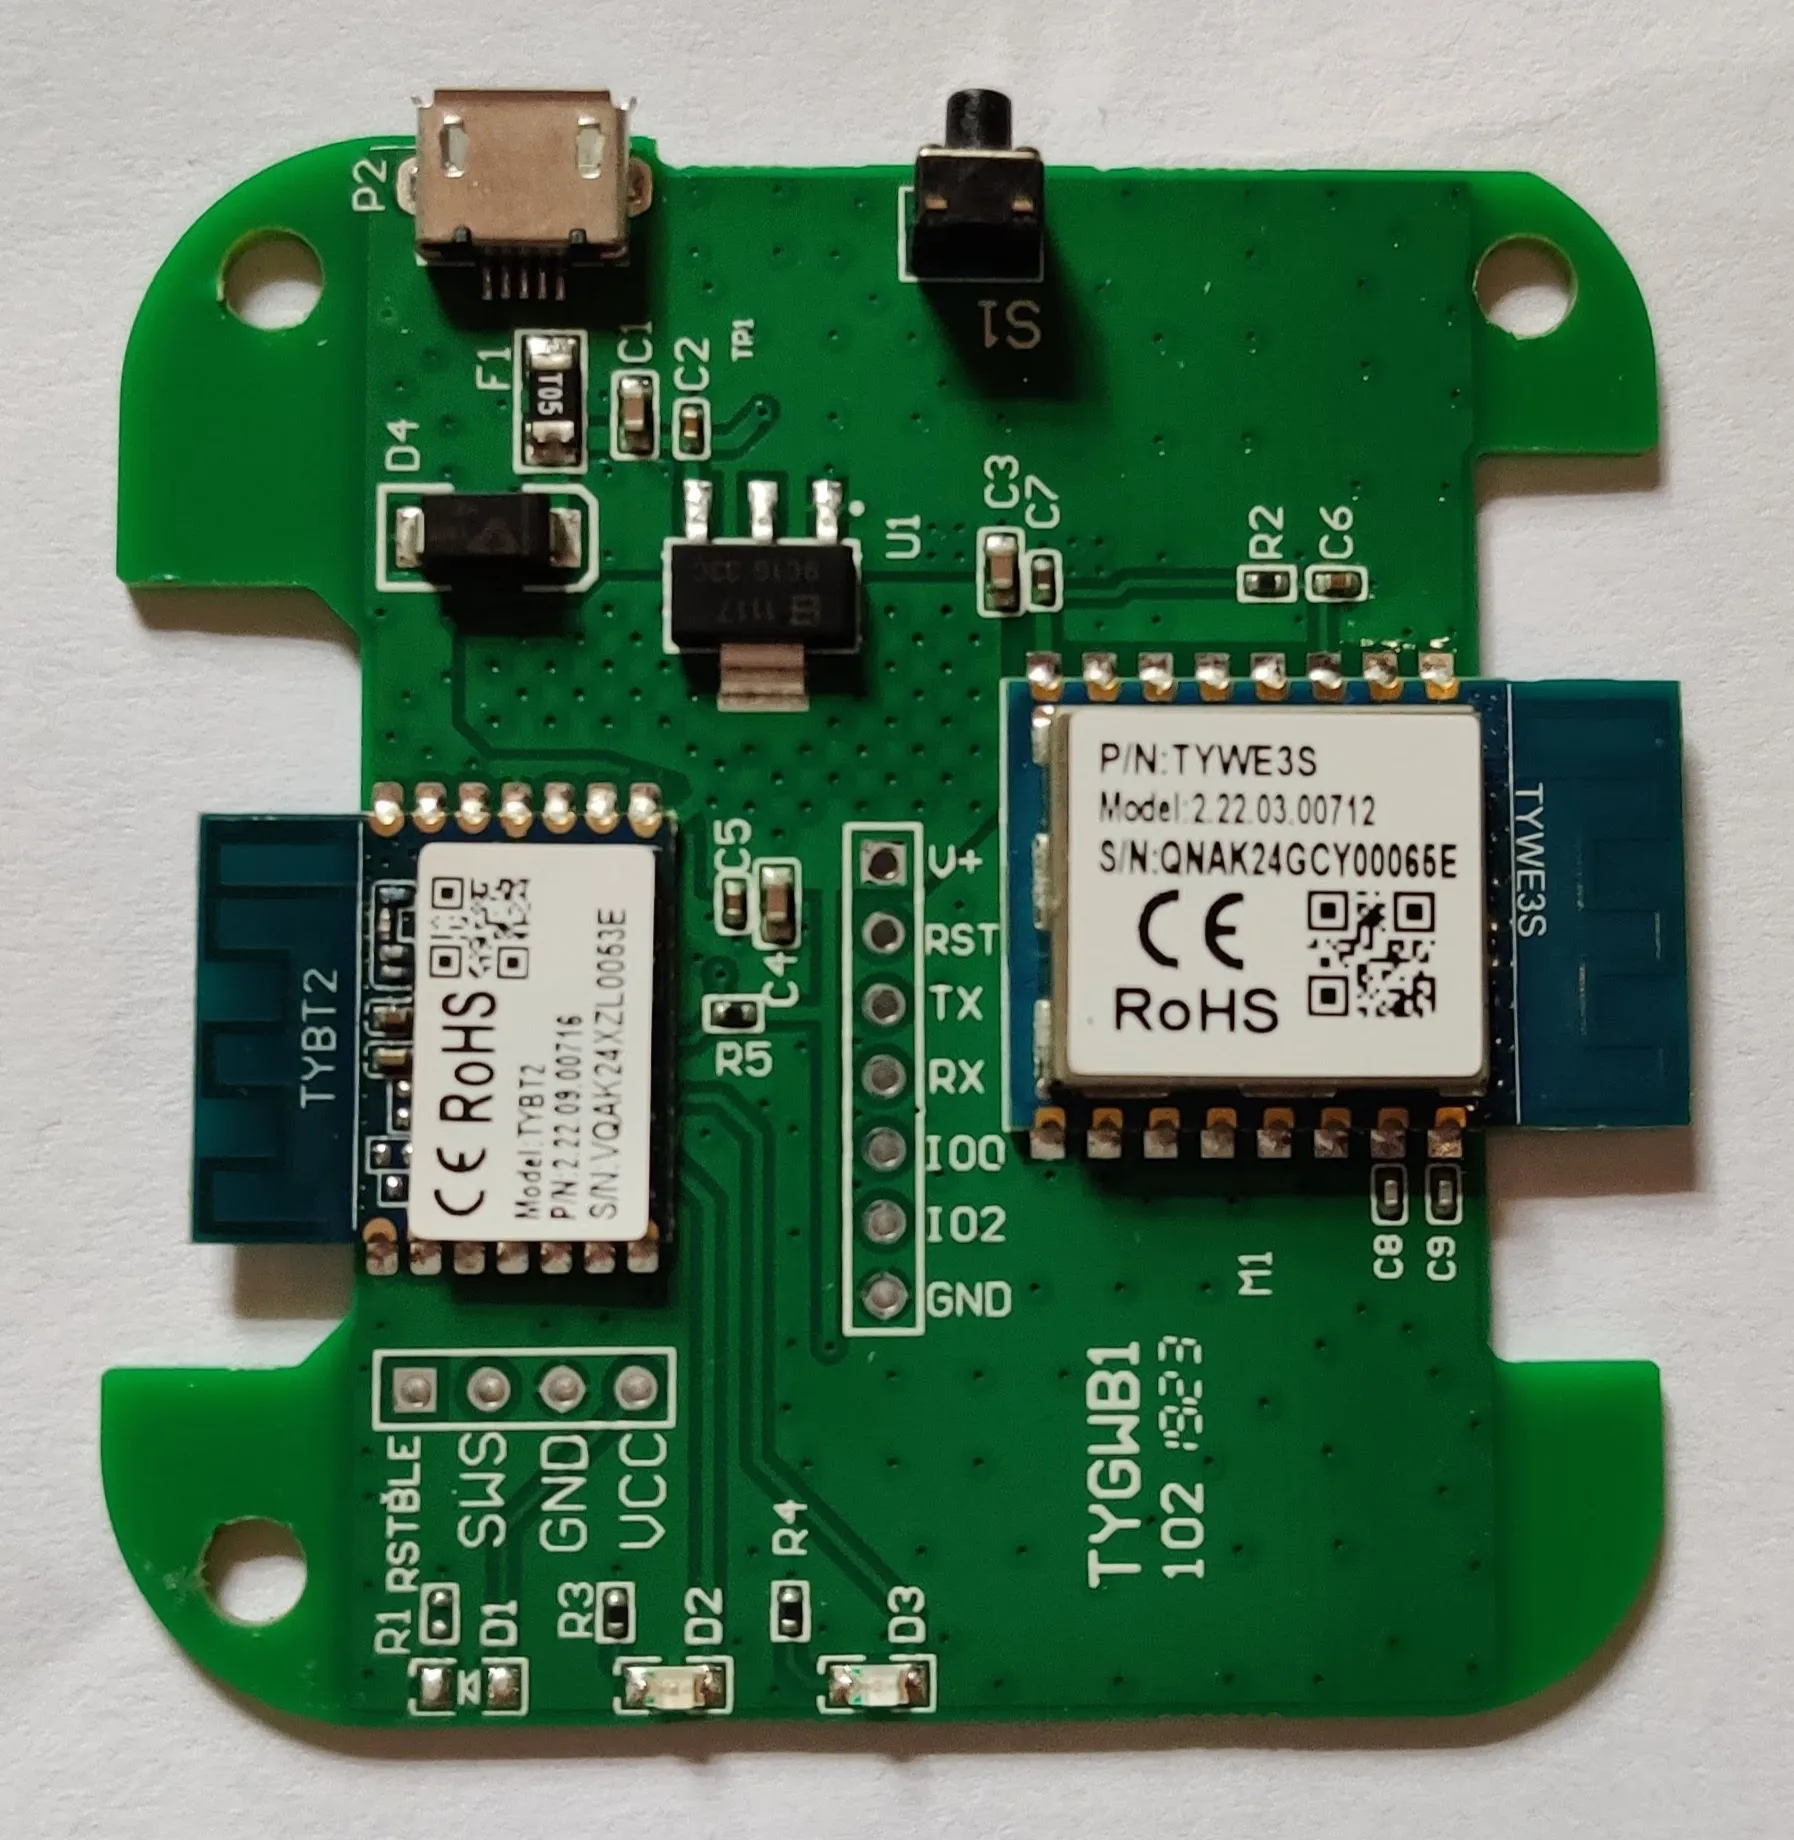
Flash the hub using a serial connection to the TYWE3S module with a standard Tasmota Image.

- Hold GPIO0 to GND during power on to enter programming mode
- Connect V+, TX, RX, & GND
- IMPORTANT: Hold RSTBLE to GND during the flashing process to disable the Bluetooth module
-
Set up MQTT
Method 1 - Just BLE Data
- Go to the console and issue these commands:
Rule1 ON TuyaReceived#CmndData DO var1 %value% ENDON ON TuyaReceived#Cmnd==54 DO Publish BleBridge/tele/command %var1% ENDON
Rule1 1
- Set up Node RED to listen on the BleBridge/tele/command MQTT topic then create a new function to process the messages using this code
var inputstr = """"
inputstr = msg.payload.slice(6);
msg.payload = inputstr;
return msg;
- The output code will be something like this. For example for a door or motion sensor
- 055B010100 - Sensor idle
- 055B010101 - Sensor triggered *0564020400000064 - Battery level 100% (64 in hex)
For the battery level for example
- 05 identifies the device number
- 640204 identifies the DPID
- 00000064 identifies the data
Method 2 - All TuyaReceive Data
This method will send all TuyaReceived messaages to MQTT for processing by Node RED.
- Goto the Tasmota console and issue the following command:
SetOption66 1
- Create a Node RED flow and subscribe an “MQTT Input” object to “tele/SENSORHUB/RESULT”. Replace “SENSORHUB” with your Tasmota %TOPIC% name.
- Payload is a string so we need to convert it to JSON, add a json node, selecting ‘Convert between JSON String & Object, check the ‘Format JSON string’ check box.
- Link the JSON node into a function node with the following script contents. The function will have 2 outputs, one for MQTT and one for Debug.
// Get Message Payload
var payload = msg.payload

// Ignore Everything but Cmnd 54
if(payload.TuyaReceived.Cmnd != "54") { return }

// Extract the Sensor Hub ID
var Data            = payload.TuyaReceived.Data;
var sensorHubID     = Data.substr(0,12)

// Extract the Sensor Data Values
var CmndData        = payload.TuyaReceived.CmndData;
var updateID        = CmndData.substr(0,6);     // Each sensor+battery update shares this string
var sensorNumber    = parseInt(CmndData.substr(6,2),16);
var sensorType      = CmndData.substr(8,6);
var sensorValue     = CmndData.substr(14);

// Processing
switch(sensorType) {
    case "4F0204":
        sensorType = "TEMP"
        fahrenheit = parseInt(sensorValue,16)
        celsius = (fahrenheit - 32) * 0.555555555555555
        sensorValue = parseInt(celsius)
    break;
    case "4E0204":
        sensorType = "HUMIDITY"
        humidity = parseInt(sensorValue,16)
        sensorValue = parseInt(humidity)
    break;
    case "630204":
        sensorType = "INTERVAL"
        value = parseInt(value, 16) / 60    // Returns the interval in minutes at which the temp/humidity sensor will send an update. Interval is changed by pressing the button on the sensor
    break;
    case "5B0101":
        sensorType = "CONTACT"
        sensorValue = parseInt(sensorValue)

    break;
    case "5C0101":
        sensorType = "MOTION"
        sensorValue = parseInt(sensorValue)
    break;
    case "640204":
        sensorHubID = (parseInt("55AA0136000B",16) - 3).toString(16).toUpperCase()
        sensorType = "BATTERY"
        percentage = parseInt(sensorValue,16)
        sensorValue = percentage
    break;
}

var topic = "SENSORHUB/BLE" + sensorNumber + "/" + sensorType
var mqttMessage = {  payload: sensorValue, topic:topic };
var debugMessage = { mqtt           : mqttMessage,
                     sensorhubid    : sensorHubID,
                     sensornumber   : sensorNumber,
                     sensortype     : sensorType,
                     sensorvalue    : sensorValue,
                     updateid       : updateID,
                     data           : Data,
                     cmnddata       : CmndData };
return [mqttMessage,debugMessage];
- Create an “MQTT Out” node. No topic required, it is dynamically set in the function. Connect it to the top “Dot” on the Function node.
- Create an “Debug” node. Connect it to the bottom “Dot” on the Function node.
- The following can be used to create the home assistant sensors
binary_sensor:
  - platform: mqtt
    unique_id: patio_door
    payload_on: 1
    payload_off: 0
    name: "Patio Door"
    state_topic: "SENSORHUB/BLE3/CONTACT"
    device_class: door
    qos: 1
  - platform: mqtt
    unique_id: lounge_motion
    name: "Lounge Room Motion"
    payload_on: 1
    payload_off: 0
    state_topic: "SENSORHUB/BLE4/MOTION"
    device_class: motion
    qos: 1
sensor:
  - platform: mqtt
    unique_id: lounge_motion_battery
    name: "Lounge Room Motion Battery"
    state_topic: "SENSORHUB/BLE4/BATTERY"
    device_class: battery
    qos: 1
  - platform: mqtt
    unique_id: patio_door_battery
    name: "Patio Door Battery"
    state_topic: "SENSORHUB/BLE3/BATTERY"
    device_class: battery
    qos: 1
  - platform: mqtt
    unique_id: lounge_temp
    name: "Lounge Temperature"
    state_topic: "SENSORHUB/BLE7/TEMP"
    device_class: temperature
    unit_of_measurement: "°C"
    qos: 1
  - platform: mqtt
    unique_id: lounge_humidity
    name: "Lounge Humidity"
    state_topic: "SENSORHUB/BLE7/HUMIDITY"
    device_class: humidity
    unit_of_measurement: "%"
    qos: 1
  - platform: mqtt
    unique_id: lounge_temp_battery
    name: "Lounge Temperature Battery"
    state_topic: "SENSORHUB/BLE7/BATTERY"
    device_class: battery
    qos: 1
References: https://www.bunnings.com.au/arlec-grid-connect-smart-home-sensor-kit_p0148570 https://tasmota.github.io/docs/Commands/#setoption66


