


Available from:
Aliexpress.com
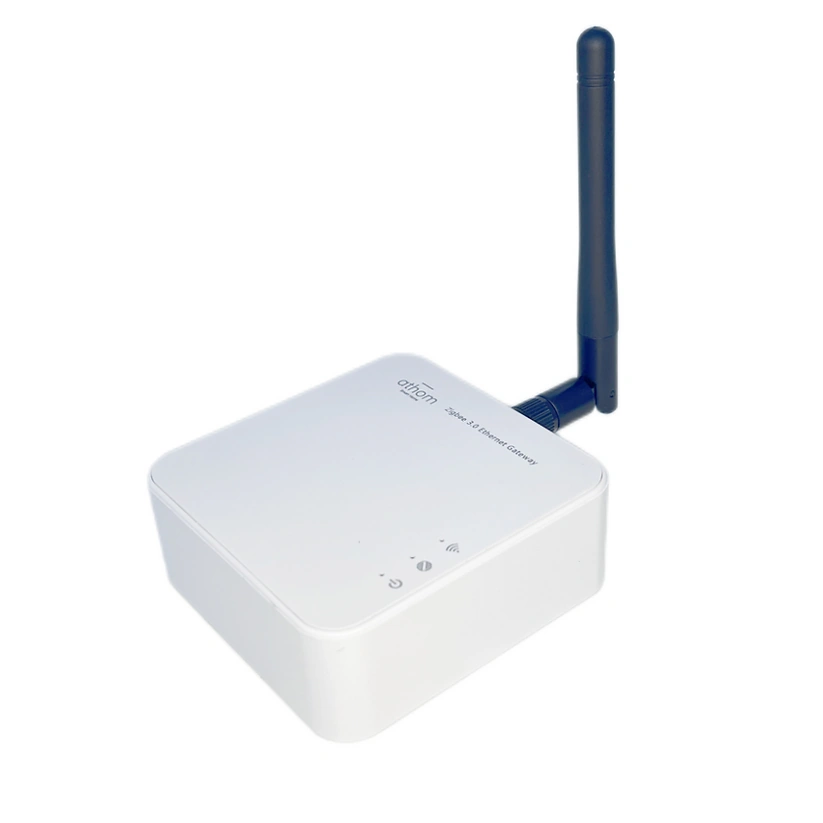
Manufacturer:
Athom.tech
Install method:
Tasmota pre-installed
| GPIO # | Component |
|---|---|
| GPIO00 | Button 1 |
| GPIO01 | None |
| GPIO02 | None |
| GPIO03 | None |
| GPIO04 | None |
| GPIO05 | None |
| GPIO09 | None |
| GPIO10 | None |
| GPIO12 | ??? |
| GPIO13 | None |
| GPIO14 | ??? |
| GPIO15 | LedLink |
| GPIO16 | None |
| GPIO17 | None |
| GPIO18 | ETH MDIO |
| GPIO19 | None |
| GPIO20 | None |
| GPIO21 | None |
| GPIO22 | None |
| GPIO23 | ETH MDC |
| GPIO24 | None |
| GPIO25 | None |
| GPIO26 | None |
| GPIO27 | None |
| GPIO6 | None |
| GPIO7 | None |
| GPIO8 | None |
| GPIO11 | User |
| GPIO32 | Zigbee RST 1 |
| GPIO33 | None |
| GPIO34 | None |
| GPIO35 | None |
| GPIO36 | None |
| GPIO37 | None |
| GPIO38 | None |
| GPIO39 | None |
{"NAME":"Athom ZG01","GPIO":[32,0,0,0,0,0,0,0,5472,0,5504,544,0,0,5600,0,0,0,0,5568,0,0,0,0,0,0,0,1,5792,0,0,0,0,0,0,0],"FLAG":0,"BASE":1}
When flashing ESP32, Connect the data cable Hold the button and flash the Tasmota Release “Tasmota32 Sonoff-ZigbeeBridgePro” to pre-completing all required file and file system changes.
The CC2652P module is pre-installed with the latest firmware of Koenkk by default (20220219)
Working mode switching (TCP and Serial)
The device works in TCP mode by default. If you want to switch to Serial mode, you need to open the shell of the device and turn the switch inside to the position shown in the figure below (close 1, 2, open 3, 4). At this time, the Zigbee module directly communicates with the serial port Connection does not go through ESP32.

For Home Assistant (ZHA or Zigbee2MQTT)
This mode creates a TCP bridge from the zigbee module to Home Assistant or Zigbee2MQTT. In this case Tasmota is only relaying all the messages from the zigbee module and you cannot use any Zigbee commands in Tasmota console in this mode. All setup needs to be done from the Home Assistant ZHA integration or.
After Zigbee firmware is flashed and confirmed working in ZIgbee2Tasmota mode, apply the template:
{"NAME":"Athom Zigbee Bridge","GPIO":[32,0,0,0,0,0,0,0,5472,0,5504,544,0,0,5600,0,0,0,0,5568,0,0,0,0,0,0,0,1,5792,0,0,0,0,0,0,0],"FLAG":0,"BASE":1}
Run the following command to:
- Create a rule in tasmota to start TCPBridge on port 8888 on boot
- Enable the above rule
- Start TCP on port 8888
backlog rule1 on system#boot do TCPStart 8888 endon ; rule1 1 ; TCPStart 8888
You can change
8888to a port you prefer.
Connecting to Home Assistant with ZHA
In Home Assistant (requires version 0.113+) go to Configuration - Integrations, click the + icon, search for ZHA integration and select it.

- for Radio Type choose “ZNP”
- choose “software” for ‘data flow control’
- under “Serial device path” enter
socket://[athomzbbrdg_ip]:8888replacing[athomzbbrdg_ip]with its IP address. Do not use hostnames.- if you changed the port number use yours
- ensure port speed is set to “115200”
- when the athomzbbrdg is discovered you will get a confirmation message

Connecting to Home Assistant OS with Zigbee2MQTT
This assumes you already have a basic knowledge of installing custom addons in HAOS, MQTT and have an MQTT broker already configured within Home Assistant OS.
- Install Zigbee2MQTT Add On by adding the custom github repository.
- Add the following line to the Configuration > Options > Serial text field.
- replace
[athomzbbrdg_ip]with its IP address - if you changed the port number use the configured port
port: tcp://[athomzbbrdg_ip]:8888
- For serial (USB) rather than network communication, [serial_id] needs to be replaced

port: [serial_id]
- replace
Connecting to a separate Zigbee2MQTT installation may require further setup.