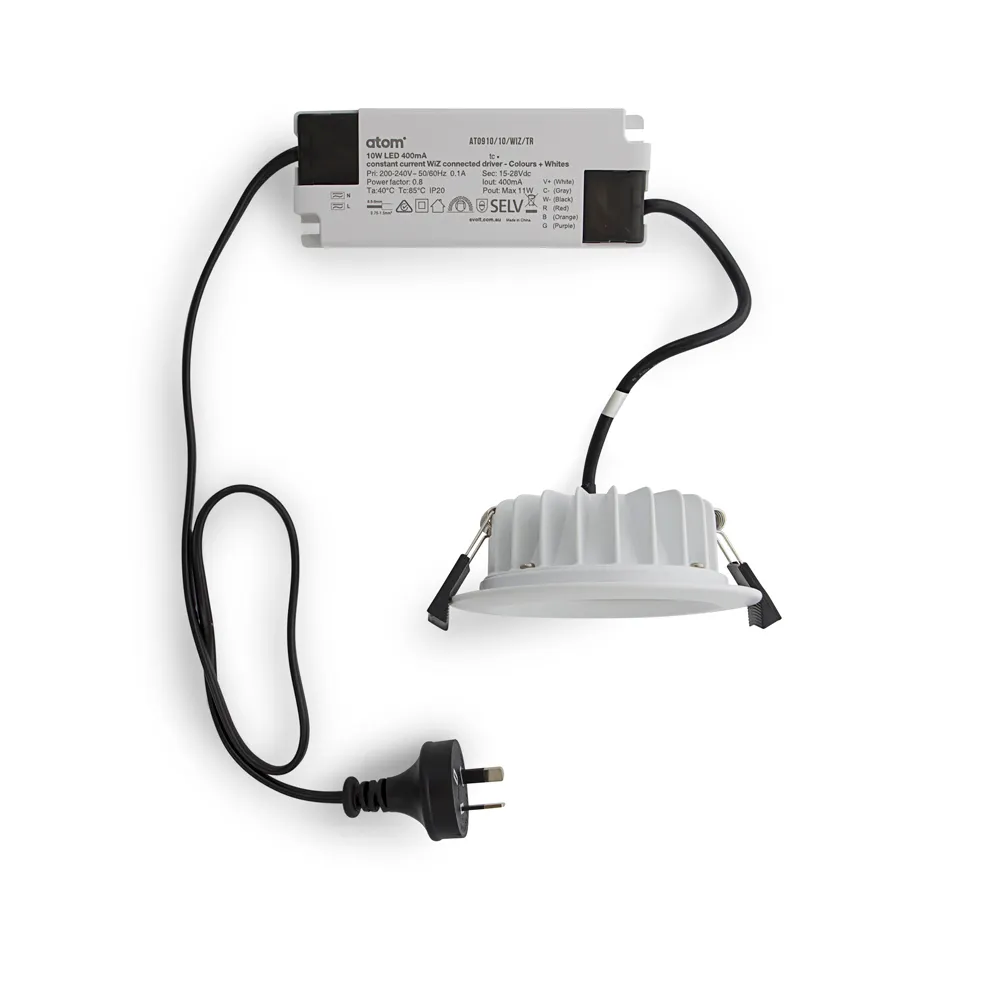
Atom 10W RGBCCT Downlight (AT9017)

Available from:
Jdlighting.com.au
Manufacturer:
Atomlighting.com.au
Install method:
USB to Serial
| GPIO # | Component |
|---|---|
| GPIO00 | None |
| GPIO01 | None |
| GPIO02 | PWM 5 |
| GPIO03 | None |
| GPIO04 | PWM 4 |
| GPIO05 | None |
| GPIO09 | None |
| GPIO10 | None |
| GPIO12 | None |
| GPIO13 | None |
| GPIO14 | None |
| GPIO15 | None |
| GPIO16 | None |
| GPIO17 | None |
| GPIO18 | None |
| GPIO19 | None |
| GPIO20 | None |
| GPIO21 | None |
| GPIO22 | None |
| GPIO23 | None |
| GPIO24 | None |
| GPIO25 | PWM 1 |
| GPIO26 | PWM 2 |
| GPIO27 | PWM 3 |
| GPIO6 | None |
| GPIO7 | None |
| GPIO8 | None |
| GPIO11 | None |
| GPIO32 | None |
| GPIO33 | None |
| GPIO34 | None |
| GPIO35 | None |
| GPIO36 | None |
| GPIO37 | None |
| GPIO38 | None |
| GPIO39 | None |
Configuration for ESP32
{"NAME":"Atom AT9017/WH/WIZ/TR","GPIO":[0,0,420,0,419,0,0,0,0,0,0,0,0,0,0,0,0,0,0,0,0,416,417,418,0,0,0,0,0,0,0,0,0,0,0,0],"FLAG":0,"BASE":1}Daughter board located on transformer.
Remove daughter board and along side the pins on the top right are solder points which correspond from left to right, GND, Vcc, RX, TX, GPIO0.
Flashed successfully using instructions at https://tasmota.github.io/docs/ESP32/


