


Available from:
Bazzsmarthome.ca
Manufacturer:
Bazzsmarthome.ca
Install method:
USB to Serial
| GPIO # | Component |
|---|---|
| GPIO00 | None |
| GPIO01 | None |
| GPIO02 | None |
| GPIO03 | None |
| GPIO04 | None |
| GPIO05 | None |
| GPIO09 | None |
| GPIO10 | None |
| GPIO12 | None |
| GPIO13 | None |
| GPIO14 | None |
| GPIO15 | None |
| GPIO16 | None |
| GPIO17 | None |
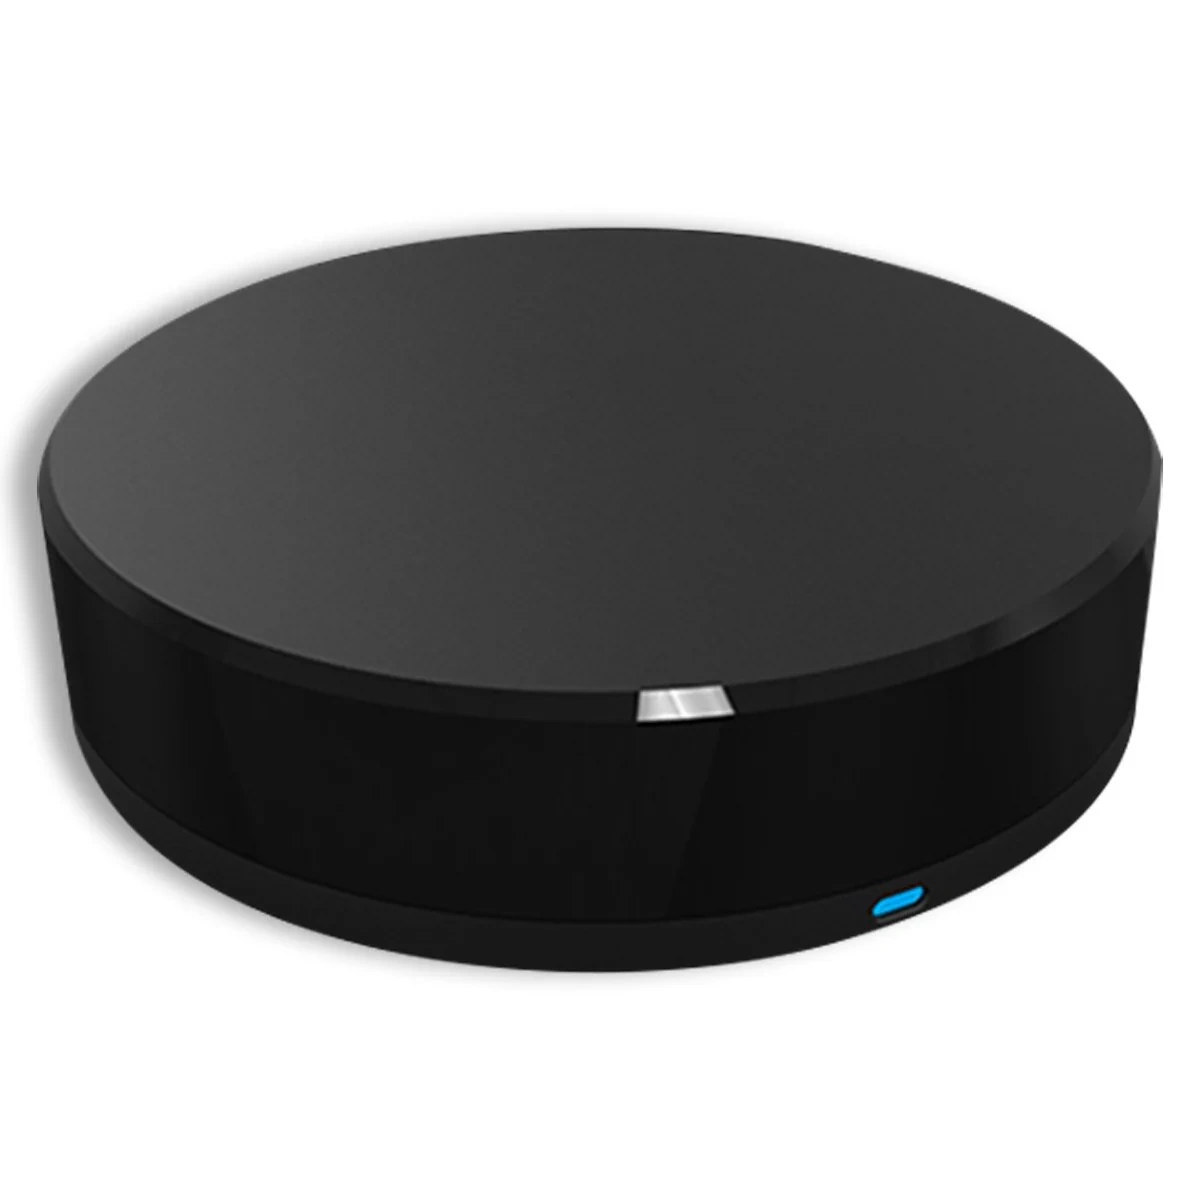
{"NAME":"Tuya IR","GPIO":[0,0,0,0,0,0,0,0,0,0,0,0,0,0],"FLAG":0,"BASE":54}Tuya IR Blaster — Full Local Control via Tasmota (No Cloud)
Device: IRREMOTEWFBK | Module: TYWE3S (1MB) | Baud: 9600
Tested and working as of March 2026. This guide covers flashing Tasmota, capturing IR codes locally, replaying them, and integrating with Home Assistant via MQTT — zero Tuya cloud involved.
Background
This device uses a dedicated IR MCU that handles all IR transmission and reception. The TYWE3S WiFi module communicates with the IR MCU over UART at 9600 baud using the standard Tuya serial protocol (55 AA framing). The key insight is that the WiFi module does NOT drive the IR LEDs directly — it just passes commands to the MCU. This means Tasmota IR firmware won’t help here; we use standard Tasmota with raw serial commands instead.
Hardware
- WiFi Module: TYWE3S (ESP8266, 1MB flash)
- IR MCU: Dedicated on-board microcontroller
- UART: 9600 baud, 8N1
- Protocol: Tuya MCU serial (55 AA framing)
Key DP assignments discovered by sniffing:
| DP | Name | Type | Direction | Purpose |
|---|---|---|---|---|
| 1 | control | enum | rw | 0=send_ir, 1=study, 2=study_exit, 3=study_key |
| 2 | ir_code | raw | rw | IR code data (used for reporting learned code) |
| 7 | key_code | raw | rw | IR code to transmit (this is the one that works!) |
Step 1 — Flash Tasmota
The TYWE3S is 1MB so use tasmota-lite.bin (not full tasmota).
Flash via your preferred method (Tasmotizer, esptool, etc.) — standard ESP8266 flashing procedure applies.
Step 2 — Tasmota Initial Setup
Connect to Tasmota WiFi AP, configure your network. Then in the Tasmota console:
Set the template for TuyaMCU
Backlog Template {""NAME"":""Tuya IR"",""GPIO"":[0,0,0,0,0,0,0,0,0,0,0,0,0],""FLAG"":0,""BASE"":54}; Module 0
Base 54 = TuyaMCU generic.
Set baud rate to 9600
Baudrate 9600
Enable TuyaReceived reporting (to see captured codes in console)
SetOption66 1
Set MQTT (replace with your details)
Backlog MqttHost 192.168.1.x; MqttUser youruser; MqttPassword yourpass; Topic irblaster
Step 3 — Capturing IR Codes
This is how you learn a new IR code from any remote, entirely locally.
Enter study mode
SerialSend5 55AA000600050104000101 11
The red LED on the device will light up indicating it is ready to learn.
Point your remote at the blaster and press the button you want to capture
Watch the Tasmota console for TuyaReceived output like this:
TuyaReceived: {""DpType0Id2"":""0xABCD1234..."",""2"":{""DpId"":2,""DpIdData"":""ABCD1234...""}}
Copy the hex string from DpIdData — that is your IR code
Exit study mode
SerialSend5 55AA000600050104000102 12
Step 4 — Building the Send Command
The IR code must be wrapped in a Tuya serial packet targeting DP7 with cmd 06.
Use this Python helper to calculate the correct packet and checksum:
def build_ir_command(hex_code):
    code = bytes.fromhex(hex_code.strip().replace(' ', '').replace('0x', ''))
    payload = bytes([0x07, 0x00]) + len(code).to_bytes(2, 'big') + code
    header = bytes([0x55, 0xAA, 0x00, 0x06]) + len(payload).to_bytes(2, 'big')
    pkt = header + payload
    pkt += bytes([sum(pkt) & 0xFF])
    return pkt.hex().upper()

# Paste your DpIdData hex here
code = ""ABCD1234...""
print(""SerialSend5 "" + build_ir_command(code))
Step 5 — Sending IR Codes
Paste the output of the Python helper directly into the Tasmota console:
SerialSend5 55AA000600540700005036 3E91344C55FDE6...B6
The red LED will briefly flash and the target device will respond.
Important: Only the DP7 raw packet is needed. You do NOT need to separately send DP1 send_ir first — the MCU fires immediately when it receives the DP7 packet.
Step 6 — Home Assistant Integration via MQTT
configuration.yaml
mqtt:
  button:
    - name: ""Fireplace On""
      command_topic: ""cmnd/irblaster/SerialSend5""
      payload_press: ""55AA000600540700005036 3E91344C...B6""

    - name: ""TV Volume Up""
      command_topic: ""cmnd/irblaster/SerialSend5""
      payload_press: ""55AA00060054070000504EF14F...XX""

    - name: ""TV Power""
      command_topic: ""cmnd/irblaster/SerialSend5""
      payload_press: ""55AA00060054070000509735F9...XX""
Lovelace button card
type: entities
title: IR Blaster
entities:
  - type: button
    name: Fireplace On
    action_name: Send
    tap_action:
      action: call-service
      service: button.press
      target:
        entity_id: button.fireplace_on
Packet Reference
Tuya serial frame format
55 AA [ver] [cmd] [len_h] [len_l] [data...] [checksum]
| Field | Value | Notes |
|---|---|---|
| Header | 55 AA | Always |
| Version | 00 | Module→MCU direction |
| Cmd | 06 | SetDP (module pushing to MCU) |
| Cmd | 07 | State (MCU reporting to module) |
| Checksum | sum of all bytes mod 256 |
Study mode ON
55 AA 00 06 00 05 01 04 00 01 01 11
Study mode OFF
55 AA 00 06 00 05 01 04 00 01 02 12
Heartbeat
55 AA 00 00 00 00 FF
Send IR code (DP7, 80 bytes example)
55 AA 00 06 00 54 07 00 00 50 [80 bytes of IR code] [checksum]
Tools Used
- TuyaMCU Explorer/Analyzer (Elektroda.com) — invaluable for sniffing the UART traffic and decoding packets in real time
- Tasmota (tasmota-lite.bin for 1MB devices)
- Python for checksum calculation and packet building
- Waveshare USB-Serial adapter for initial sniffing
Notes
- Baud rate is 9600
- IR codes land on DP2 in TuyaReceived but must be sent on DP7 — different DPs for receive vs transmit
- The dedicated IR MCU handles all timing — Tasmota just passes the raw code blob through
- TuyaSend5/TuyaSend6 Tasmota commands do NOT work reliably for this device — use SerialSend5 with manually built packets only
- Each button press during study captures one code — repeat for every button you want to control