


Available from:
Amazon.de
Manufacturer:
Chilitec.de
Install method:
USB to Serial
| GPIO # | Component |
|---|---|
| GPIO00 | None |
| GPIO01 | None |
| GPIO02 | None |
| GPIO03 | None |
| GPIO04 | None |
| GPIO05 | Relay 1 |
| GPIO09 | None |
| GPIO10 | None |
| GPIO12 | None |
| GPIO13 | Led 1 |
| GPIO14 | Button 1 |
| GPIO15 | None |
| GPIO16 | None |
| GPIO17 | None |
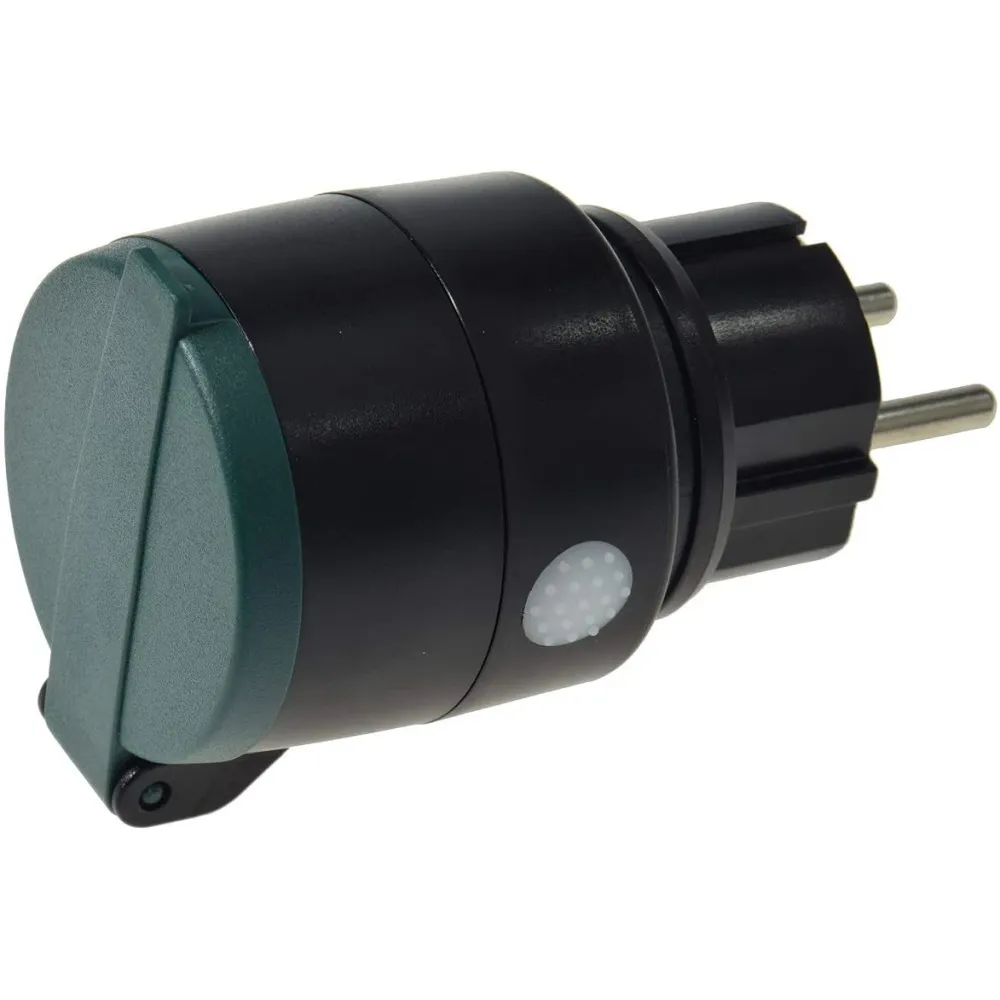
{"NAME":"Outdoor IP44","GPIO":[0,0,0,0,0,224,0,0,0,288,32,0,0,0],"FLAG":0,"BASE":18}Trying with tuya-convert was unsuccessful, as the device does not seem to be based on Tuya code. Main PCB is labeled as ““RisingSun RS-WIFI06””, a smaller PCB housing an ESP8285 is labeled ““RS-WIFI-03””. To flash the ESP8285, a complete disassembly of the outlet is required. Unscrew the earthing and pull apart both parts of the outlet.
On the front side of the small PCB (ESP facing upwards), the connections are as follows (left to right):
- GPIO 12 (was soldered, but not connected to anything?)
- GPIO 2
- GPIO 4
- GPIO 10 (?)
- GPIO 5 (connected to relay)
On the back of the small PCB (ESP facing downward), the connections are as follows:
- 3,3V
- GND
- GPIO 9
- GPIO 0
- GPIO 13 (connected to LED)
- GPIO 14 (connected to button, active low; also the RF output is connected to this pin)
To flash the ESP8285, you also need to connect the two connectors on the small PCB’s back. When it’s positioned with antenna to the top, the top connector is TX, the bottom one RX.
As I do not have a matching RF remote I did not try it, but as far as I can tell from the PCB layout some RF chip seems to be connected to the same pin as the button is, so no special configuration should be required in Tasmota.