


Available from:
Amazon.co.uk
Bol.com
Idealo.de
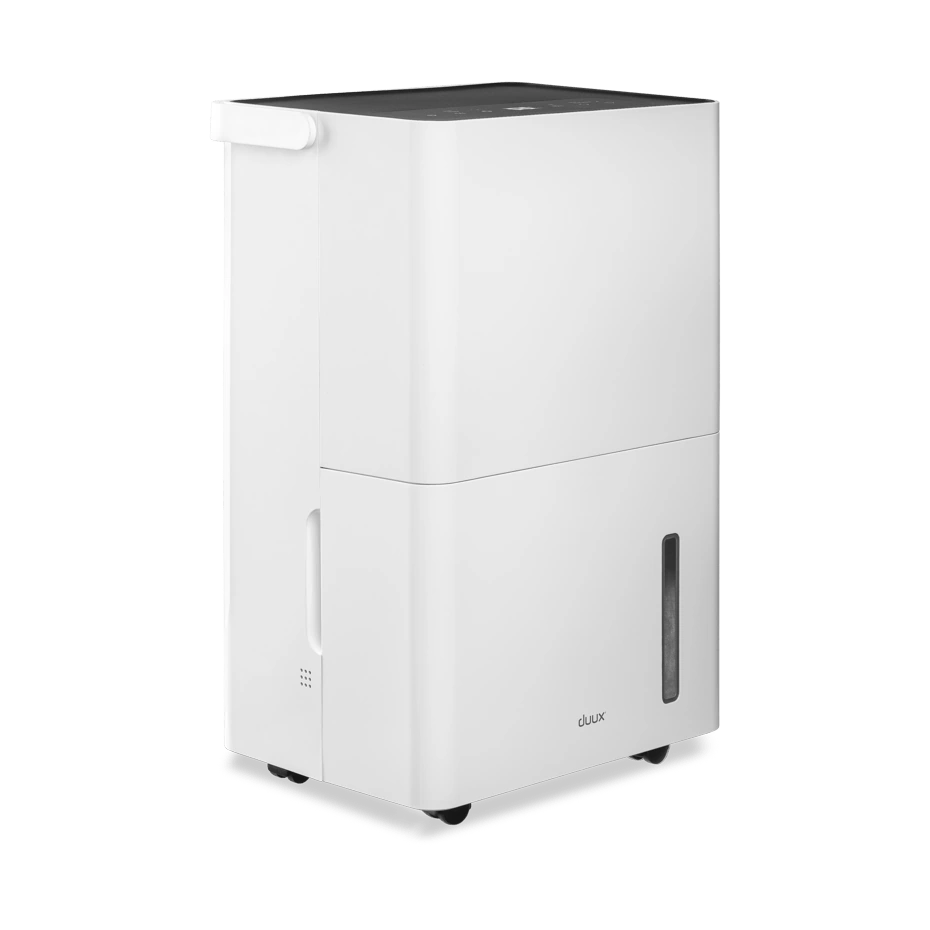
Manufacturer:
Duux.com
Install method:
USB to Serial
| GPIO # | Component |
|---|---|
| GPIO00 | None |
| GPIO01 | None |
| GPIO02 | None |
| GPIO03 | None |
| GPIO04 | None |
| GPIO05 | None |
| GPIO09 | None |
| GPIO10 | None |
| GPIO12 | None |
| GPIO13 | Tuya Rx |
| GPIO14 | None |
| GPIO15 | Tuya Tx |
| GPIO16 | None |
| GPIO17 | None |
{"NAME":"Duux Bora","GPIO":[0,0,0,0,0,0,0,0,0,2304,0,2272,0,0],"FLAG":0,"BASE":54,"CMND":"TuyaMCU 11,1 | TuyaMCU 73,3 | TuyaMCU 74,4 | TuyaMCU 12,5 | TuyaMCU 13,7 | TuyaMCU 81,13 | TuyaMCU 14,101 | HumRes 0"}Configuration
Backlog TuyaMCU 11,1; TuyaMCU 73,3; TuyaMCU 74,4; TuyaMCU 12,5; TuyaMCU 13,7; TuyaMCU 81,13; TuyaMCU 14,101; HumRes 0;
Disassembly
The esp8266 (newer units use ESP32-D0WD-V3 but procedure is the same) is mounted in a small case behind the front of the unit (hidden). To disassemble the unit remove all visible screws including those behind the water tank when removed. The 2 halves (front and back) are held together by 2 hidden screws behind the top control panel. To gain access to them remove the top carrying handle. This can be done by carefully aligning it slightly forward (there is a small notch in the handle carrier and once you find the spot you can easily pull the side of the handle and it will come right off). Dont use too much force. Once the carrying handle is removed you can see the screws but still wont be able to reach them. For this you have to remove the top control panel. The panel is hold in place by latches. To release these you have to slightly push against the panel to lift it up from the newly gained holes untill it comes off - best to start by the corners. Once the panel is out you will have access to the 2 screws, remove them. Now remove the front halve of the case. There is a small black case mounted just below the fan. Remove the 2 screws so you can unmount it. Inside the case is the esp8266/esp32.
Flashing
To flash the pcb board use the solder pads on the back and connect as follows: P10 to TX (on your adapter) P11 to RX P13 (GPIO) must be bridged to GND on bootup (use P3 for example)
Functions
dpID 1Booleancontrols device power - turns the device on/offdpID 2Enumsets mode.0auto1Purify Only.
dpID 3Integercurrent humiditydpID 4Integertarget humiditydpID 5BooleannightmodedpID 6Enumfan speed0level II1level I
dpID 7BooleanchildlockdpID 8Booleanhas no effectdpID 11Enumtank error0x00tank empty0x08tank full
dpID 12Enumtimer 0-24 hoursdpID 13Integerremaining time in minutesdpID 101Booleancleaning modedpID 102Enumhas no effect.
Rules
Rule1 on system#boot do ruletimer 200 endon
on rules#timer=1 do backlog event fix; ruletimer 3600 endon
on event#fix do backlog serialsend5 55aa0008000007; serialsend5 55aa000300010205; serialsend5 55aa000300010306; tuyasend8 endon