


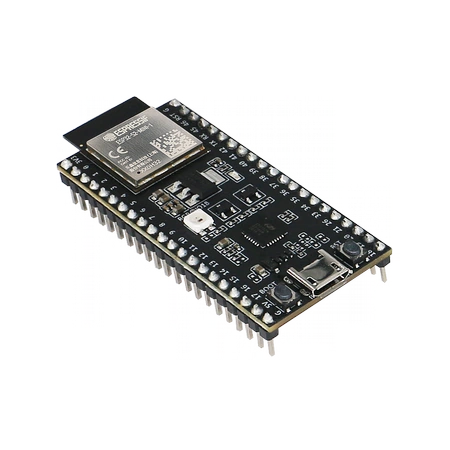
Espressif ESP32-S2-DevKitM-1 Development Board (ESP32-S2-DevKitM-1)
Available from:
Aliexpress.com
Dfrobot.com
Manufacturer:
Docs.espressif.com
Install method:
USB to Serial
| GPIO # | Component |
|---|---|
| GPIO00 | Button 1 |
| GPIO01 | User |
| GPIO02 | User |
| GPIO03 | User |
| GPIO04 | User |
| GPIO05 | User |
| GPIO06 | User |
| GPIO07 | User |
| GPIO08 | User |
| GPIO09 | User |
| GPIO10 | User |
| GPIO11 | User |
| GPIO12 | User |
| GPIO13 | User |
| GPIO14 | User |
| GPIO15 | User |
| GPIO16 | User |
| GPIO17 | User |
| GPIO18 | WS2812 1 |
| GPIO19 | None |
| GPIO20 | None |
| GPIO21 | User |
| GPIO33 | User |
| GPIO34 | User |
| GPIO35 | User |
| GPIO36 | User |
| GPIO37 | User |
| GPIO38 | User |
| GPIO39 | User |
| GPIO40 | User |
| GPIO41 | User |
| GPIO42 | User |
| GPIO43 | None |
| GPIO44 | None |
| GPIO45 | User |
| GPIO46 | User |
Configuration for ESP32-S2
{"NAME":"ESP32-S2 DevKitM-1","GPIO":[32,1,1,1,1,1,1,1,1,1,1,1,1,1,1,1,1,1,1376,0,0,1,1,1,1,1,1,1,1,1,1,1,0,0,1,1],"FLAG":0,"BASE":1}Auto-configuration
After flashing Tasmota, open the web UI of the device and navigate to Configuration -> Auto-configuration. Select your device from the drop-down and click Apply Configuration.The device will restart and will be automagically configured.