


Available from:
Amazon.com
Aliexpress.com
Aliexpress.com
Manufacturer:
Github.com
Install method:
USB to Serial
| GPIO # | Component |
|---|---|
| GPIO00 | None |
| GPIO01 | Switch 1 |
| GPIO02 | None |
| GPIO03 | None |
| GPIO04 | ST7789 DC |
| GPIO05 | ST7789 CS |
| GPIO06 | SSPI MOSI |
| GPIO07 | SSPI SCLK |
| GPIO08 | I2C SDA 1 |
| GPIO09 | User |
| GPIO10 | User |
| GPIO11 | User |
| GPIO12 | User |
| GPIO13 | User |
| GPIO14 | User |
| GPIO15 | None |
| GPIO16 | None |
| GPIO17 | None |
| GPIO18 | I2C SCL 1 |
| GPIO19 | User |
| GPIO20 | User |
| GPIO21 | User |
| GPIO33 | None |
| GPIO34 | None |
| GPIO35 | None |
| GPIO36 | None |
| GPIO37 | None |
| GPIO38 | User |
| GPIO39 | User |
| GPIO40 | User |
| GPIO41 | User |
| GPIO42 | User |
| GPIO43 | User |
| GPIO44 | User |
| GPIO45 | BkLight |
| GPIO46 | None |
| GPIO47 | None |
| GPIO48 | OLED Reset |
{"NAME":"ESP-S3-BOX","GPIO":[0,160,0,0,6624,6592,864,896,640,1,1,1,1,1,1,0,0,0,608,1,1,1,0,0,0,0,0,1,1,1,1,1,1,1,992,0,0,1024],"FLAG":0,"BASE":1}Flashing
Flash using Tasmota Web Installer and select tasmota32s3-lvgl option.For esptool.py download f.e.
tasmota32s3-lvgl.factory.bin
and run esptool.py write_flash 0x0 tasmota32s3-lvgl.factory.bin.
Auto-configuration
After flashing Tasmota, open the web UI of the device and navigate to Configuration -> Auto-configuration. Select your device from the drop-down and click Apply Configuration.The device will restart and will be automagically configured.
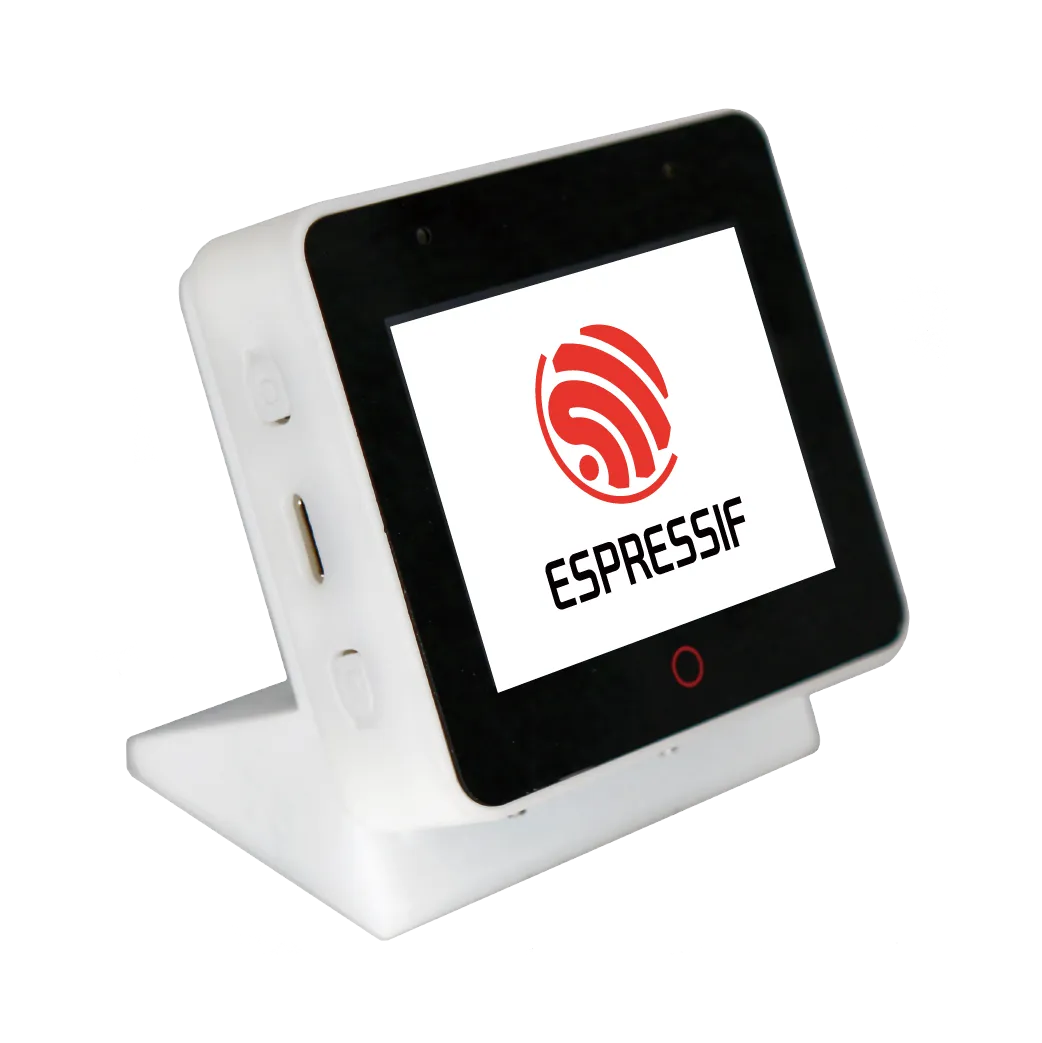
An IoT development platform from Espressif, primarily intended for use with Espressif’s ESP-IDF, but will work with Tasmota.
Uses an ESP32-S3-WROOM-1-N16R8 module with 16 MB flash and 8 MB PSRAM.
When the board is booted into debug by holding BOOT and pressing the RESET button the USB-Serial chip on the “UART” USB port exposes a serial connection. This can be used to easily flash new firmware.
Display Setup
Setting up the display requires a few console commands in addition to the template settings:
DisplayHeight 240
DisplayWidth 320
Device Notes

Peripherals
- “Mute” on/off button
- On
GPIO2(configured asSwitch 1)
- On
- 2x Microphone w/ microphone ADC (
ES7210) - Speaker w/ speaker DAC (
ES8311)- I2S may work with Berry’s GPIO module but neither the ADC nor DAC’s I2C controls are supported by Tasmota at the moment.
- 6-axis IMU (
ICM-42607-P)- On I2C, not supported by Tasmota.
Pin assignment reference: https://github.com/espressif/esp-box/blob/master/components/bsp/src/boards/esp32_s3_box.c