


Available from:
Amazon.com
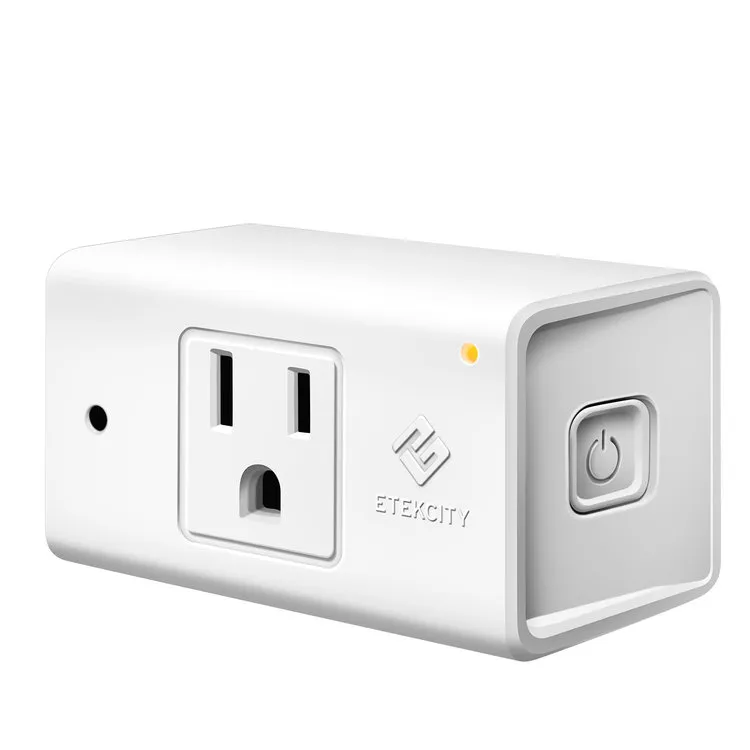
Amazon.com
Manufacturer:
Etekcity.com
Install method:
USB to Serial
| GPIO # | Component |
|---|---|
| GPIO00 | None |
| GPIO01 | None |
| GPIO02 | None |
| GPIO03 | None |
| GPIO04 | PWM 1 |
| GPIO05 | Relay 1 |
| GPIO09 | None |
| GPIO10 | None |
| GPIO12 | HLWBL CF1 |
| GPIO13 | HLW8012 CF |
| GPIO14 | Button 1 |
| GPIO15 | HLWBL SEL |
| GPIO16 | LedLink |
| GPIO17 | ADC Input 1 |
{"NAME":"ESW15-USA","GPIO":[0,0,0,0,416,224,0,0,2656,2688,32,2592,544,4704],"FLAG":0,"BASE":18}Flashing New Firmware
1. Connect The Device To A USB Serial Converter
Using the table below as a guide, connect each pin of a USB serial converter to its corresponding test pad on the PCB.
| USB serial converter | Smart Outlet Test Pad |
|---|---|
| RX / RXD | TX |
| TX / TXD | RX |
| GND | GND |
| VCC | 3.3v |
| GND | IO0 (looks like 100) |
NOTE: The IO0 test pad on the PCB might look like the number 100. This pad is connected to GPIO0 on the ESP-01F. When pulled low (grounded) during power on, it will put the ESP module into Flash Mode. You can either connect this to the GND pin of the USB serial converter or the GND test pad on the device. You will need to disconnect this pad from ground for the device to boot normally. If you want to test the firmware before reassembling the plug, wire this in such a way that you can easily detach it from ground.
2. Boot Into Flash Mode
When an ESP module is powered on normally, it will start executing the installed firmware. The ESP module needs to be put into Flash Mode before its firmware can be erased, read, or written to.
Follow the steps below to boot the ESP module into Flash Mode:
- With all the other pins correctly connected to the USB serial converter, disconnect the 5V VCC wire and plug the USB serial converter into a USB port on a computer.
- Ensure the IO0 pin is pulled low (connected to any ground source) before proceeding.
- Plug the VCC wire back into the USB serial converter. The device should boot into Flash Mode, usually indicated by the indicator LED lighting up solid blue.
- Determine the COM port that the USB serial converter is attached to on the computer, and proceed by either backing up the firmware or flashing new firmware to the device.
3. Firmware Backup (optional)
If you want to make a backup of the OEM firmware so you can reflash it later for any reason, follow the steps below.
⚠ SECURITY WARNING: If the device is already set up, this procedure will also include any specific configurations, such as Wi-Fi credentials. You may want to factory reset the device and back up a clean version of the firmware as well if you plan on reselling this item in the future. Additional documentation on how to use esptool can be found here.
Follow the steps below to back up the firmware currently installed on the ESP module.
- Download the latest esptool release for your operating system from GitHub.
- Extract it and open a terminal in the folder where esptool is located.
- With the ESP module booted into Flash Mode, run the following commands to back up or restore the firmware.
NOTE: The following command examples assume you are using a Windows computer with PowerShell and the USB serial converter is attached to COM3.
Backup Firmware
.\esptool.exe -b 115200 --port COM3 read_flash 0 ALL Etekcity_Voltson_etekcity-ESW15-USA.bin
Restore Firmware
.\esptool.exe -b 115200 --port COM3 write_flash 0 Etekcity_Voltson_etekcity-ESW15-USA.bin
4. Flashing Tasmota
You can use this official site to flash Tasmota to your device.
- With the ESP module booted into Flash Mode, connect to the device and flash Tasmota to the device ( e.g., Tasmota (english) ).
- Once the installation is successful, disconnect the VCC wire from the USB serial converter to power off the device.
- Disconnect the IO0 test pad from GND so that the device will no longer boot into Flash Mode when powered on.
- Plug the VCC wire back into the USB serial converter. The device should now boot normally.
- You should now see a new Wi-Fi signal with an SSID that includes “tasmota”. Connect to this and use the captive portal to configure the Wi-Fi.
- Once configured, the device will get an IP via the DHCP server on the network, and its web portal will be accessible.
NOTE: The PWM output for the night light on the device will seem glitchy when powered only via the 3.3V. Once the plug is connected to an outlet, the night light will behave normally.