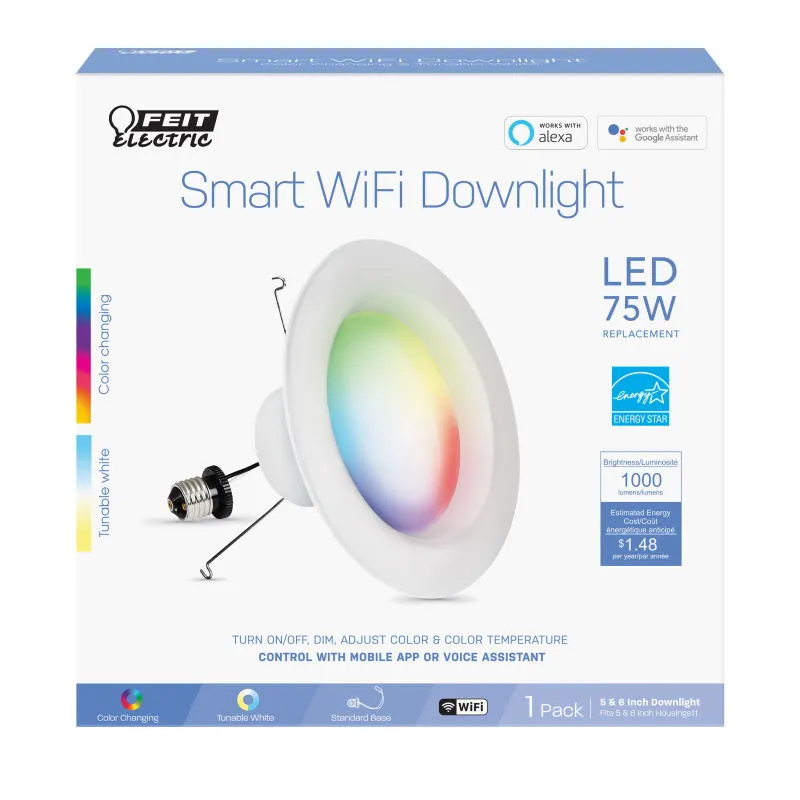
Available from:
Amazon.com
Manufacturer:
Feit.com
Install method:
Tuya-Convert
| GPIO # | Component |
|---|---|
| GPIO00 | None |
| GPIO01 | None |
| GPIO02 | None |
| GPIO03 | None |
| GPIO04 | PWM1 |
| GPIO05 | PWM4 |
| GPIO09 | None |
| GPIO10 | None |
| GPIO12 | PWM2 |
| GPIO13 | PWM5i |
| GPIO14 | PWM3 |
| GPIO15 | None |
| GPIO16 | None |
| FLAG | None |
{"NAME":"Feit LEDR6/RGB","GPIO":[0,0,0,0,37,40,0,0,38,50,39,0,0],"FLAG":0,"BASE":48}This device now comes with a Wi-Fi module incompatible with Tasmota
WARNING: New Tuya devices have replaced their Wi-Fi module with one incompatible with Tasmota!!!Tuya-Convert might not be possible for this device since the template was added (2020-04-14).
You will need to fast-powercycle it twice to get it into fast flash mode. I power cycled it 5 times, and it did a slow flash (every 2sec), then power cycled it again 5 more times, and it does a fast flash (every half second) for tuya-convert.
These have started to use the new unflashable chips. Check the bottom of the box near the UPC code. In my case I found that any light with “C2020 Feit Electric, Rev. 100820F-17” used the new Tuya chip which cannot be flashed with Tasmota. An older light with “C2019” on it did have an ESP8266, but could not be flashed with Tuya Convert, I had to open it. A strong suction cup is able to pull the plastic diffuser off or a very thin and strong flat blade screw driver can pop it off. Once the diffuser is off there are just three screws and the light comes apart. I found it was easiest to use an crocodile clip connected to the shield on the ESP8266 for the ground connection, rather then trying to solder a wire to the ground pin.
Be careful when reassembling the light as its very easy to push too hard and break off the pin holders on the LED board. I’d suggest using tweezers to push down on the plastic as you push the power board back in after flashing.


