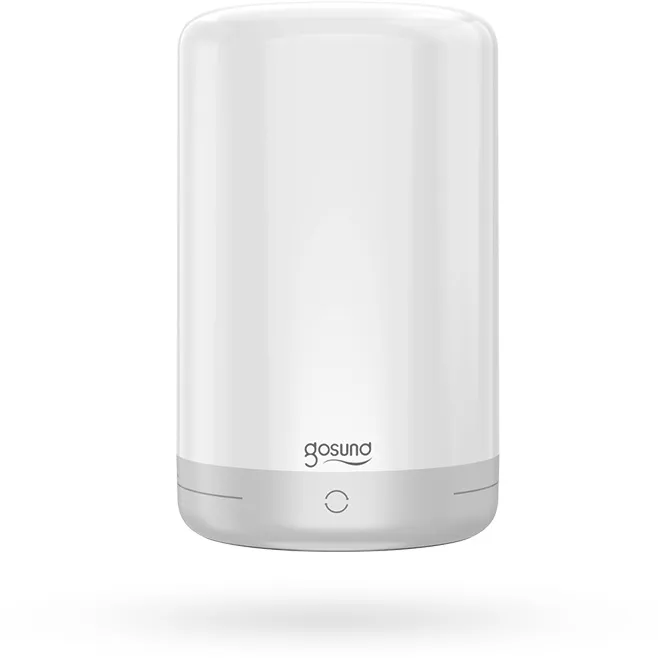
Available from:
Amazon.com
Idealo.de
Alza.de
Manufacturer:
Alibaba.com
Install method:
USB to Serial
| GPIO # | Component |
|---|---|
| GPIO00 | None |
| GPIO01 | None |
| GPIO02 | None |
| GPIO03 | None |
| GPIO04 | None |
| GPIO05 | PWM 3 |
| GPIO09 | None |
| GPIO10 | None |
| GPIO12 | PWM 2 |
| GPIO13 | PWM 4 |
| GPIO14 | None |
| GPIO15 | PWM 1 |
| GPIO16 | None |
| GPIO17 | None |
{"NAME":"Gosund LB3","GPIO":[0,0,0,0,0,418,0,0,417,419,0,416,0,0],"FLAG":0,"BASE":18}Comes under other brands: Nitebird, GHome, etc…
Serial flashing requires soldering wires to the board. All pads are labeled (gold on white)
Please note, this template currently only allows control of the lights, it does not yet have access to the i2c based touch buttons (anyone want to help?)
While this appears to be a Tuya based device, as of 9 January 2022, it was possible to manually flash the device. You will need a triangular screwdriver size TA2.3. There are 4 screws in the bottom, hidden under the rubber feet.
Once unscrewed, very carefully open the the small bottom section. There are thin film switches connected between the bottom case and the control board. (take a photo of where everything connects) The black part of the connector pulls straight out (gently) and then the wiring ribbon can come out. You can do this for all three connectors. Gently remove the board from the bottom of the light, be mindful of the two plastic retaining clips. The flashing pads are on the other side of the board. I attempted to use a flashing harness and ended up having to solder wires to the pads. Once connected, everything quickly flashed to the latest Tasmota.
After flashing, in the console, run the below commands to set the color gamut, disable auto power on, and add virtual warm color handling
Backlog RGBWWTable 255,100,30,95,0; SetOption20 1; SetOption106 1
This is based off of the post by and work done by jkolczasty in the esphome forum. https://github.com/esphome/feature-requests/issues/1096


