


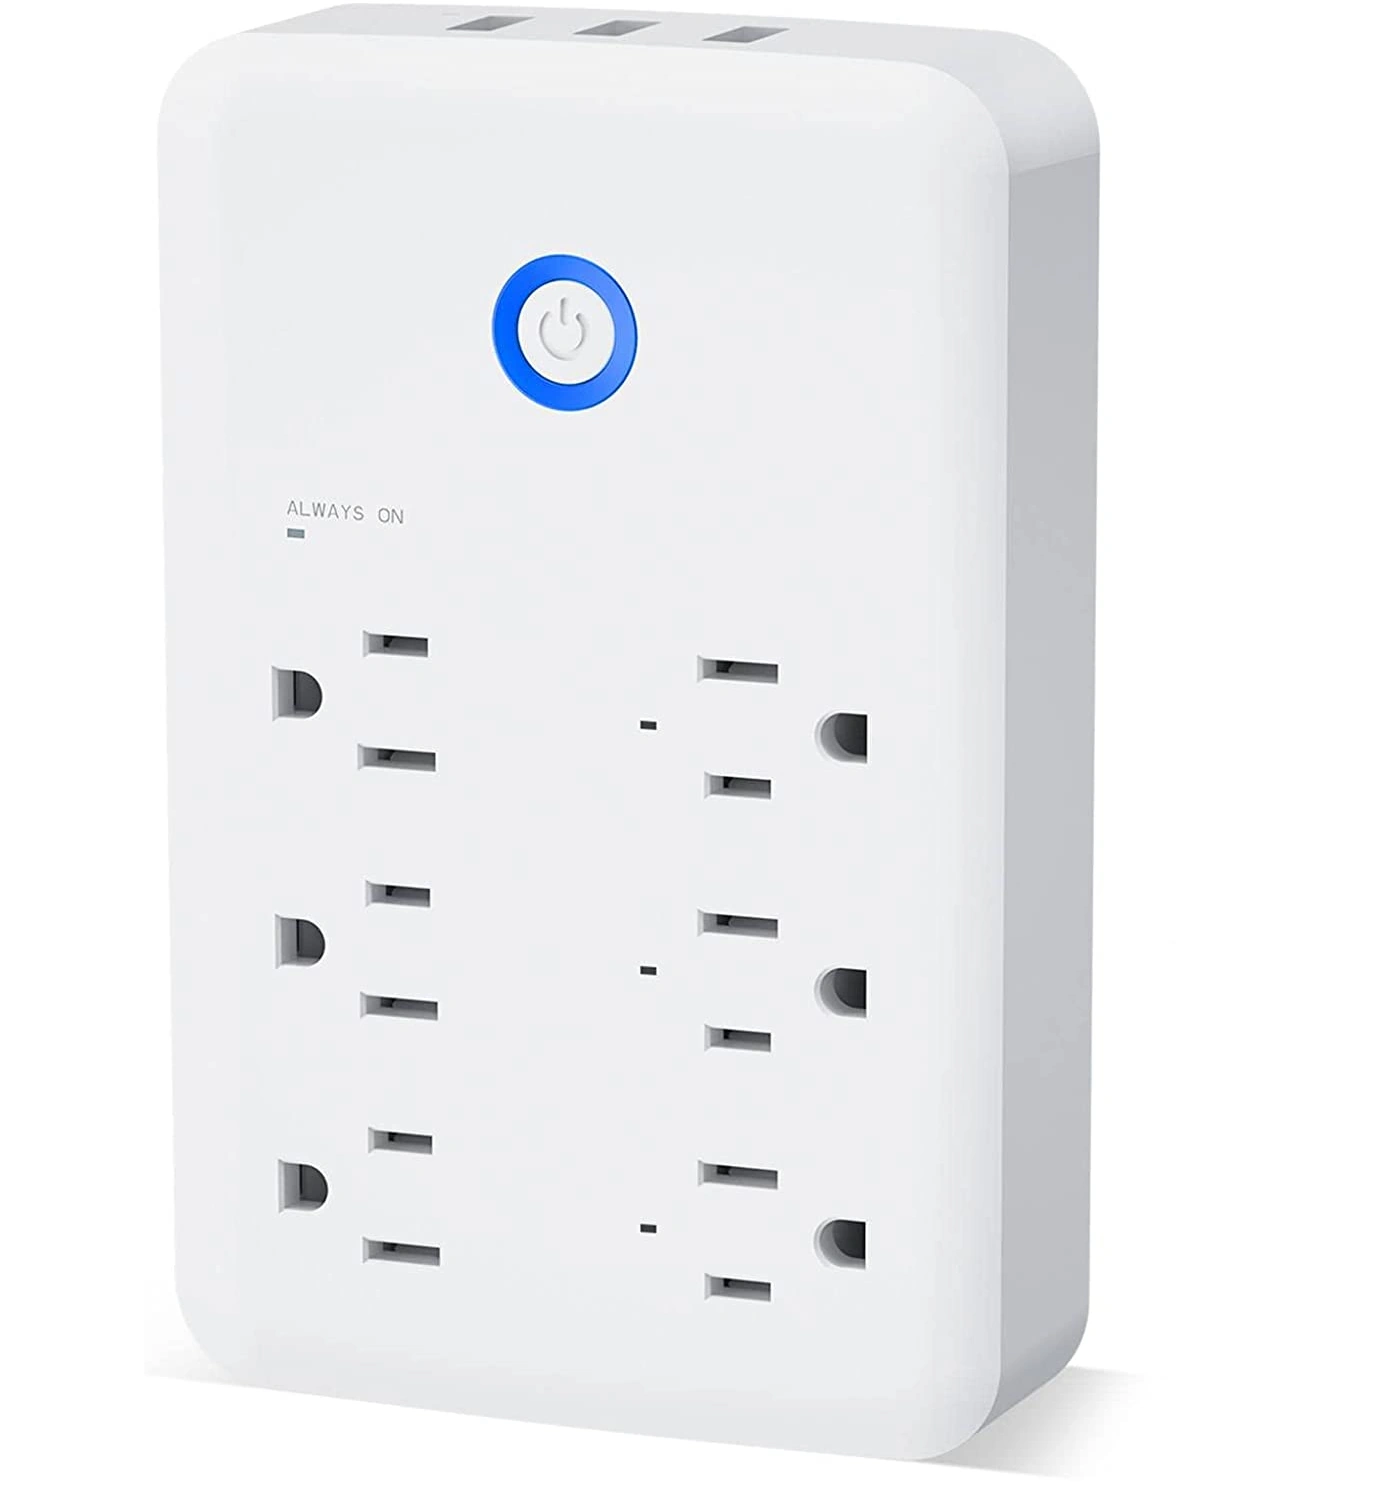
Available from:
Us.gosund.com
Walmart.com
Manufacturer:
Alibaba.com
Install method:
Tuya-Convert
| GPIO # | Component |
|---|---|
| GPIO00 | None |
| GPIO01 | None |
| GPIO02 | LedLinki |
| GPIO03 | None |
| GPIO04 | None |
| GPIO05 | None |
| GPIO09 | None |
| GPIO10 | None |
| GPIO12 | Relay 1 |
| GPIO13 | Relay 2 |
| GPIO14 | Relay 3 |
| GPIO15 | Relay_i 4 |
| GPIO16 | Button 1 |
| GPIO17 | None |
{"NAME":"Gosund-PM03-v2","GPIO":[0,0,576,0,0,0,0,0,224,225,226,259,32,0],"FLAG":0,"BASE":18}{"NAME":"Gosund P2","GPIO":[0,0,157,0,0,32,0,0,21,22,23,0,17],"FLAG":0,"BASE":18}Tuya-Convert might not be possible for this device since the template was added (2021-10-09).
This device uses triangle screws, but they are easily accessed, and the unit is easily opened otherwise. Points for serial flashing are on the back side of the board after opening the case. These points are clearly labeled for G, Vcc, Rx, Tx, and IO0. Soldering on temporary pigtail wires for the serial flash is highly recommended. The points are too far from the edge of the board to use probe type spring clips.
Some additional suggested console modifications to do after flashing and configuring the template are listed below
Label the web-buttons to match the template
backlog webbutton1 Plug1; webbutton2 Plug2; webbutton3 Plug3; webbutton4 USB
Rule for turning all the outlets off with a long press of the physical button.
rule1 on button1#state=3 do power0 off endon
rule1 on
The FCC documents indicate that this board design was used under other model names including: PM03, PM02, PM01, WB2, WB4, LB1, LB2, P3, WO1, WO2