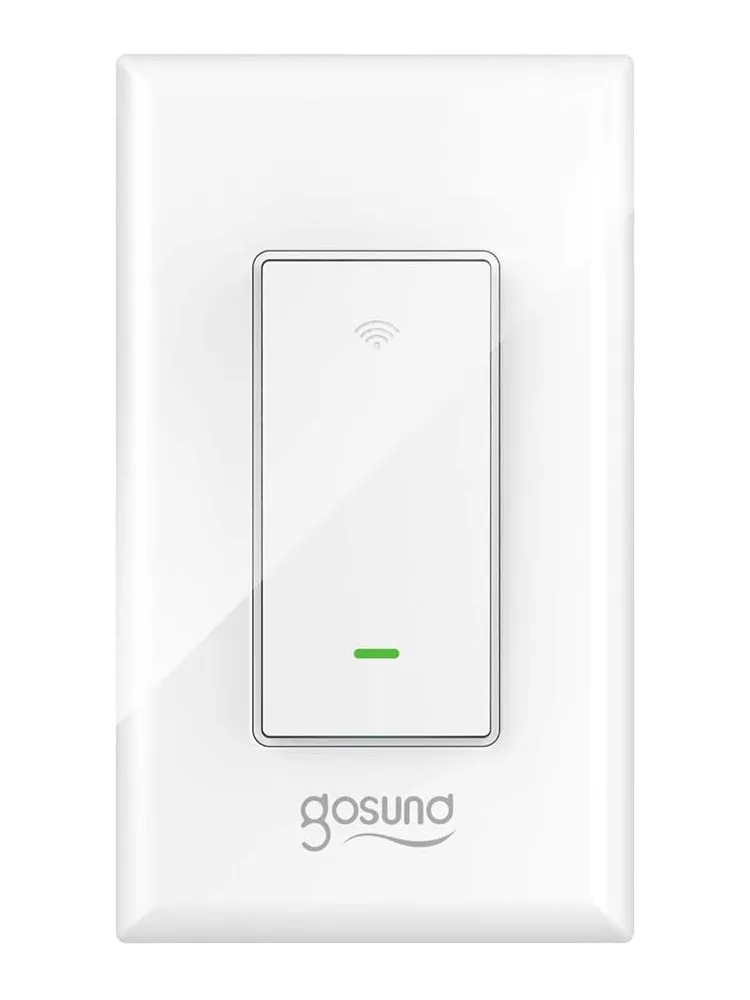
Available from:
Aliexpress.com
Manufacturer:
Alibaba.com
Install method:
Tuya-Convert
| GPIO # | Component |
|---|---|
| GPIO00 | Switch 2 |
| GPIO01 | None |
| GPIO02 | Led_i 1 |
| GPIO03 | None |
| GPIO04 | Switch 1 |
| GPIO05 | None |
| GPIO09 | None |
| GPIO10 | None |
| GPIO12 | None |
| GPIO13 | Relay 3 |
| GPIO14 | Relay 2 |
| GPIO15 | Relay 1 |
| GPIO16 | LedLinki |
| GPIO17 | None |
{"NAME":"Gosund SW6","GPIO":[161,0,320,0,160,0,0,0,0,226,225,224,576,0],"FLAG":0,"BASE":18}Tuya-Convert might not be possible for this device since the template was added (2020-07-21).
Synopsis
This assumes standard 3-way lighting with a child ‘dumb’ toggle switch connected to the travelers.
Components
| Component | Description |
|---|---|
| Relay1 | A dummy component that stores the power state of the switch. |
| Relay2 | The actual hardware switch. This controls the state of the circuit (on/off) but, is not a direct indication of the state of the circuit. The relay could be on while the circuit is open. |
| Relay3 | A dummy component used to process external commands. This is necessary to allow explicit control of the state of the circuit. It should always be in the same state as Relay 1. |
| Switch1 | The status of the circuit. Switch1’s state will change when the circuit changes. As an example say relay2 is off, the circuit is closed, and Switch1’s state will be 1. If relay2 is toggled to on the, circuit will open and Switch1’s state will change to 0. |
| Switch2 | The push button on the smart switch. Using Switch instead of button seems to provide a quicker response. |
Device Configuration
There are a couple things we need to do to get this switch to work correctly.
SwitchTopic
This is normally set to 0 by default. This is the desired value. I recommend running anyway to make sure it is set.
SwitchTopic 0
For more information about SwitchTopic you can find it here: https://tasmota.github.io/docs/Buttons-and-Switches/#switchtopic
SwitchMode
Setting Switch 1 to SwitchMode 1 will keep Relay 1 in sync with the status of the power. When the state of the circuit is changed that will change Switch1 and in turn change Relay1. Setting Switch 2 to SwitchMode 5 will allow it to toggle the power and gives access to the HOLD option.
switchmode1 1
switchmode2 5
** If, when everything is set up, the switch status in inverted then use the command switchmode1 2. Switch 1 is inverted due to the way the switch was wired in the circuit.**
For more information about SwitchMode you can find it here
Rules Configuration
Rule1
When relay 3 changes state this will toggle relay 2. If relay 3 doesn’t change state when then nothing happens.
Backlog Rule1 ON Power3#State do Power2 2 endon ON switch2#state=3 DO publish stat/tasmota_XXXXX/SWITCH1T {"TRIG":"HOLD"} ENDON; Rule1 1
Rule2
Keeps relay3 in sync with relay1 but, rule1 has to be disabled while updating the state and then re-enabled.
Rule2 ON Power1#state=0 do Backlog rule1 0; power3 0; rule1 1 endon On Power1#state=1 do Backlog rule1 0; power3 1; rule1 1 endon; Rule2 1
Rule3
For explicit on / off and toggle rule3. When an event is received, Relay3 will only change if it’s not already in the matching state.
Backlog Rule3 ON event#OFF do power3 0 endon ON event#ON do power3 1 endon ON event#TOGGLE do power3 2 endon; Rule3 1
For more information about Rules you can find it here
Red LED to Indicate Open Circuit (Light Off)
This can help in finding the wall switch in the dark. In the Tasmota UI, select “Configuration” and then “Configure Template”. Set GPIO16 to “LedLink”, and click “Save”.
Home Assistant Configuration
SetOption19 should not be used in this setup!
SetOption19 will expose both relays and will become very confusing to what the switch state is.
Switch Confiugration
Below is an example I used to get this configuration working in Home Assistant.
switch:
  - platform: mqtt
    name: "Exterior Lights"
    state_topic: "stat/tasmota_XXXXX/POWER1"
    command_topic: "cmnd/tasmota_XXXXX/EVENT"
    availability_topic: "tele/tasmota_XXXXX/LWT"
    qos: 0
    payload_on: "ON"
    payload_off: "OFF"
    payload_available: "Online"
    payload_not_available: "Offline"
| Topic | Description |
|---|---|
| state_topic | is based on the dummy relay on the smart switch. This is what tells Home Assistant if the light is on or off. |
| command_topic | This is what Home Assistant will use to trigger Rule3 on the device via MQTT. |


