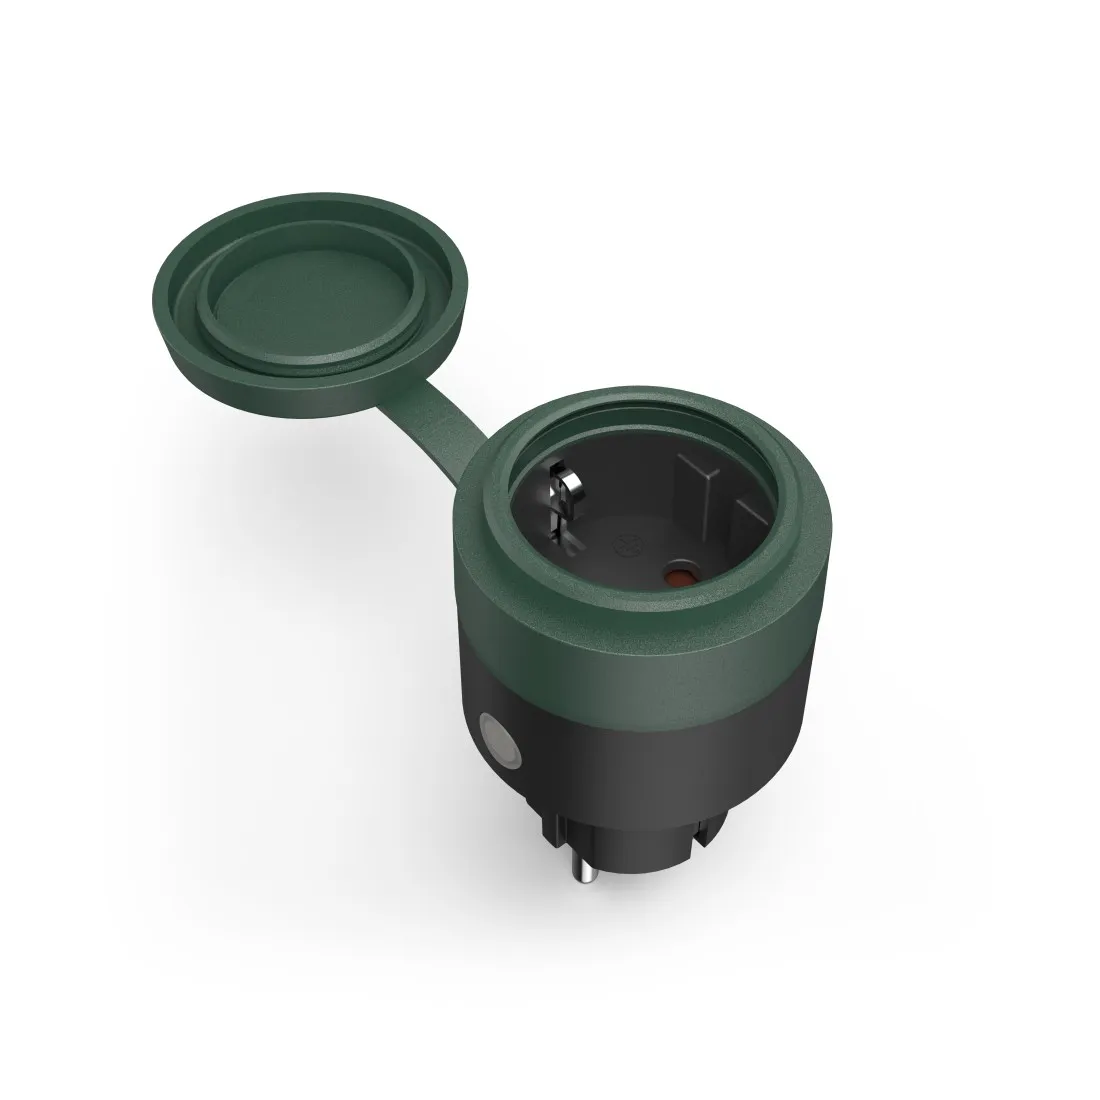
Available from:
Amazon.de
Manufacturer:
Hama.com
Install method:
USB to Serial
| GPIO # | Component |
|---|---|
| GPIO00 | None |
| GPIO01 | None |
| GPIO02 | None |
| GPIO03 | None |
| GPIO04 | LedLinki |
| GPIO05 | Led_i 1 |
| GPIO09 | None |
| GPIO10 | None |
| GPIO12 | Relay 1 |
| GPIO13 | Button 1 |
| GPIO14 | None |
| GPIO15 | None |
| GPIO16 | None |
| GPIO17 | None |
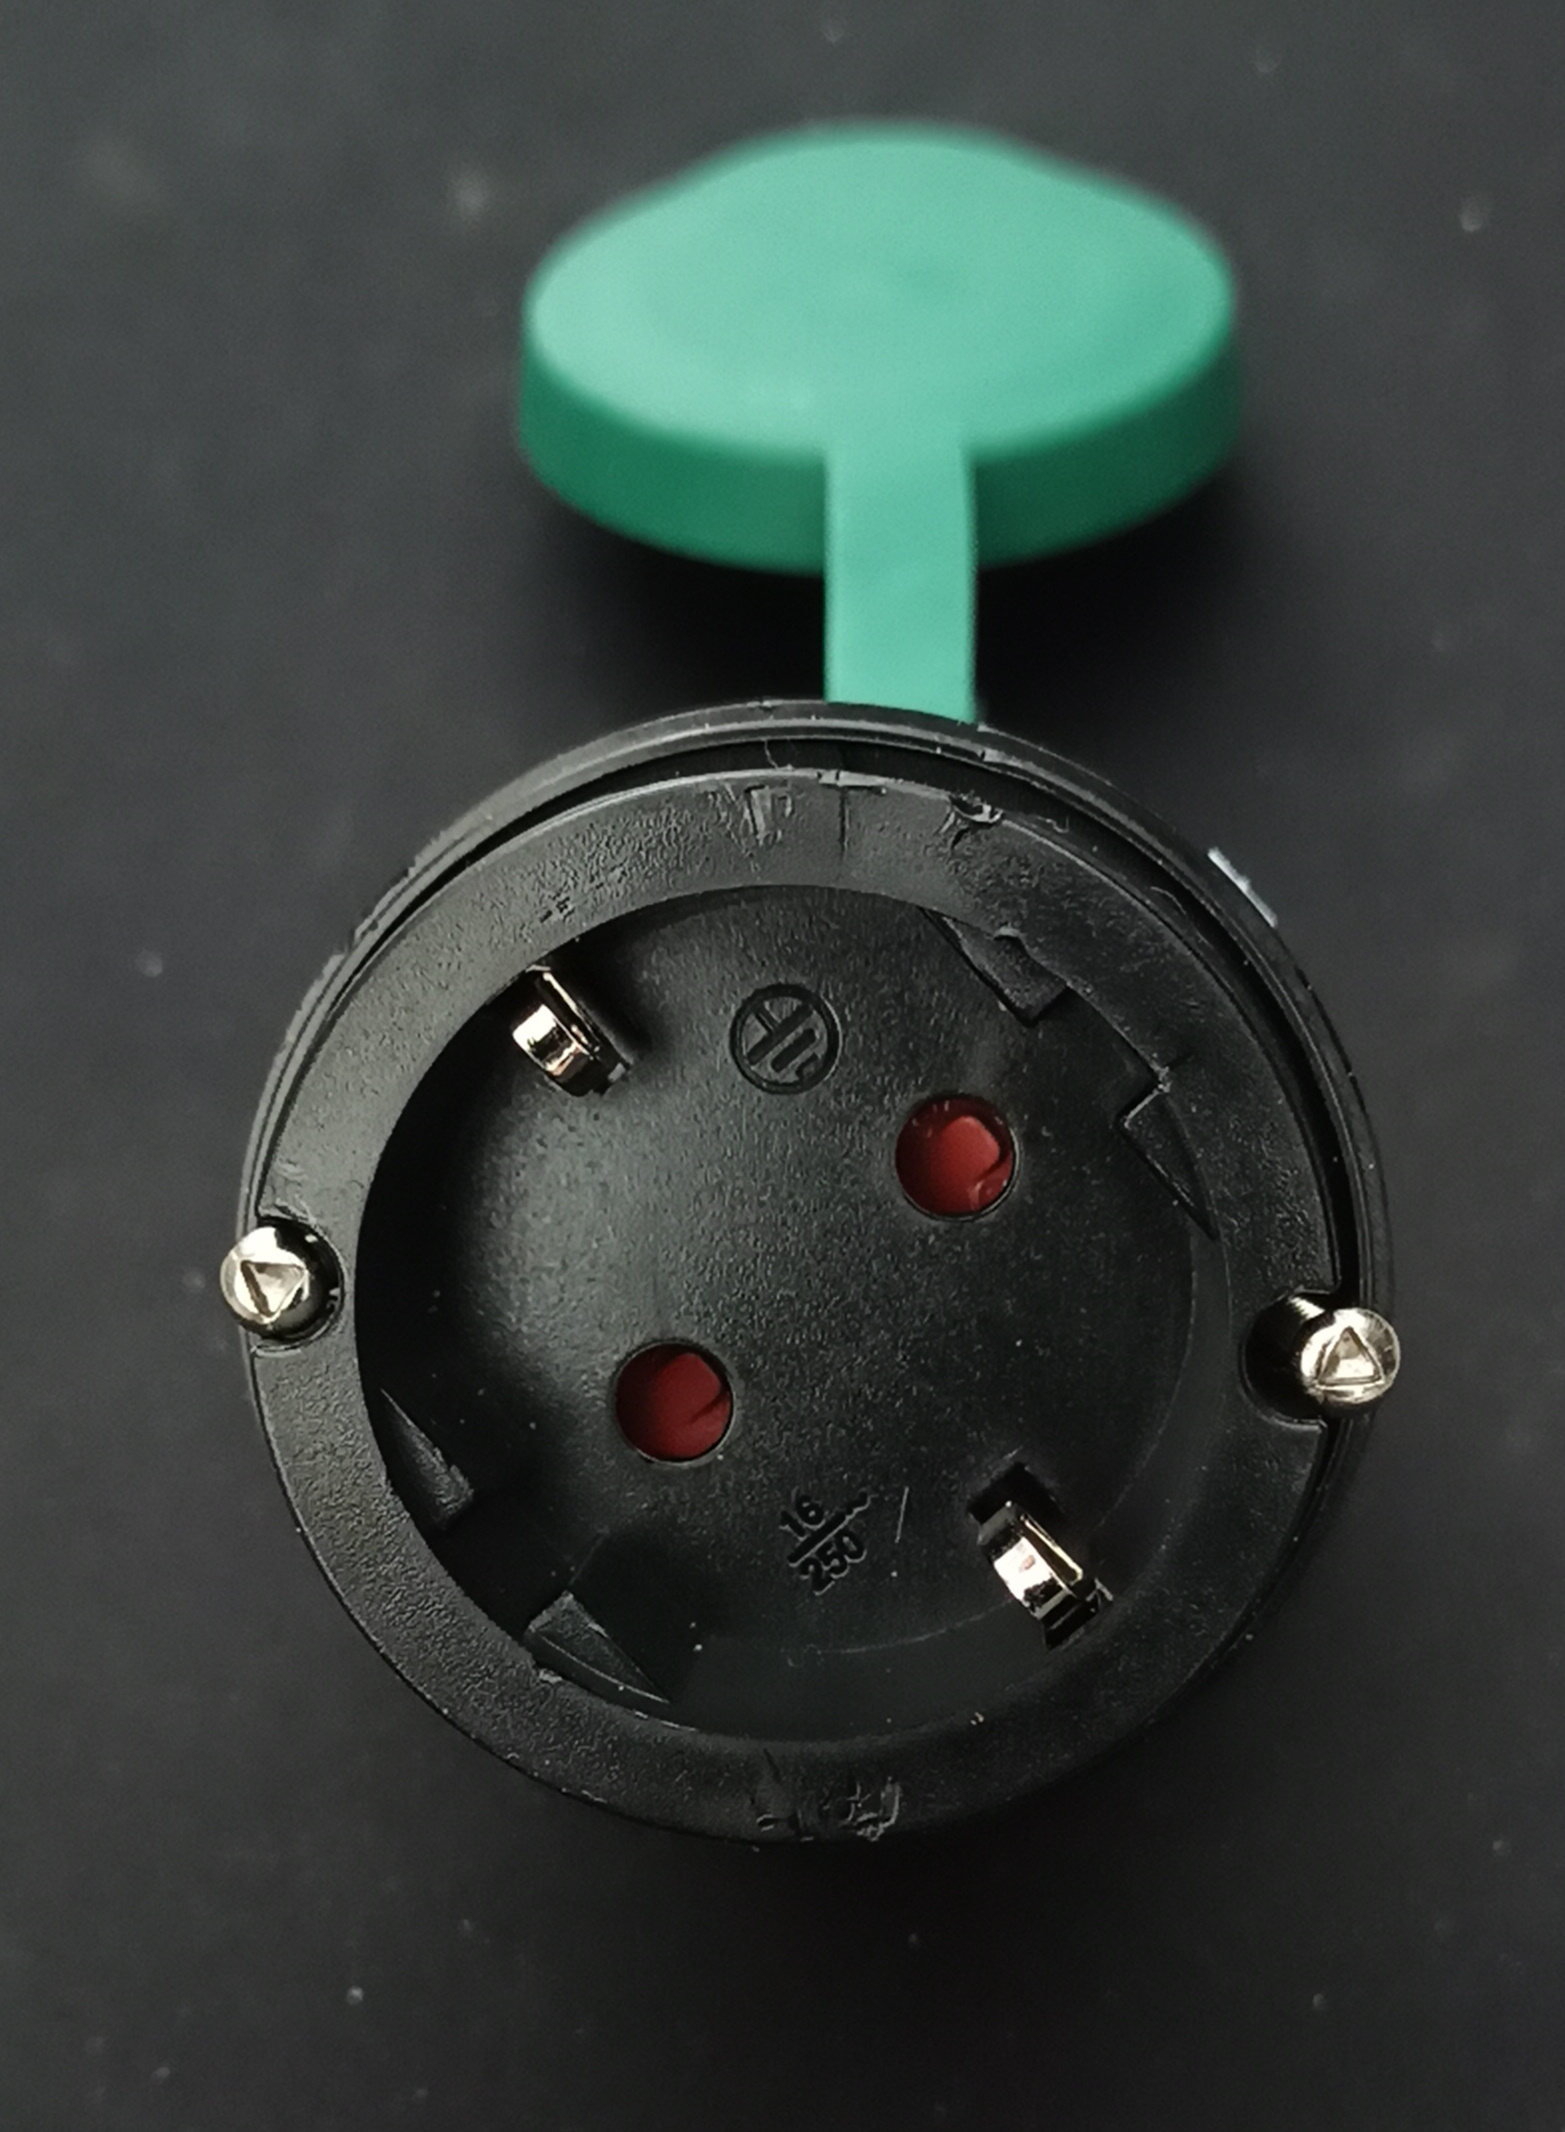
{"NAME":"Hama Outdoor","GPIO":[0,0,0,0,576,320,0,0,224,32,0,0,0,0],"FLAG":0,"BASE":18}To open the shell of the device the green rubber cap and two tri-wing security screws have to be removed.
Lift the rubber near the button with some non-sharp tool. Use a wrench to remove it completely. Maybe some warm air will support this removal. Remove the two screws (tri-wing), remove the black cap and push the device out and remove the silver clip.


Remove the small spring and the orange slider.
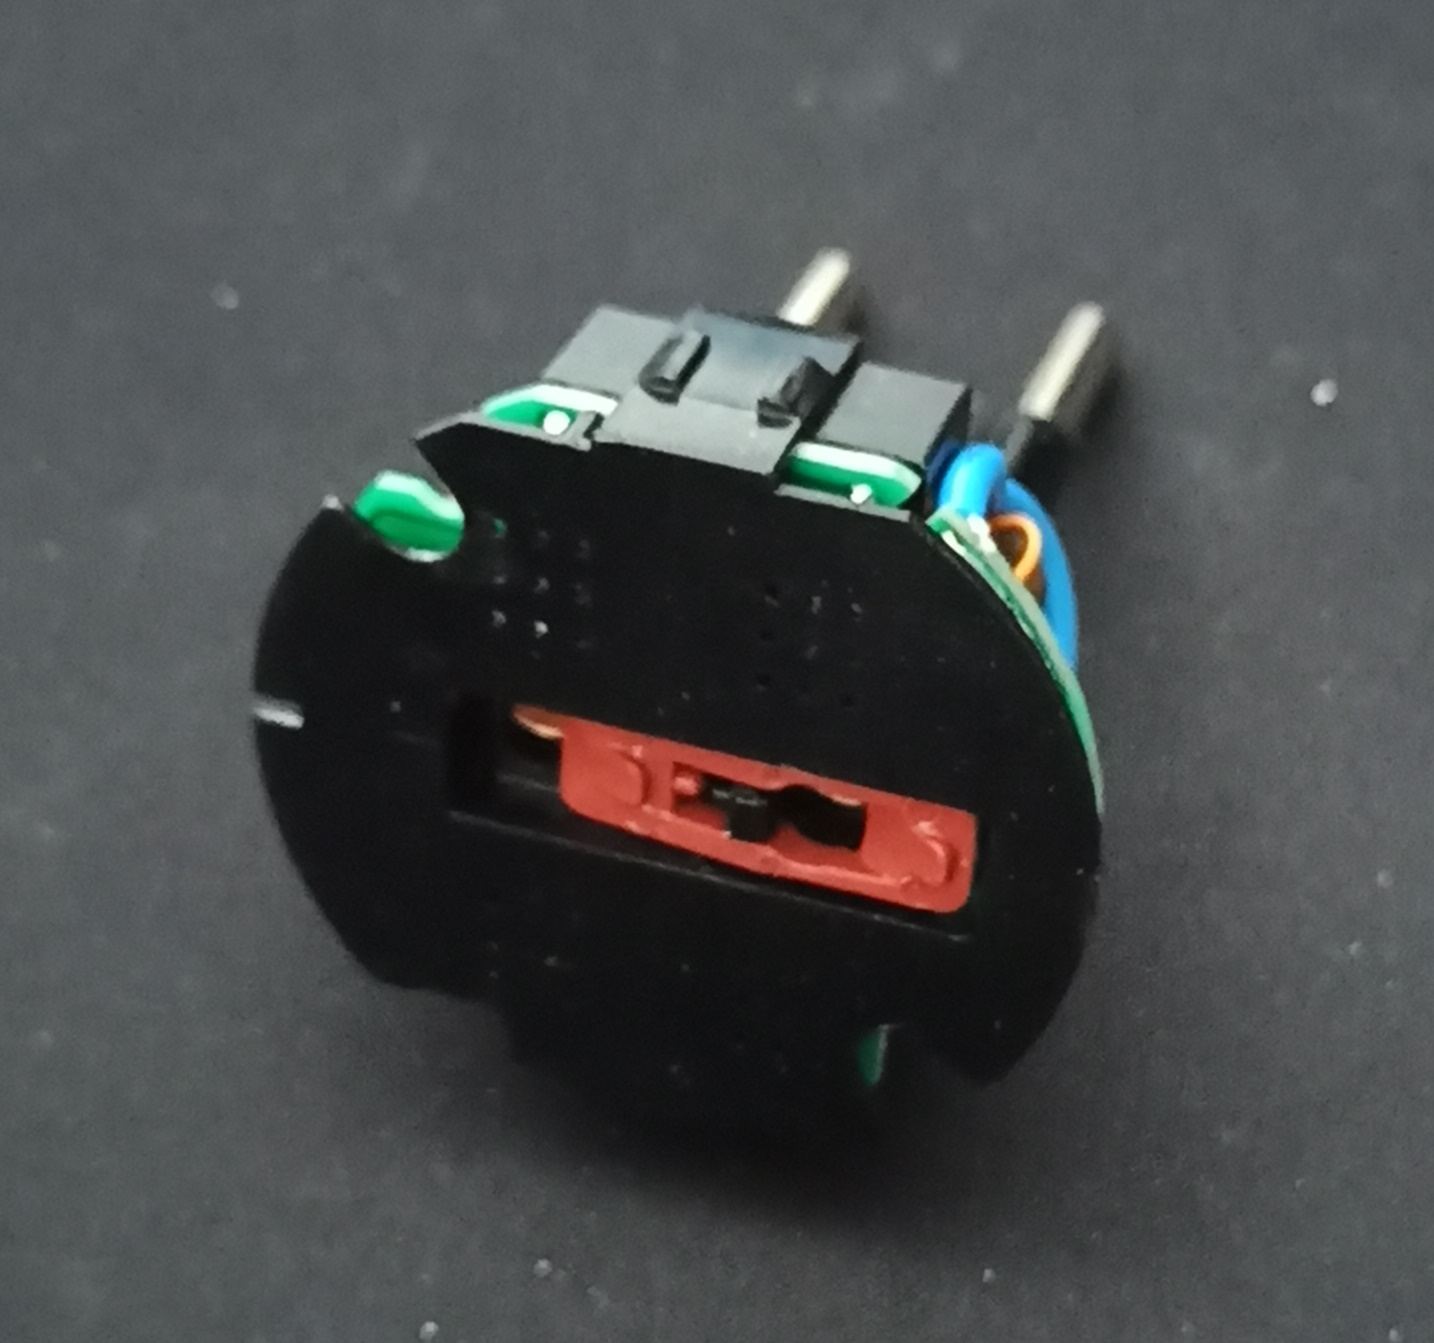

Pull the black cap (where the orange slider was in) gently in opposite direction of the rest. A black clip in the middle keeps it together.
Now you are ready to solder.

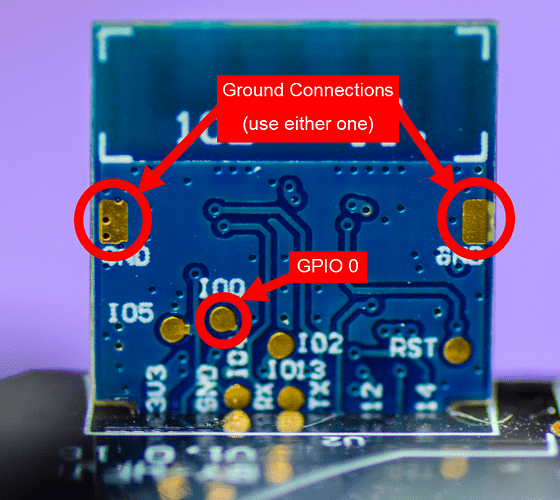
GPI0 is a bit hidden in the device. Best practices may to connect ground to the serial flasher and use a cable to contact GPI0 during power on.
To flash, wires have to be soldered to 3.3v, GND, TX, RX and GPI0.
Pinout on similar device: 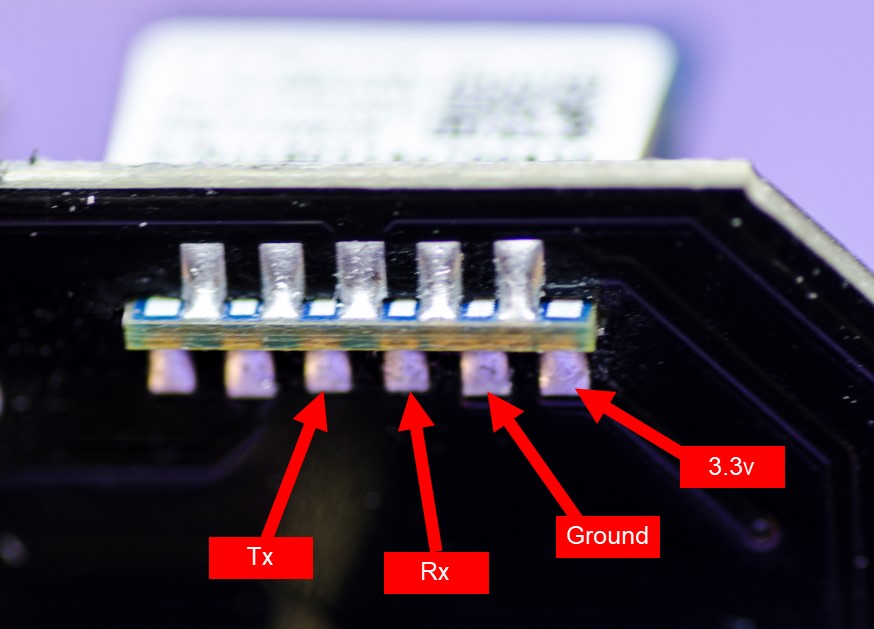
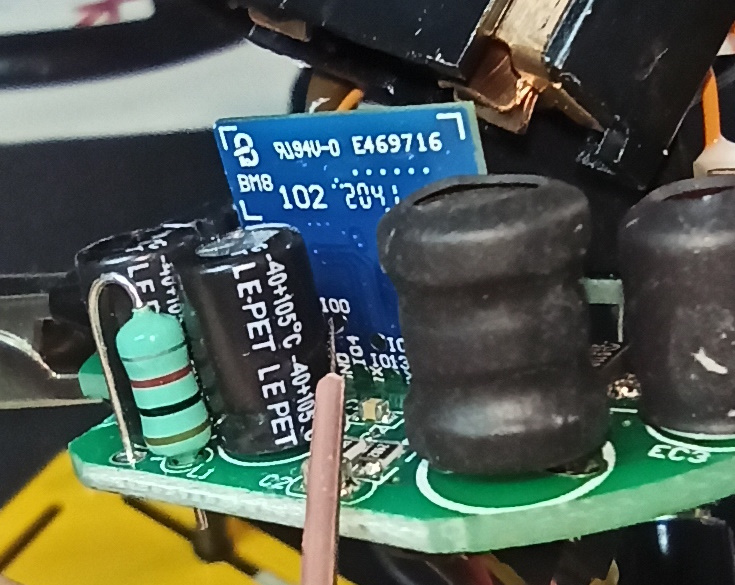
GPI0 sits just behind a capacitor that needs to be desoldered.
Pinout on similar device: