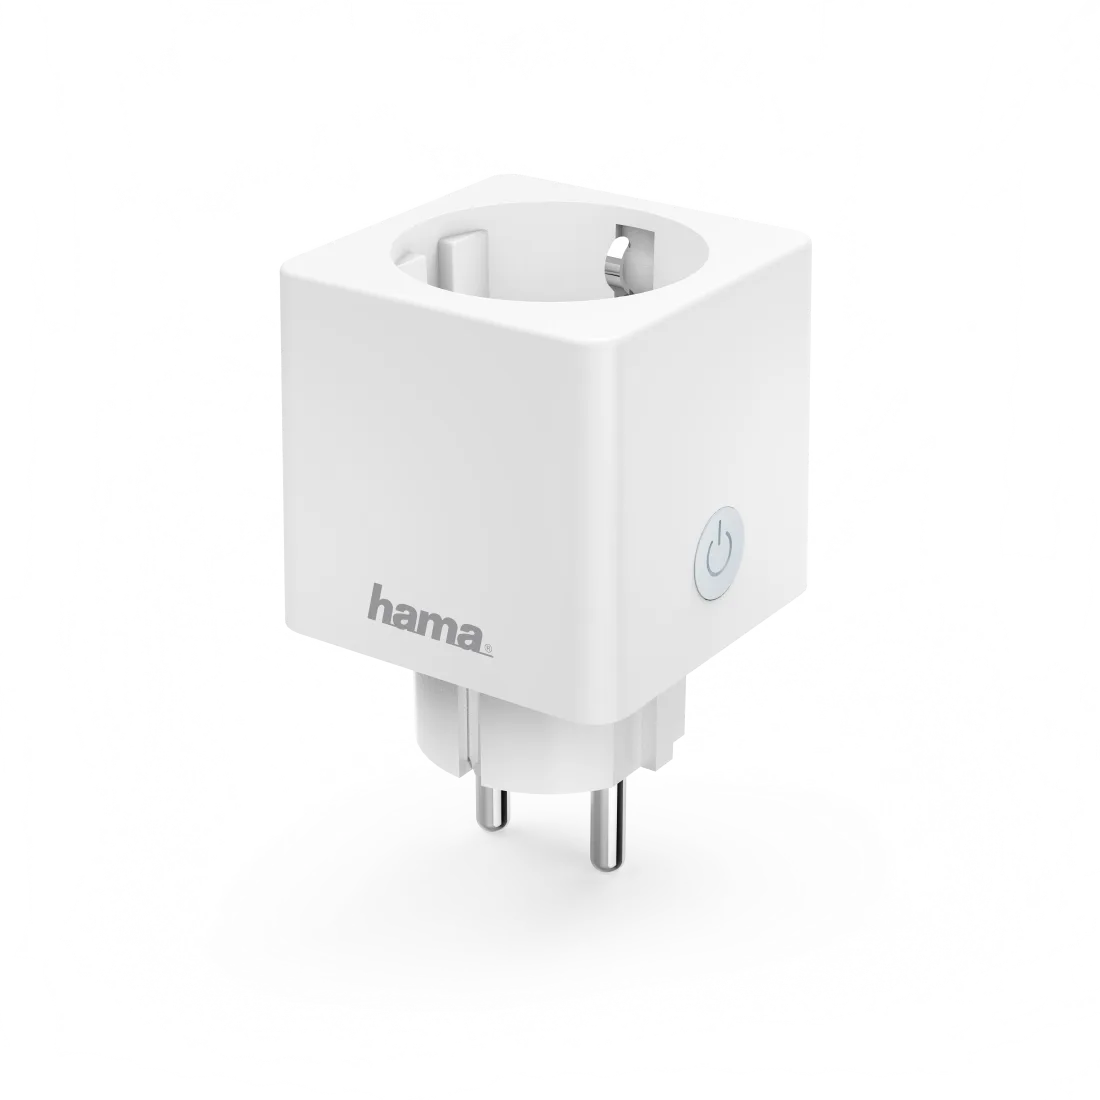
Available from:
Amazon.de
Idealo.de
Manufacturer:
Hama.com
Install method:
USB to Serial
| GPIO # | Component |
|---|---|
| GPIO00 | None |
| GPIO01 | None |
| GPIO02 | None |
| GPIO03 | Button 1 |
| GPIO04 | None |
| GPIO05 | BL0937 CF |
| GPIO09 | None |
| GPIO10 | None |
| GPIO12 | None |
| GPIO13 | LedLinki |
| GPIO14 | Relay 1 |
| GPIO15 | None |
| GPIO16 | None |
| GPIO17 | None |
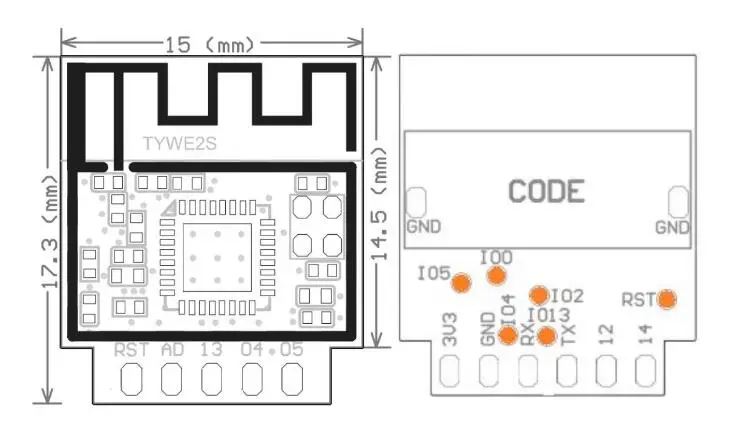
{"NAME":"HAMA 00176575","GPIO":[0,0,0,32,0,2720,0,0,0,576,224,0,0,0],"FLAG":0,"BASE":18}The case is glued, therefore its pretty hard to open. Try to pry it open using a flat screwdriver all around the flat sides. After that move that remove the thermal fuse from the relay. Athorwise it will break when soldering. Because next you need to remove the two female power pins. Afterwards the white cover can be clipped out. Next the two male power pins need to be unsoldered. Remove the main PCB and you get access to the TYWE2S WiFi Module. Solder 4 wires (Vcc, GND, Rx, Tx) to the board, put GPIO 0 on TYWE2S to GND, and apply 3.3 V power for flashing.
Pinout
 .
.


