


Available from:
Amazon.fr
Amazon.de
Manomano.de
Manufacturer:
Klarstein.eu
Install method:
USB to Serial
| GPIO # | Component |
|---|---|
| GPIO00 | None |
| GPIO01 | Tuya Tx |
| GPIO02 | None |
| GPIO03 | Tuya Rx |
| GPIO04 | None |
| GPIO05 | None |
| GPIO09 | None |
| GPIO10 | None |
| GPIO12 | None |
| GPIO13 | None |
| GPIO14 | None |
| GPIO15 | None |
| GPIO16 | None |
| FLAG | None |
{"NAME":"Klarstein Bornholm","GPIO":[0,107,0,108,0,0,0,0,0,0,0,0,0],"FLAG":0,"BASE":54}
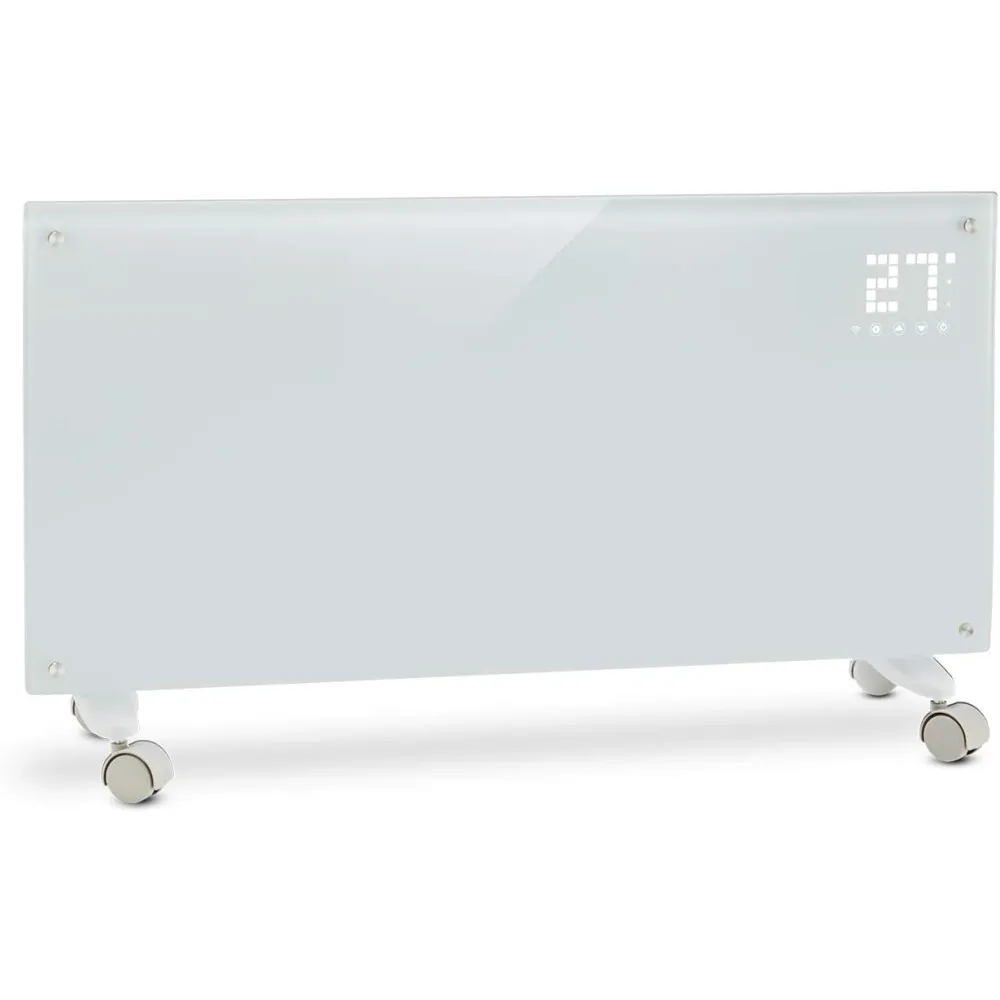
This is a Tuya panel heater. It comes in white (model 10034390) an black (model 10034391)
Serial Flashing
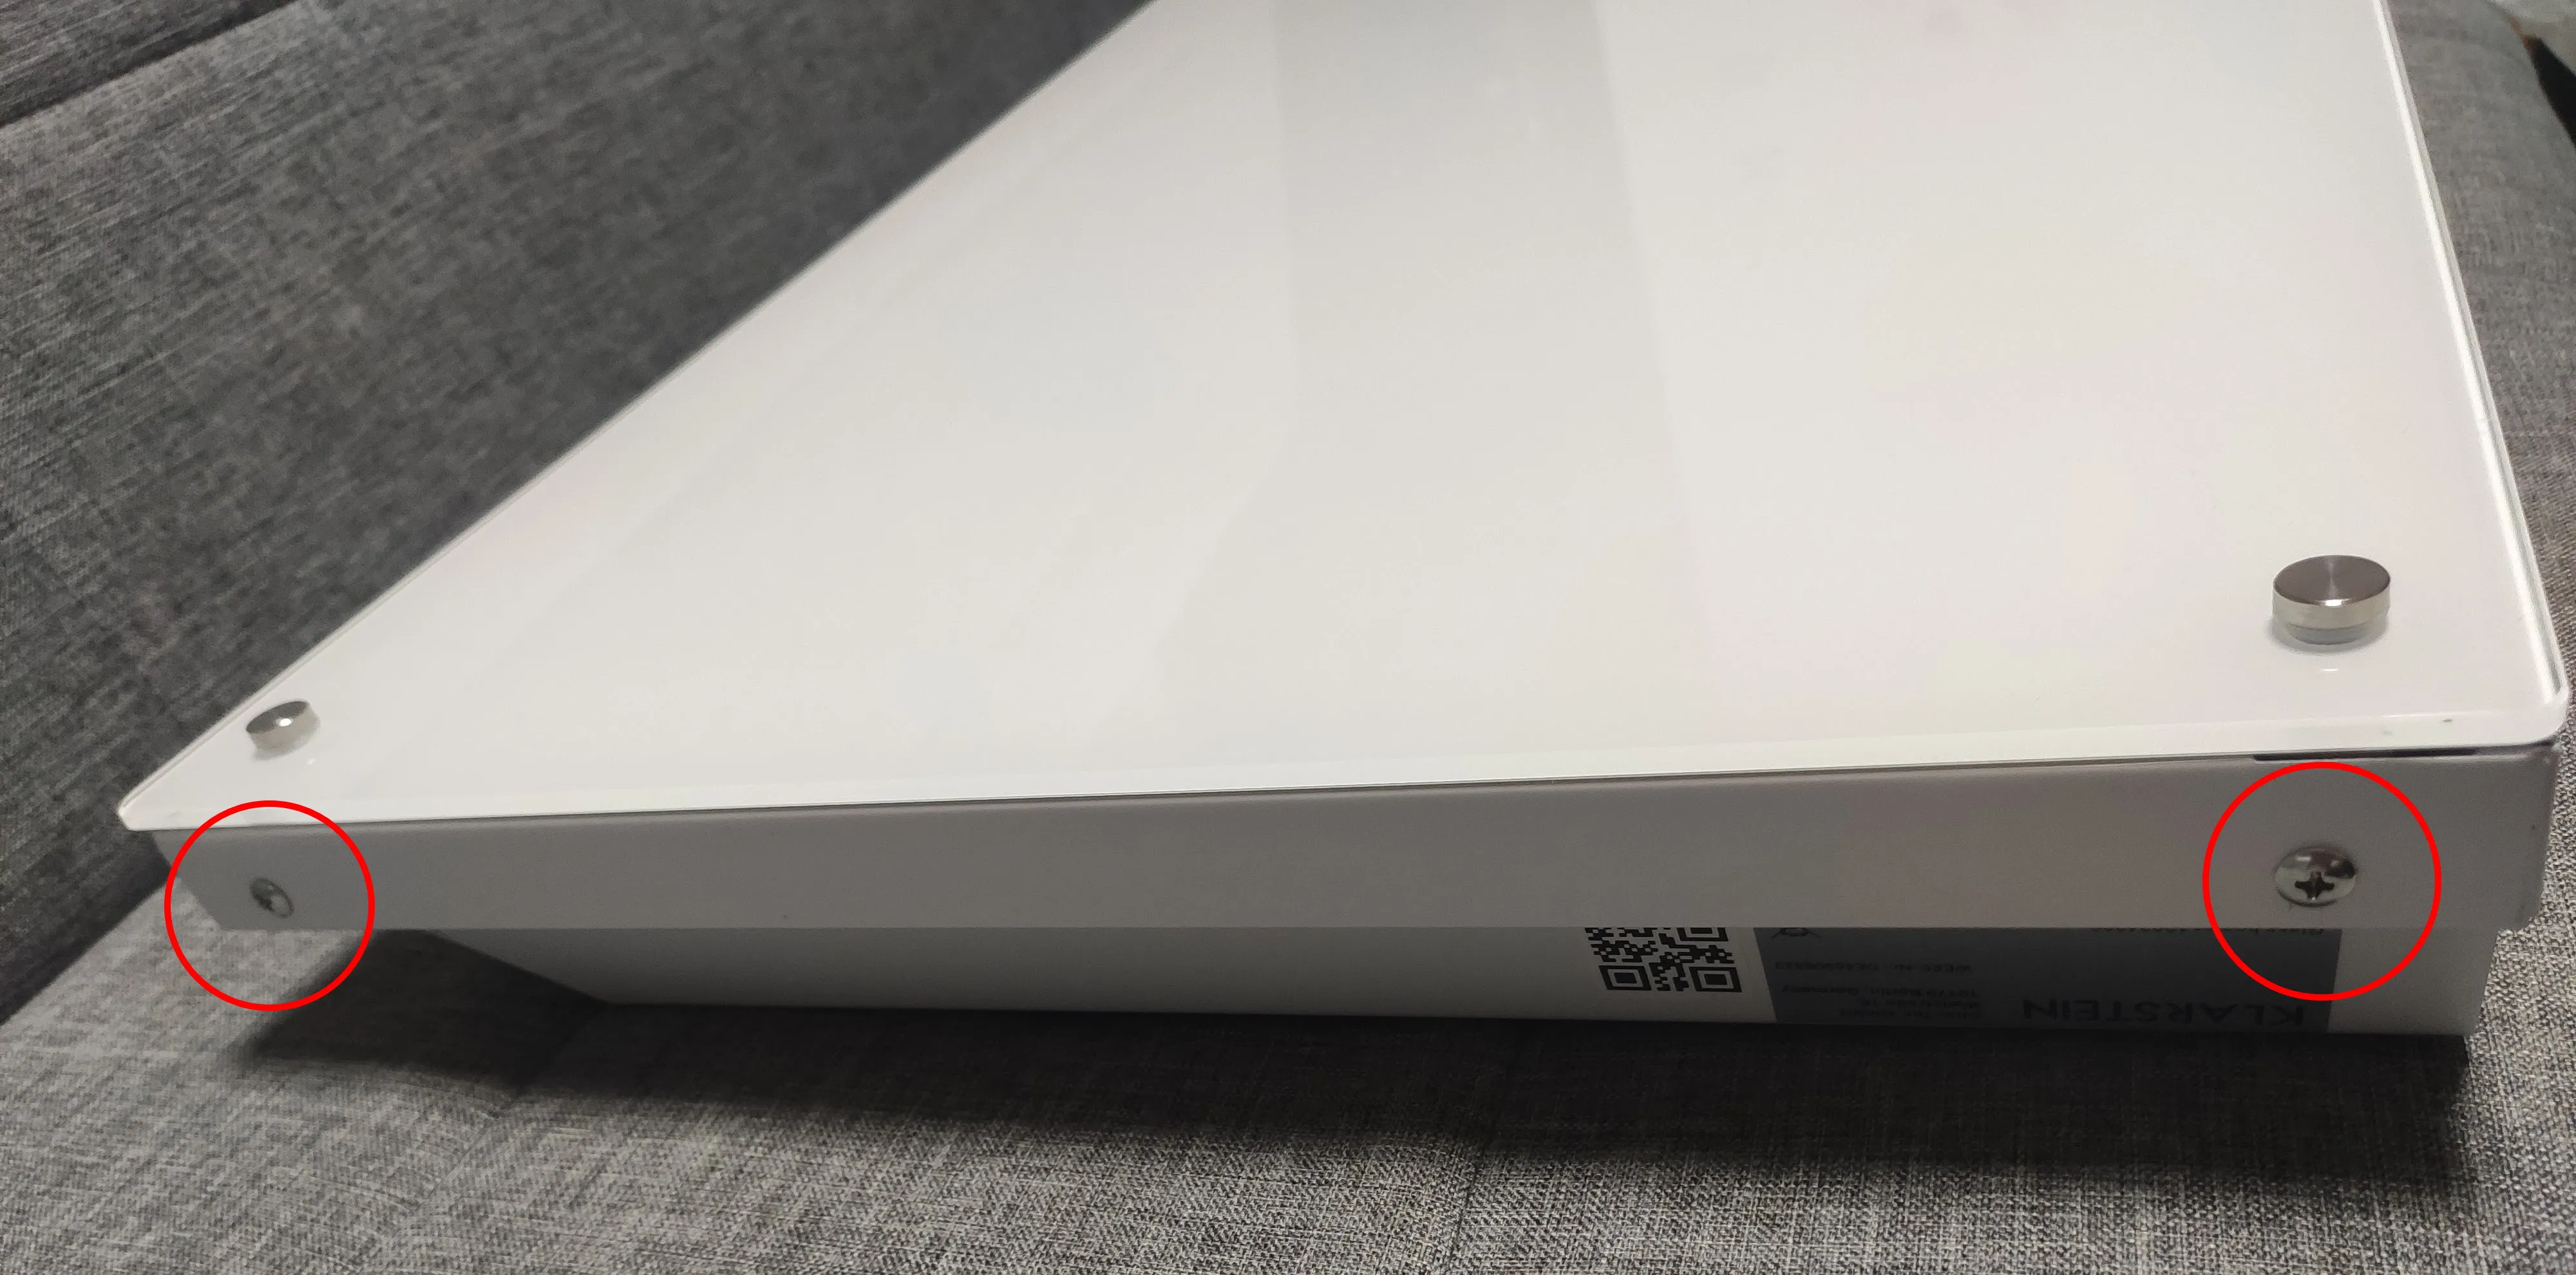
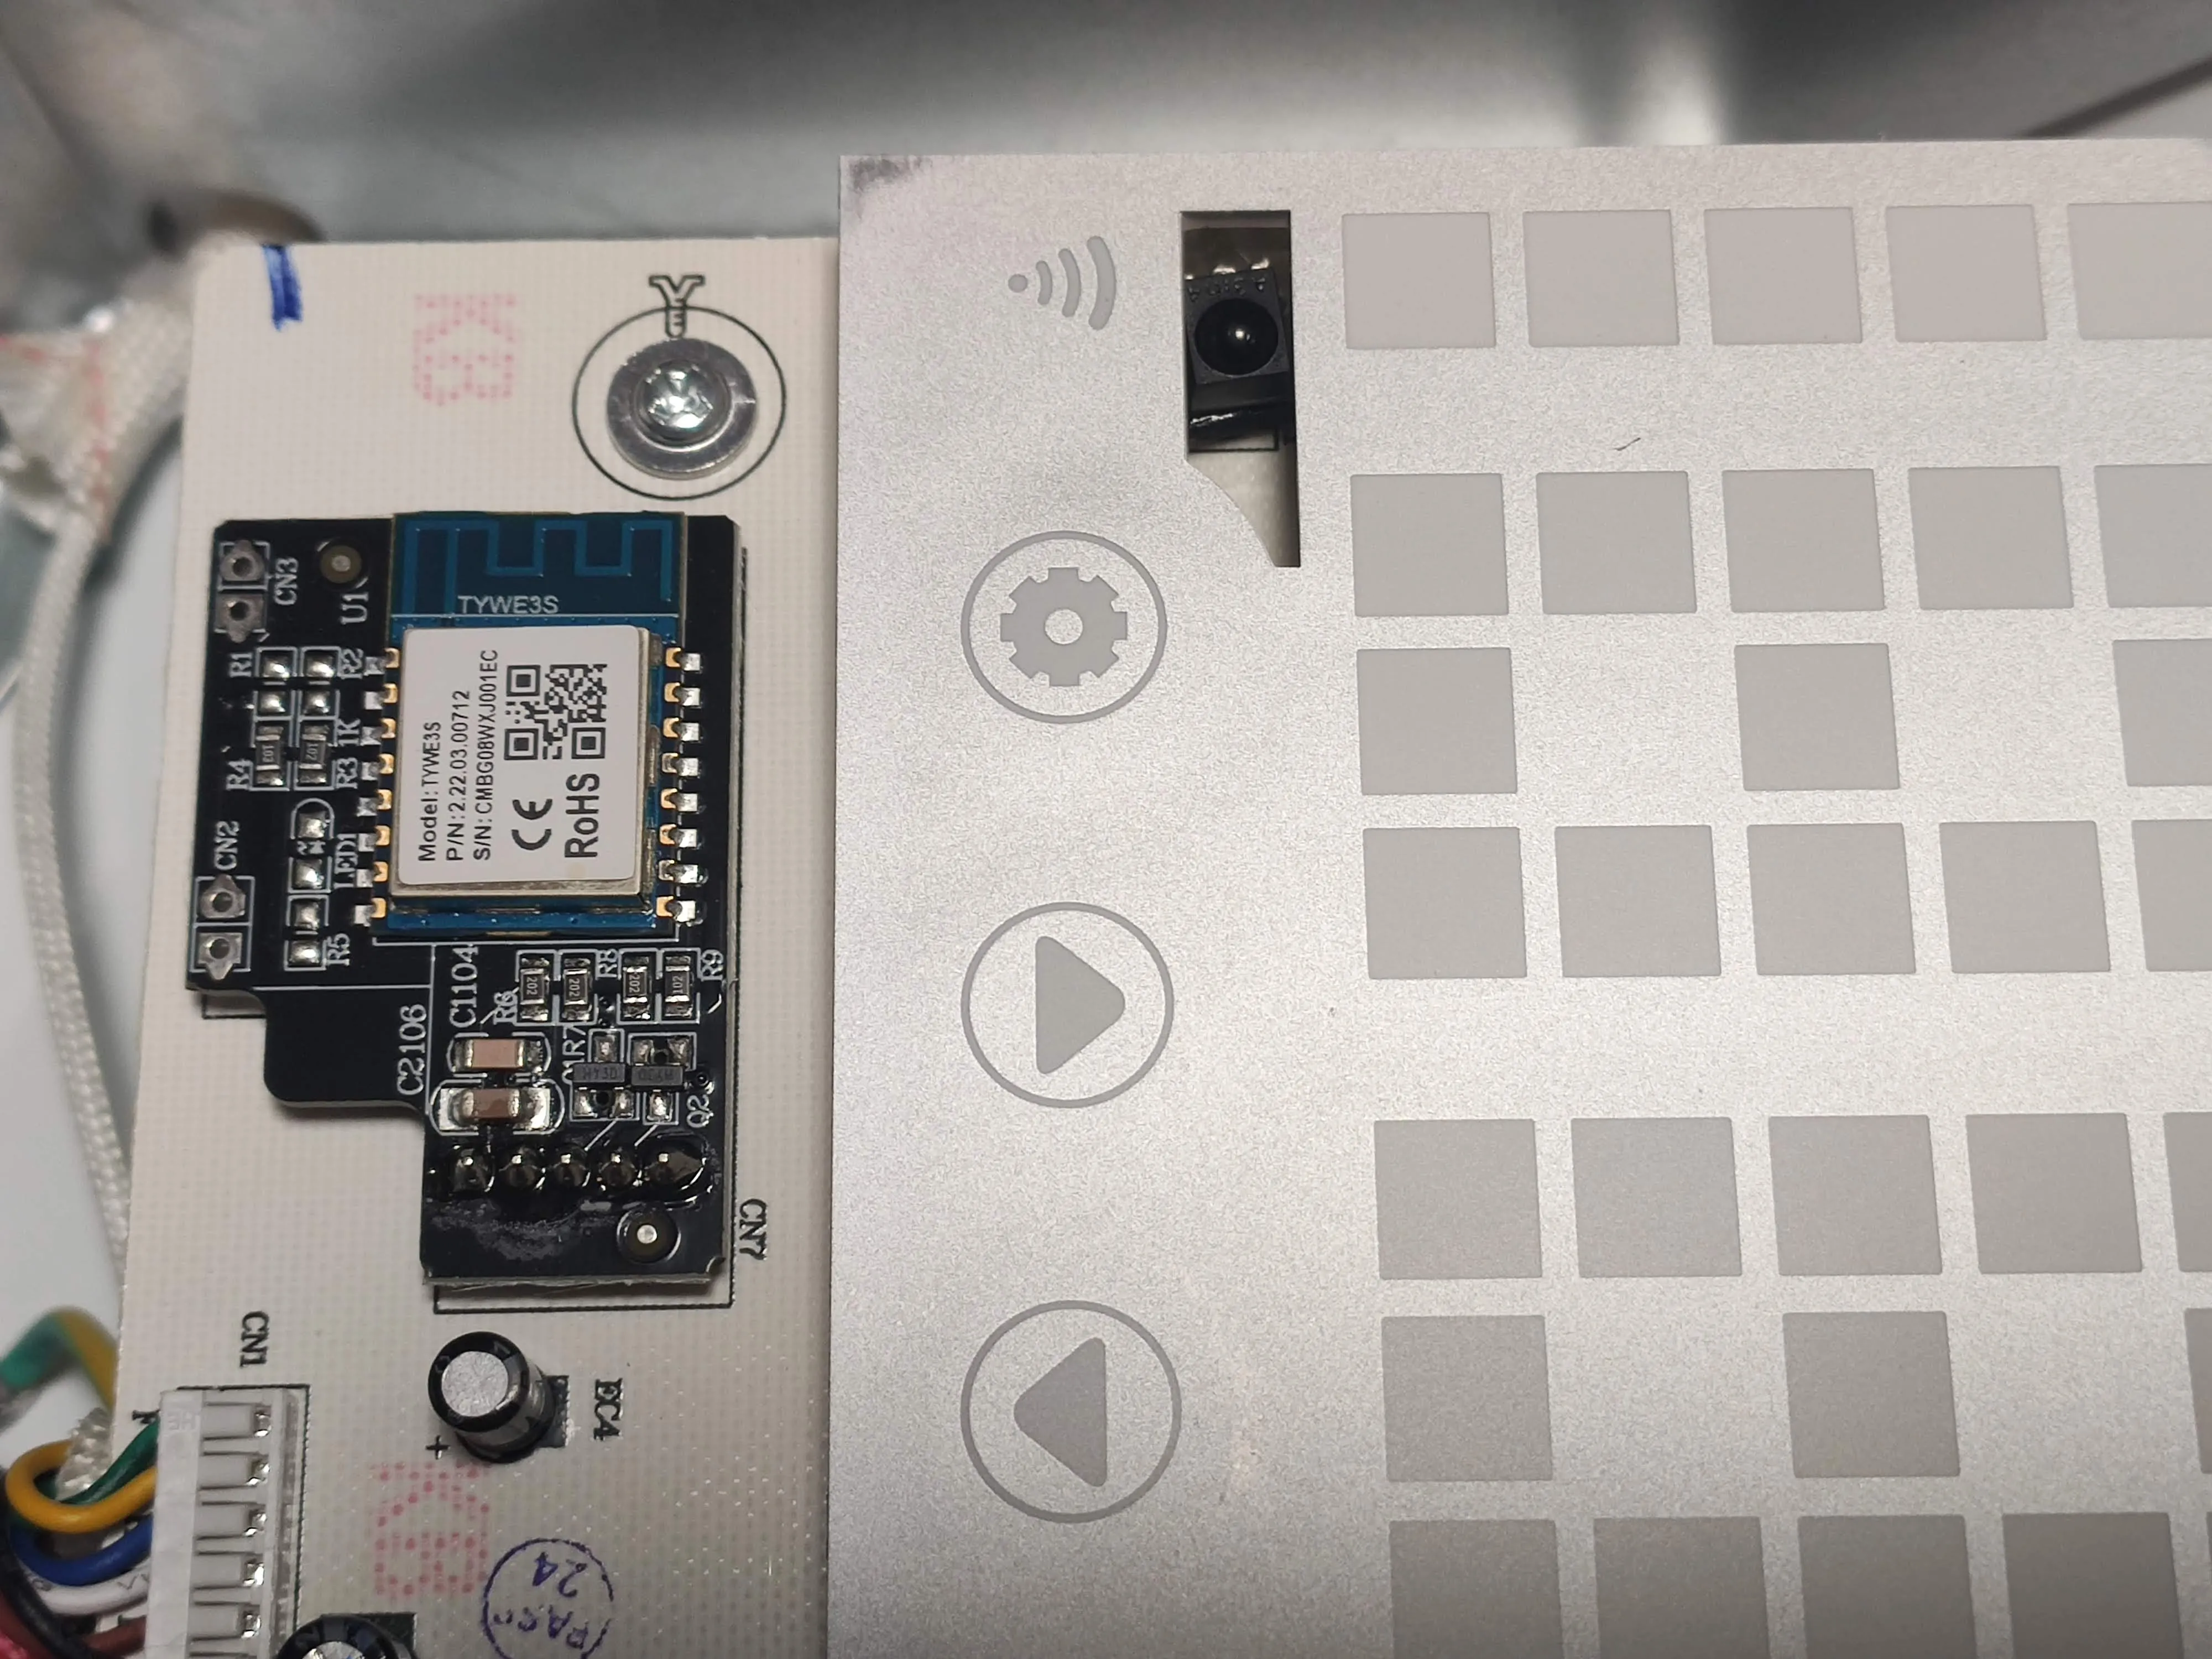
Easily disassembled by removing the front glass panel by unscrewing 4 screws on the side. The PCB with the display and touch control has a TYWE3S module on smaller PCB. The control MCU is on the back of the PCB.
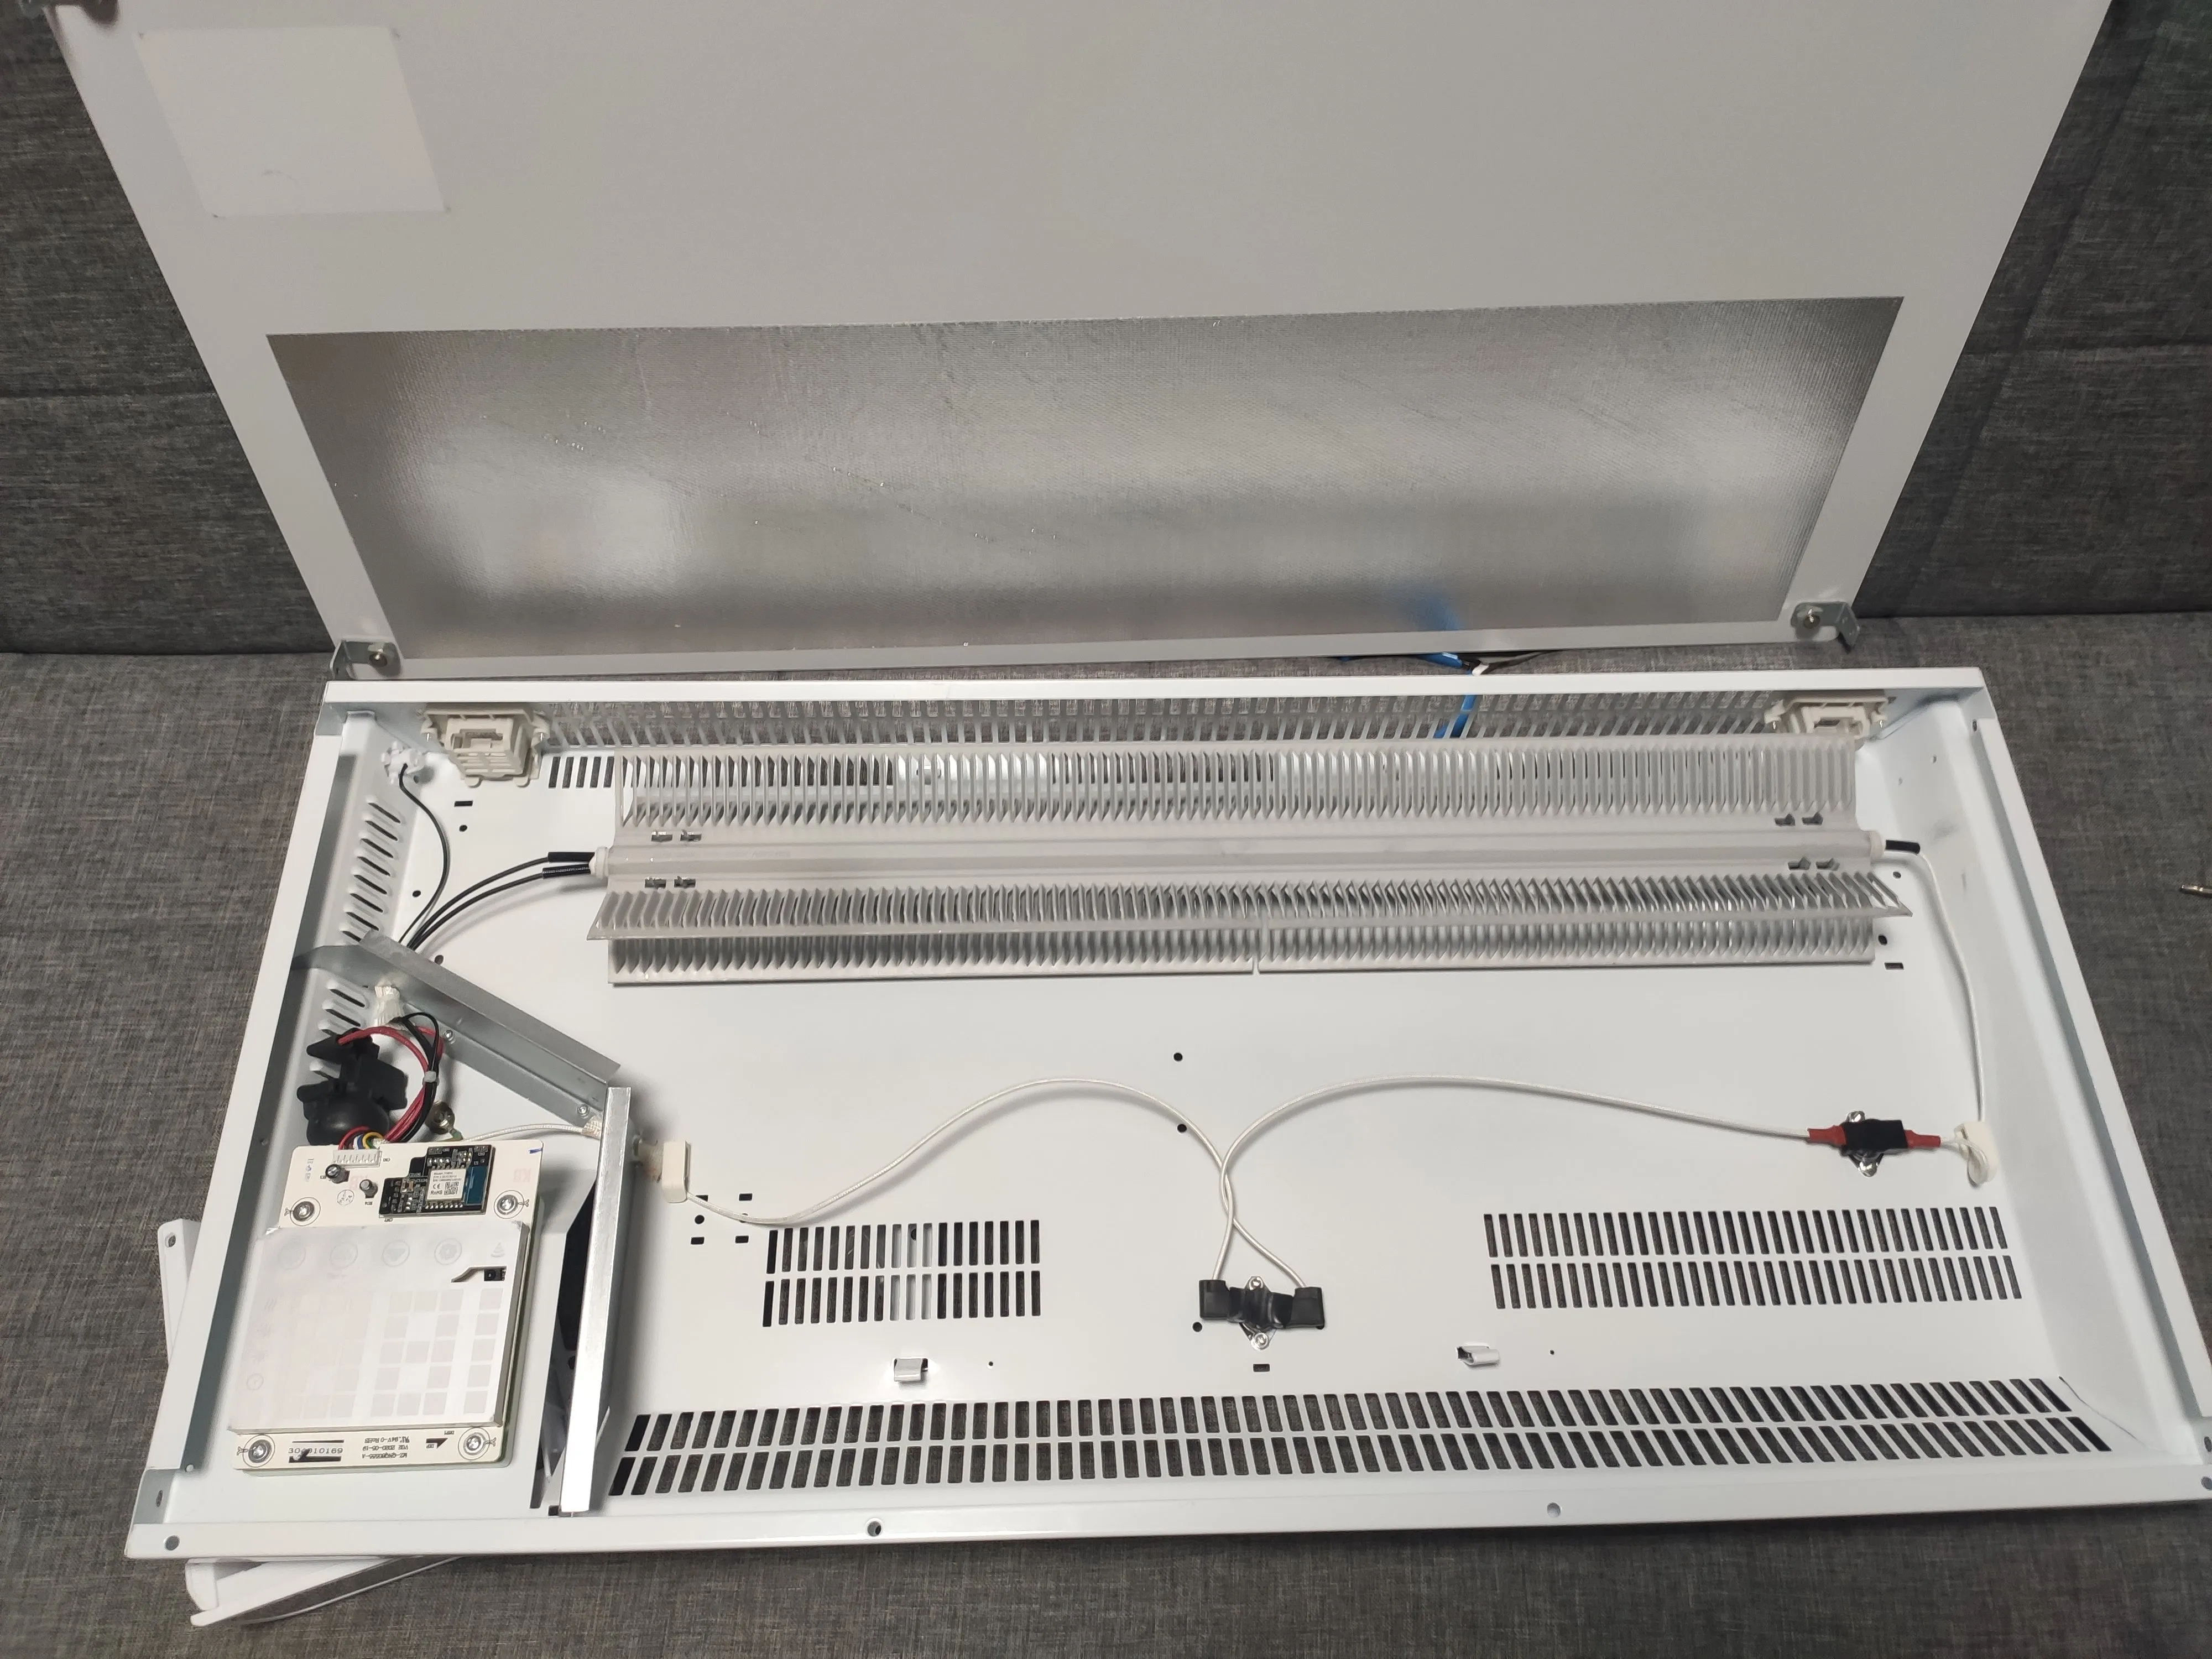
Connect your USB-to-serial adapter to TYWE3S module using 3V3, GND, TX and RX pins and flash. The MCU should not interfere if you’re powering the Wi-Fi module directly on its 3V3 pin.
Device Configuration
Please read TuyaMCU article to understand the terminology and configuration process.
Change device to a TuyaMCU module (or apply the provided template, result is the same)
Module 54
Implement this rule to stop the Wi-Fi display icon from blinking randomly
rule1 on system#boot do ruletimer 200 endon on rules#timer=1 do backlog event fix; ruletimer 3600 endon on event#fix do backlog serialsend5 55aa0008000007; serialsend5 55aa000300010205; serialsend5 55aa000300010306; tuyasend8 endon
Functions
dpID 1controls device power - turns the device on offdpID 2sets target temperaturedpID 3reports ambient temperature using the built in temperature sensordpID 4control heating modes:0- high1- low2- off
dpID 5control ECO mode (on or off)dpID 6control child lock mode (lock on device controls)dpID 10heating timer in hoursdpID 11heating timer in minutesdpID 12error reportdpID 101unknown?!dpID 102turns display on or off (it will turn off automatically after some time)dpID 103temperature unit select and heating control:0- Celsius1- Fahrenheit2..- toggles heating while keeping dpid4. it is not reliable since it always toggles but there is no response on what the current state is
Configuration
backlog tuyamcu 11,1; tuyamcu 12,5; tuyamcu 13,6; tuyamcu 71,3; tuyamcu 72,2; tuyamcu 61,4, tempres 0
Relay1maps to dpID1 for power controlRelay2maps to dpID5 for ECO modeRelay3maps to dpID6 for Child Lock mode
In the webUI an ambient temperature sensor and temperature set sensor will be shown.
Set temperature using TuyaSend2 2,x where x is the desired temperature (0 decimals allowed).
Label webUI buttons:
backlog webbutton1 Power; webbutton2 ECO; webbutton3 Child Lock
TuyaEnum
As of Tasmota 9.1.0.1 #9769 it is possible to map Type4 dpIDs (such as dpID4) to an Enum fn ID.
Map dpID4 to Enum1 fnID:
TuyaMCU 61,4
Set Enum1 range (in this case the max enum is 2).
TuyaEnumList 1,2
Now you can control the heating mode with TuyaEnum1 <x> where x is 0/1/2. If you try a number outside the Enum1 range it will throw an error.
To do the same for temperature unit select do TuyaMCU 62,103 then TuyaEnumList 2,1. Control with TuyaEnum2 0/1.