


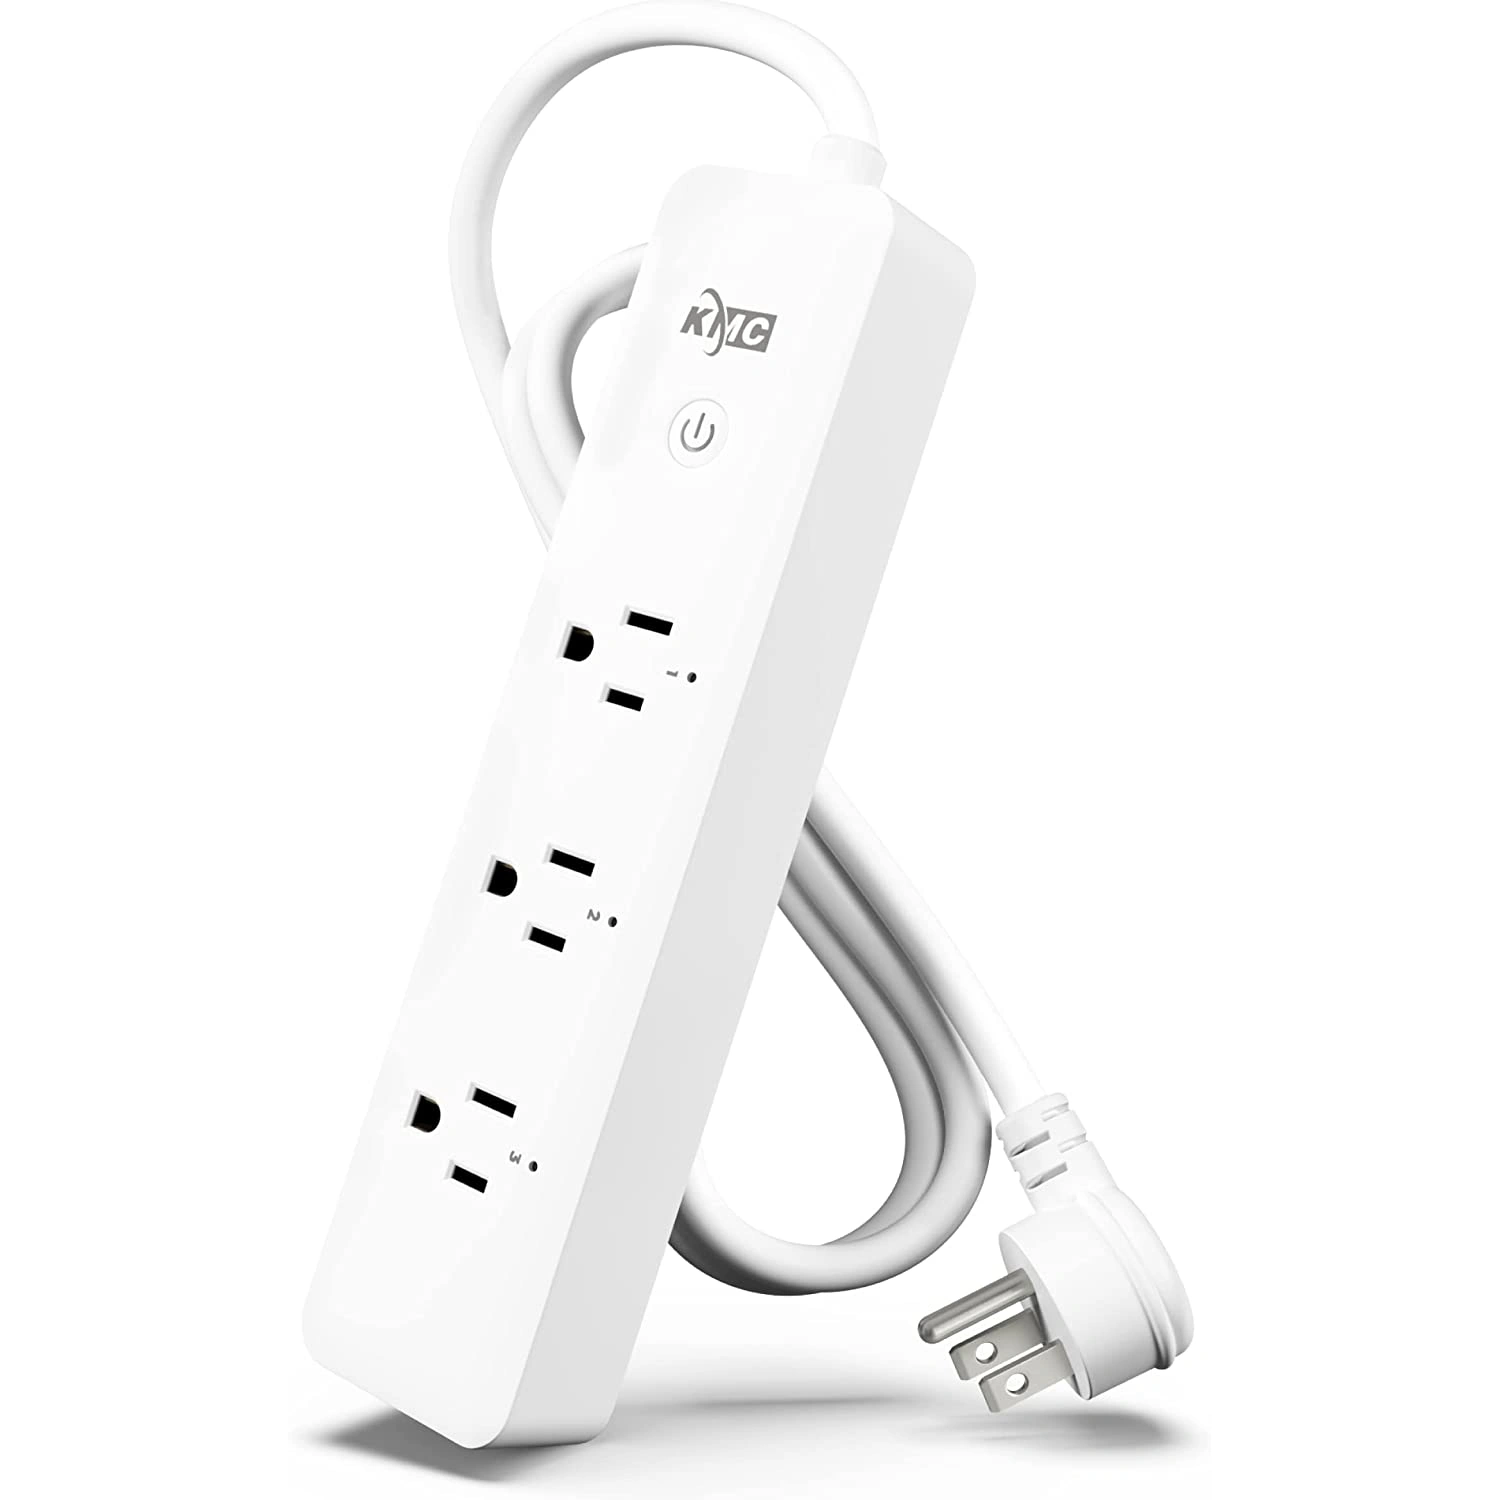
KMC Smart Strip 3 Power Strip (20307)
Available from:
Amazon.com
Install method:
Replace module
| GPIO # | Component |
|---|---|
| GPIO00 | None |
| GPIO01 | Led_i 1 |
| GPIO02 | None |
| GPIO03 | Button 1 |
| GPIO04 | None |
| GPIO05 | Relay 3 |
| GPIO09 | None |
| GPIO10 | None |
| GPIO12 | Relay 1 |
| GPIO13 | None |
| GPIO14 | Relay 2 |
| GPIO15 | None |
| GPIO16 | None |
| GPIO17 | None |
Configuration
{"NAME":"KMC 3-Outlet (20307)","GPIO":[0,320,0,32,0,226,0,0,224,0,225,0,0,0],"FLAG":0,"BASE":18}
This device uses
WB2S
module which needs to be replaced with
ESP-02S, WT-01N or WT32C3-01N. Besides the module, this process will require a heat gun, soldering tools and moderate soldering skill.
A triangle screwdriver bit is required to open the device and replace the module. The built-in WB2S module is easily desoldered with hot air and replaced with a pin-compatible TYWE2S / ESP-02S module.
It is recommended to pre-flash the ESP-02S module before soldering it to the main PCB, as reaching the GPIO0 test pad on the rear of the new ESP-02S module to ground it during boot for serial flashing is obstructed by a capacitor.