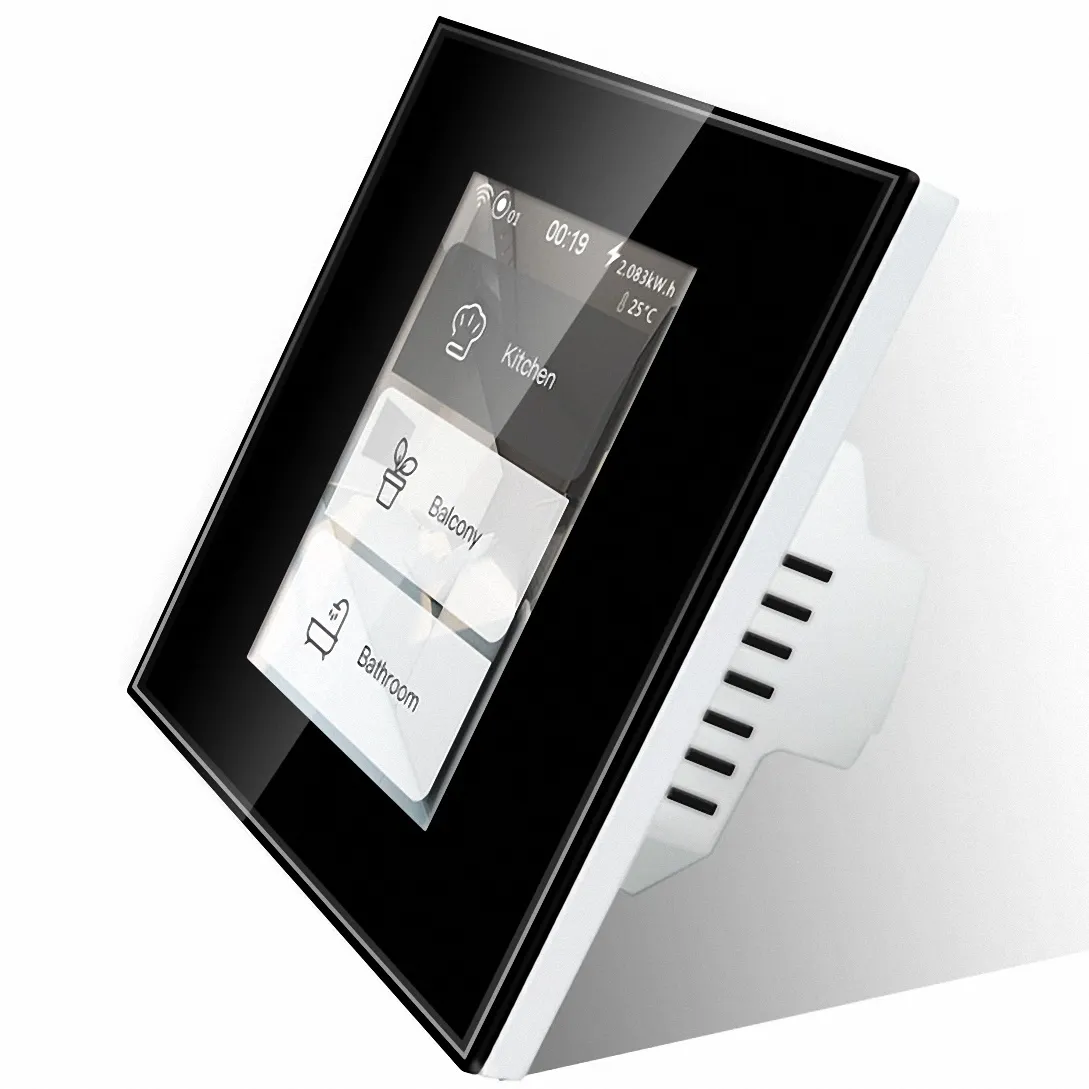
Lanbon L8 5 in 1 LCD Touch Power Monitoring Display Switch (L8-HS)

Available from:
Banggood.com
Amazon.com
Alibaba.com
Aliexpress.com
Manufacturer:
Lanbon.de
| GPIO # | Component |
|---|---|
| GPIO00 | I2C SCL 1 |
| GPIO01 | None |
| GPIO02 | None |
| GPIO03 | None |
| GPIO04 | I2C SDA 1 |
| GPIO05 | BkLight |
| GPIO09 | None |
| GPIO10 | None |
| GPIO12 | Relay 1 |
| GPIO13 | None |
| GPIO14 | Relay 2 |
| GPIO15 | None |
| GPIO16 | None |
| GPIO17 | None |
| GPIO18 | OLED Reset |
| GPIO19 | SPI CLK |
| GPIO20 | None |
| GPIO21 | SPI DC |
| GPIO22 | SPI CS |
| GPIO23 | SPI MOSI |
| GPIO24 | Option A3 |
| GPIO25 | SPI MISO |
| GPIO26 | PWM 1 |
| GPIO27 | Relay 3 |
| GPIO6 | None |
| GPIO7 | None |
| GPIO8 | None |
| GPIO11 | None |
| GPIO32 | PWM 2 |
| GPIO33 | PWM 3 |
| GPIO34 | None |
| GPIO35 | HLW8012 CF |
| GPIO36 | None |
| GPIO37 | None |
| GPIO38 | None |
| GPIO39 | None |
Configuration for ESP32
{"NAME":"Lanbon L8","GPIO":[608,0,0,0,640,992,0,0,224,0,225,0,0,0,1024,736,0,800,768,704,6210,672,416,226,0,0,0,0,417,418,0,2688,0,0,0,0],"FLAG":0,"BASE":1}
For more accurate energy consumption measurements this device requires power monitoring calibration.
For esptool.py download f.e.
The device will restart and will be automagically configured.
Flashing
Flash using Tasmota Web Installer and select tasmota32-lvgl option.For esptool.py download f.e.
tasmota32-lvgl.factory.bin
and run esptool.py write_flash 0x0 tasmota32-lvgl.factory.bin.
Auto-configuration
After flashing Tasmota, open the web UI of the device and navigate to Configuration -> Auto-configuration. Select your device from the drop-down and click Apply Configuration.The device will restart and will be automagically configured.
Working:
- Relays
- Status LEDs
- Screen
- Touch
- Power metering based on pulse counter (needs power calibration)
Not working:
- Voltage and Current metering due to the HLW8012 CF1 & SEL not connected on mains pcb
- Temperature measurement incorrect or not available on later pcb versions
Solderless Flashing
Solderless flashing instructions.
Download a compiled binary or use Tasmota development branch and set in user_config_override.h
#define USE_I2C
#define USE_DISPLAY
#define USE_SPI
#define USE_DISPLAY_ST7789
#define USE_TOUCH_BUTTONS
#define USE_FT5206
#undef USE_RULES
#define USE_SCRIPT
#define MAXBUTTONS 16
#define USE_LANBON_L8
Make sure to fully power cycle the device after applying the template.
Apply the template and issue
Backlog DisplayModel 12; DisplayRotate 0; DisplayWidth 240; DisplayHeight 320; DisplayFont 1; DisplayMode 0
Use this basic script to create touch buttons
>D
>B
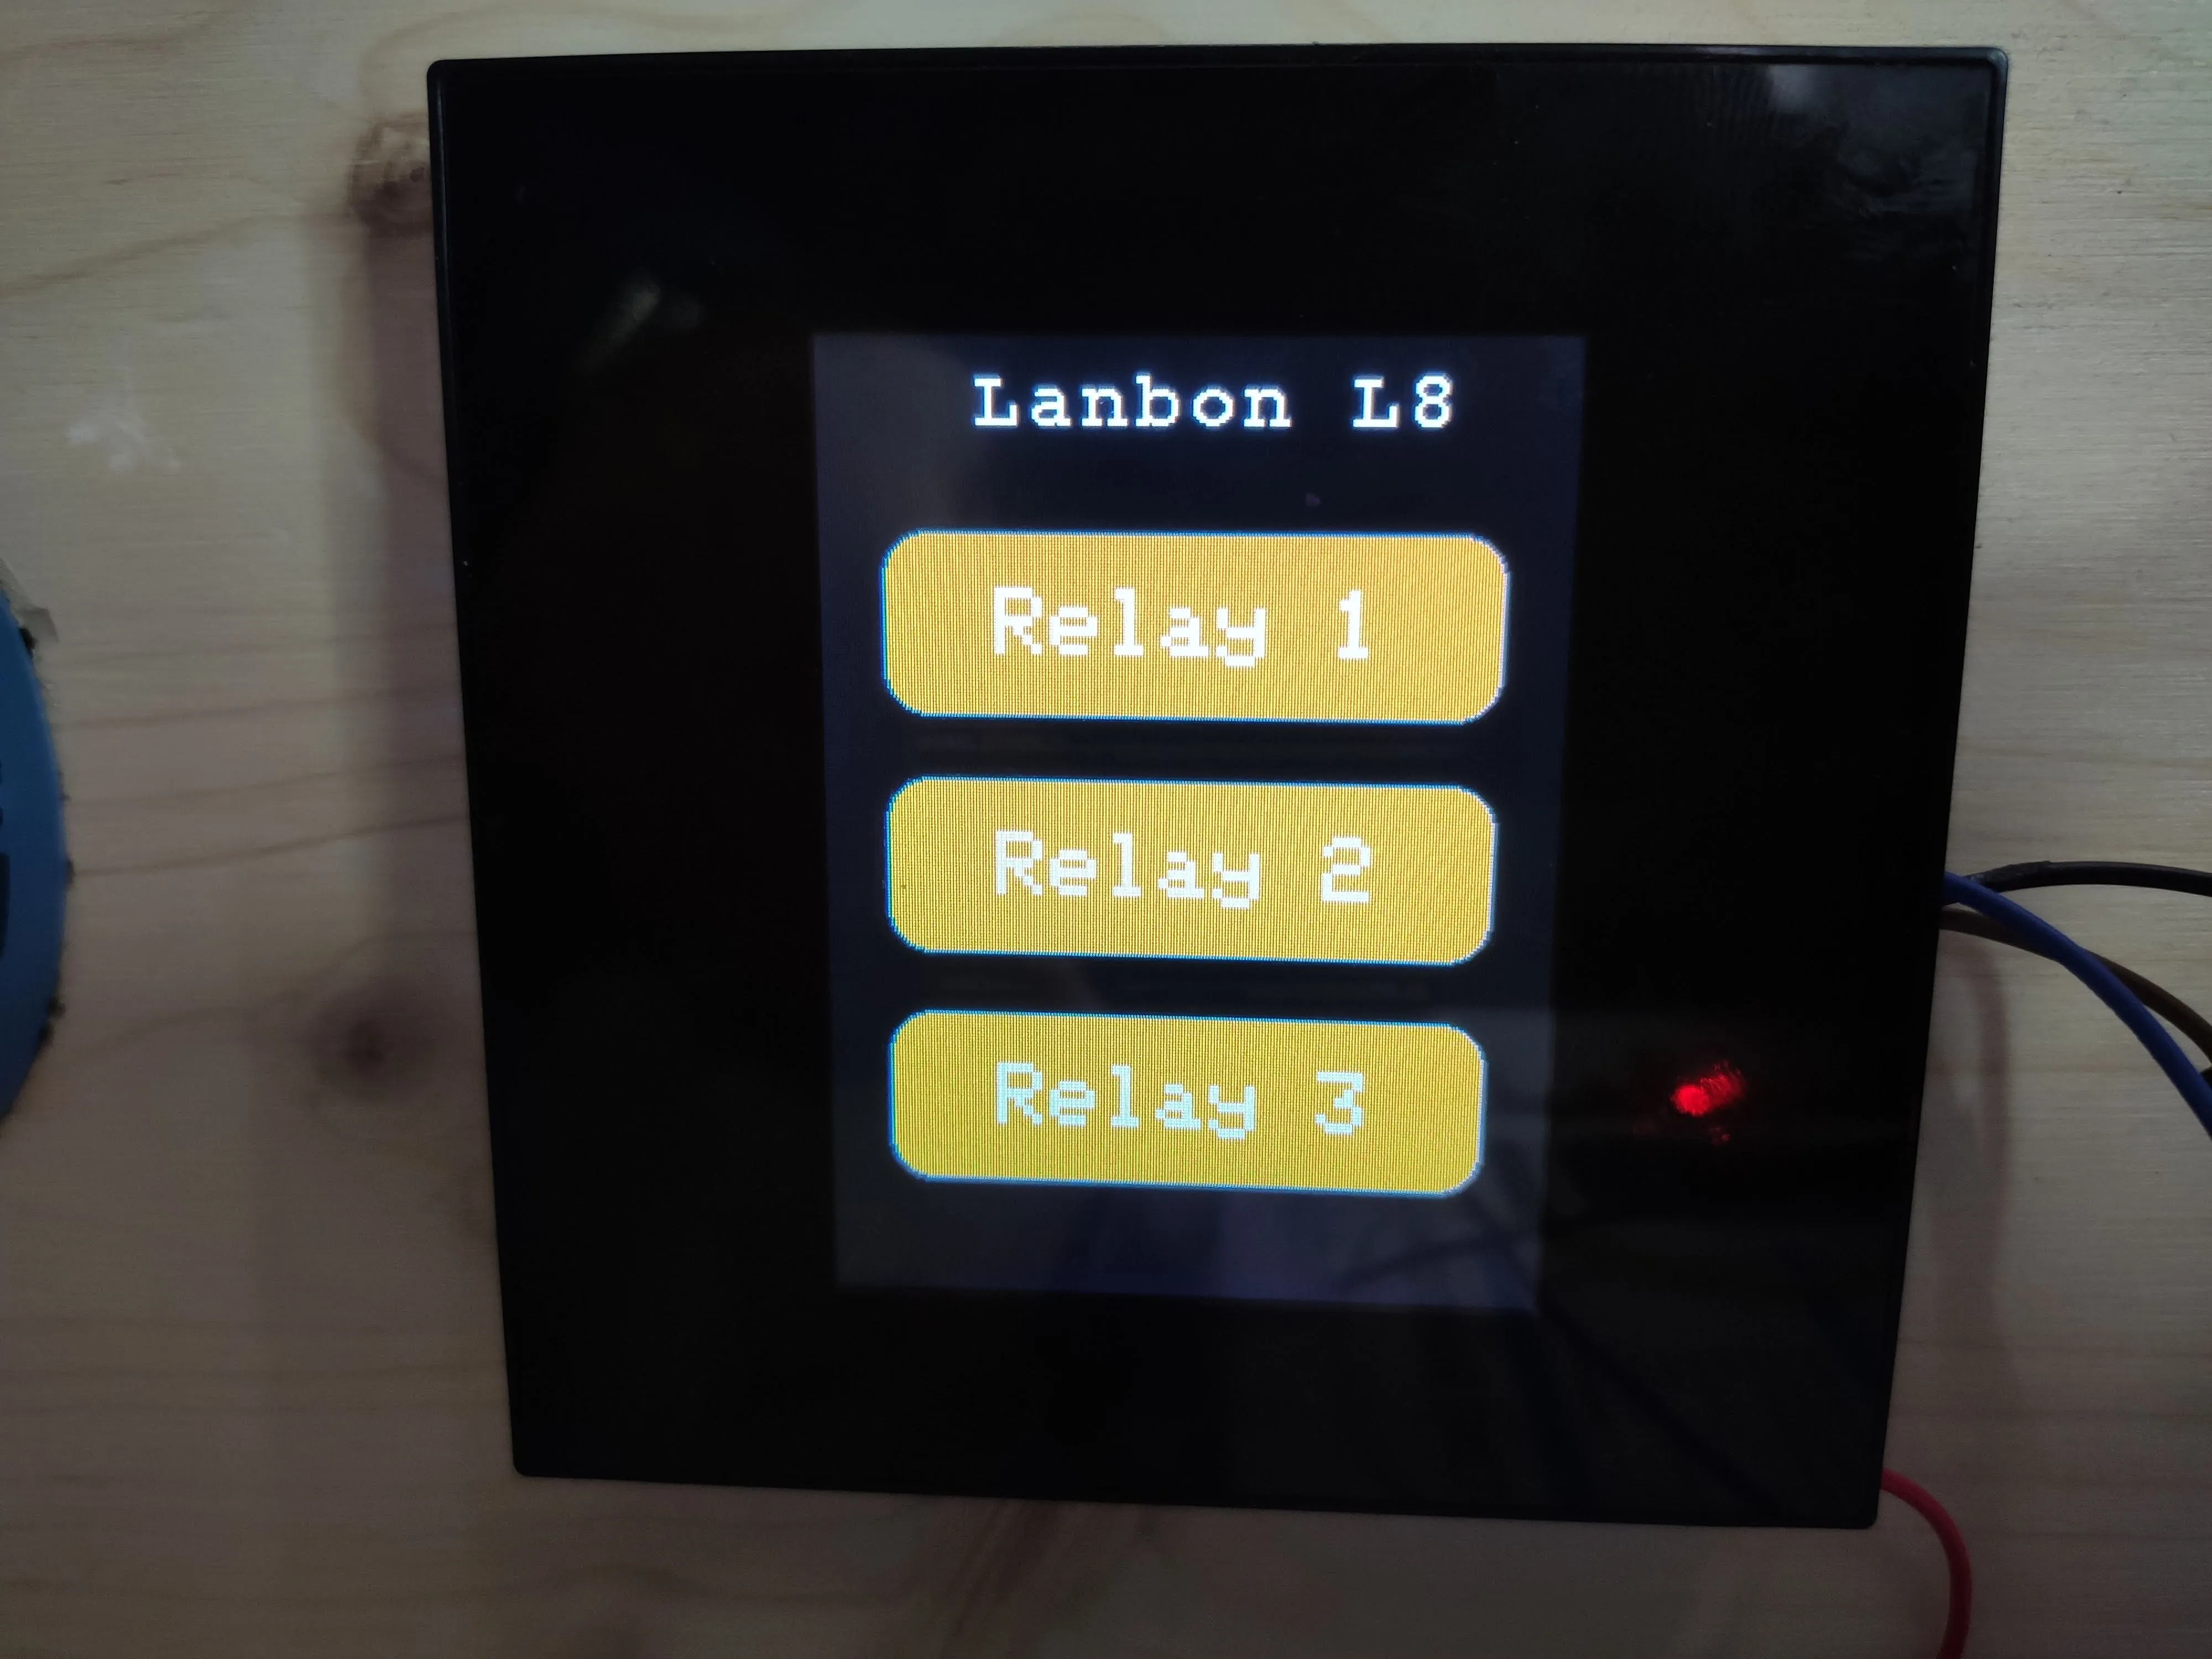
dt [B1x50y10f2]Lanbon L8
dt [b0:20:60:200:60:10:16:1:3:Relay 1:]
dt [b1:20:140:200:60:10:16:1:3:Relay 2:]
dt [b2:20:220:200:60:10:16:1:3:Relay 3:]
Buttons are automatically assigned to relays.
You have to do further scripting to set behaviour of status LEDs, turn the screen off after a timeout and display more on the screen.


