


Available from:
Amazon.co.uk
Aliexpress.com
Install method:
USB to Serial
| GPIO # | Component |
|---|---|
| GPIO00 | None |
| GPIO01 | None |
| GPIO02 | None |
| GPIO03 | None |
| GPIO04 | PWM1 |
| GPIO05 | None |
| GPIO09 | None |
| GPIO10 | None |
| GPIO12 | PWM2 |
| GPIO13 | None |
| GPIO14 | PWM3 |
| GPIO15 | None |
| GPIO16 | None |
| FLAG | None |
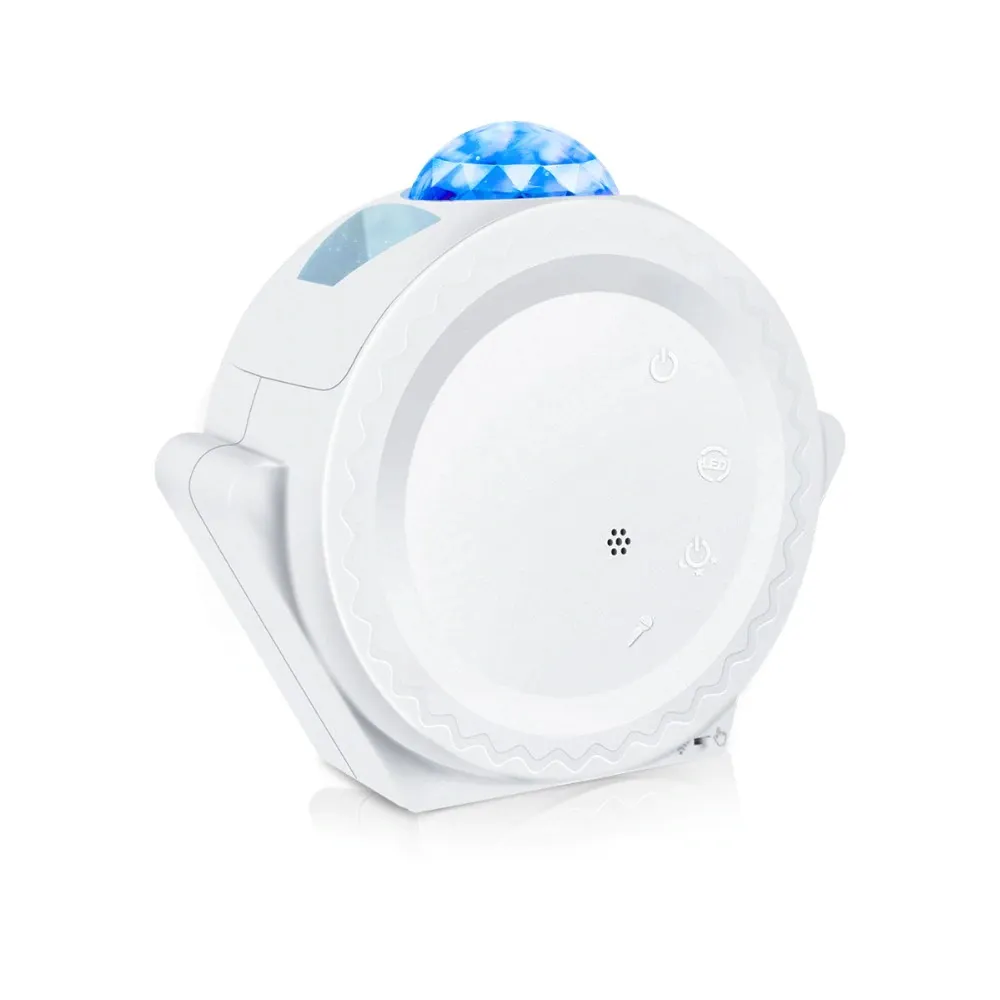
{"NAME":"STAR PROJECTOR","GPIO":[0,0,0,0,37,0,0,0,38,0,39,0,0],"FLAG":0,"BASE":18}This Star / Moon / Nebula projector appears to be driven by either a TYWE3S or a separate ST microcontroller depending on the position of the ““WiFi <> Touch”” switch.
To flash and use the TYWE3S the switch needs to be on the WiFi setting. Disassembly of the unit is simple. Wires then need to be soldered to the pins on the TYWES3 as per the guidance on the TuyaMCU Devices Page. There’s no need to ground NRST on the ST microcontroller, as the Rx / Tx pins are not connected to it.
The R, G, B components of the Nebula are driven by GPIO’s 4, 12, and 14 respectively. The Star and Moon effects do not seem to be separately controllable from the WiFi chip - they are simply come on and off with the main nebula effect.
Pinout
 .
.