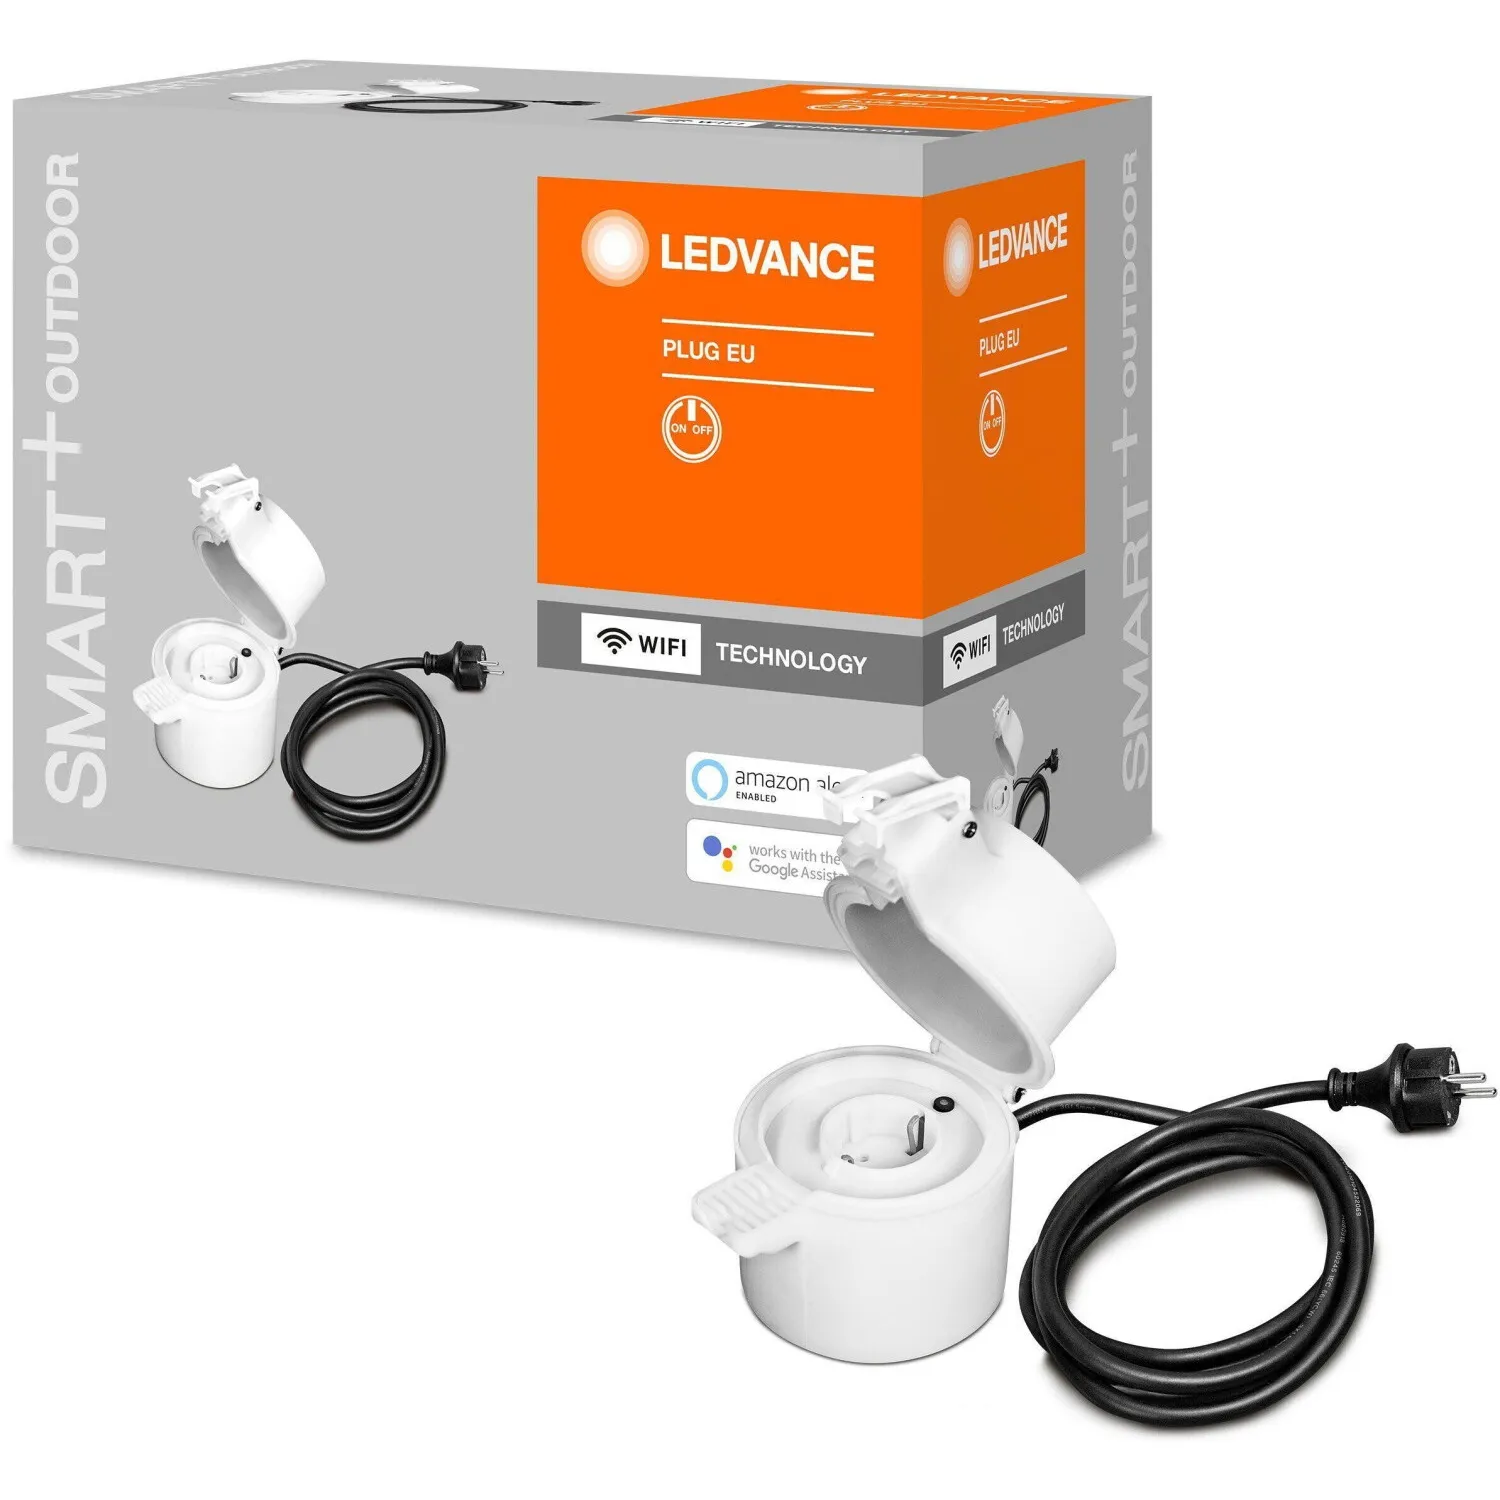
Ledvance Smart+ 16A Power Monitoring Outdoor Plug (4058075532120)

Available from:
Amazon.de
Idealo.de
Manomano.de
Conrad.com
Manufacturer:
Shop.ledvance.com
Install method:
Replace module
| GPIO # | Component |
|---|---|
| GPIO00 | None |
| GPIO01 | None |
| GPIO02 | None |
| GPIO03 | Led_i 1 |
| GPIO04 | HLW8012 CF |
| GPIO05 | HLWBL CF1 |
| GPIO09 | None |
| GPIO10 | None |
| GPIO12 | Relay 1 |
| GPIO13 | Button 1 |
| GPIO14 | HLWBL SELi |
| GPIO15 | None |
| GPIO16 | None |
| GPIO17 | None |
Configuration
{"NAME":"LEDVANCE Smart Wifi Outdoor Plug","GPIO":[0,0,0,320,2688,2656,0,0,224,32,2624,0,0,0],"FLAG":0,"BASE":18}
For more accurate energy consumption measurements this device requires power monitoring calibration.
This device uses WB2S module which needs to be replaced with ESP-02S, WT-01N or WT32C3-01N. Besides the module, this process will require a heat gun, soldering tools and moderate soldering skill.
This device uses WB2S module which needs to be replaced with ESP-02S, WT-01N or WT32C3-01N. Besides the module, this process will require a heat gun, soldering tools and moderate soldering skill.
Original comes with TUYA WB2S module, without Tasmota support. Replacing chip with TYWE2S works fine.
Do not solder RST pin to PCB - let it float. TUYA WB2S has EN(able) at this pin and PCB is pulling it to high. All other pins can be soldered back 1:1
To flash TYWE2S - best do it before soldering to PCB - connect to Rx, Tx, 3.3V, GND and GPIO (pull low).


