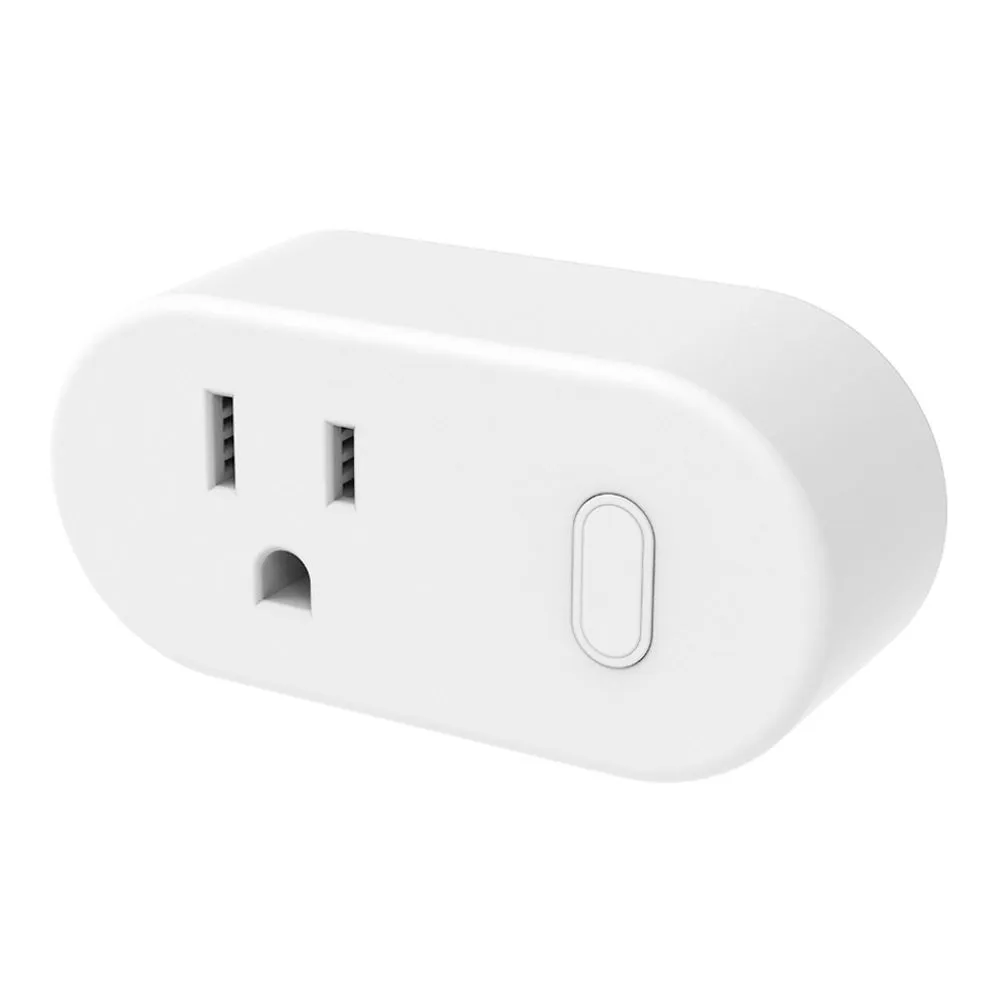
Available from:
Walmart.com
Microcenter.com
Manufacturer:
Lenovo.com
Install method:
USB to Serial
| GPIO # | Component |
|---|---|
| GPIO00 | None |
| GPIO01 | Led_i 2 |
| GPIO02 | None |
| GPIO03 | Button 1 |
| GPIO04 | BL0937 CF |
| GPIO05 | HLWBL CF1 |
| GPIO09 | None |
| GPIO10 | None |
| GPIO12 | Led_i 1 |
| GPIO13 | Relay 1 |
| GPIO14 | HLWBL SELi |
| GPIO15 | None |
| GPIO16 | None |
| GPIO17 | None |
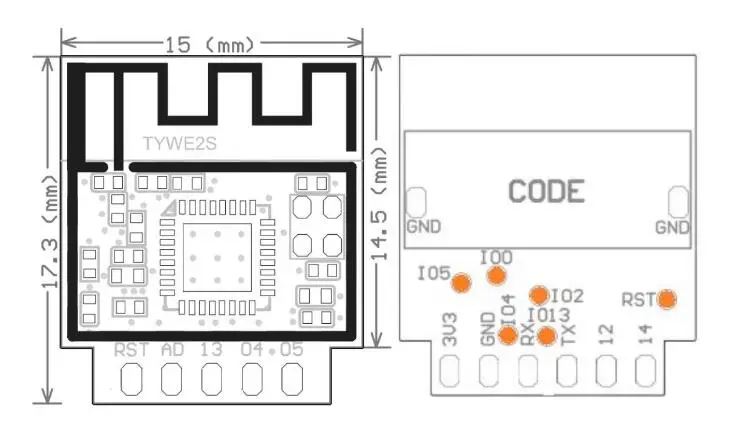
{"NAME":"Lenovo SE-341AC","GPIO":[0,321,0,32,2720,2656,0,0,320,224,2624,0,0,0],"FLAG":0,"BASE":18}I soldered leads to the 3.3V, GND, TX and RX pads were the daughter board connects to the main board. I also soldered a lead to IO0 so I could ground it while powering it up to get it into flash mode.
The outer case is connected to the inner case with a bunch of tabs around the edge. I pried them open with a small screwdriver. The outer case got pretty chewed up in the process.
Serial TX/RX pins can be accessed without any desoldering by scratching off the solder mask on the via pads adjacent to the TX/RX pins. Vcc/Gnd is accessible from the bypass capacitor.
Pinout
 .
.


