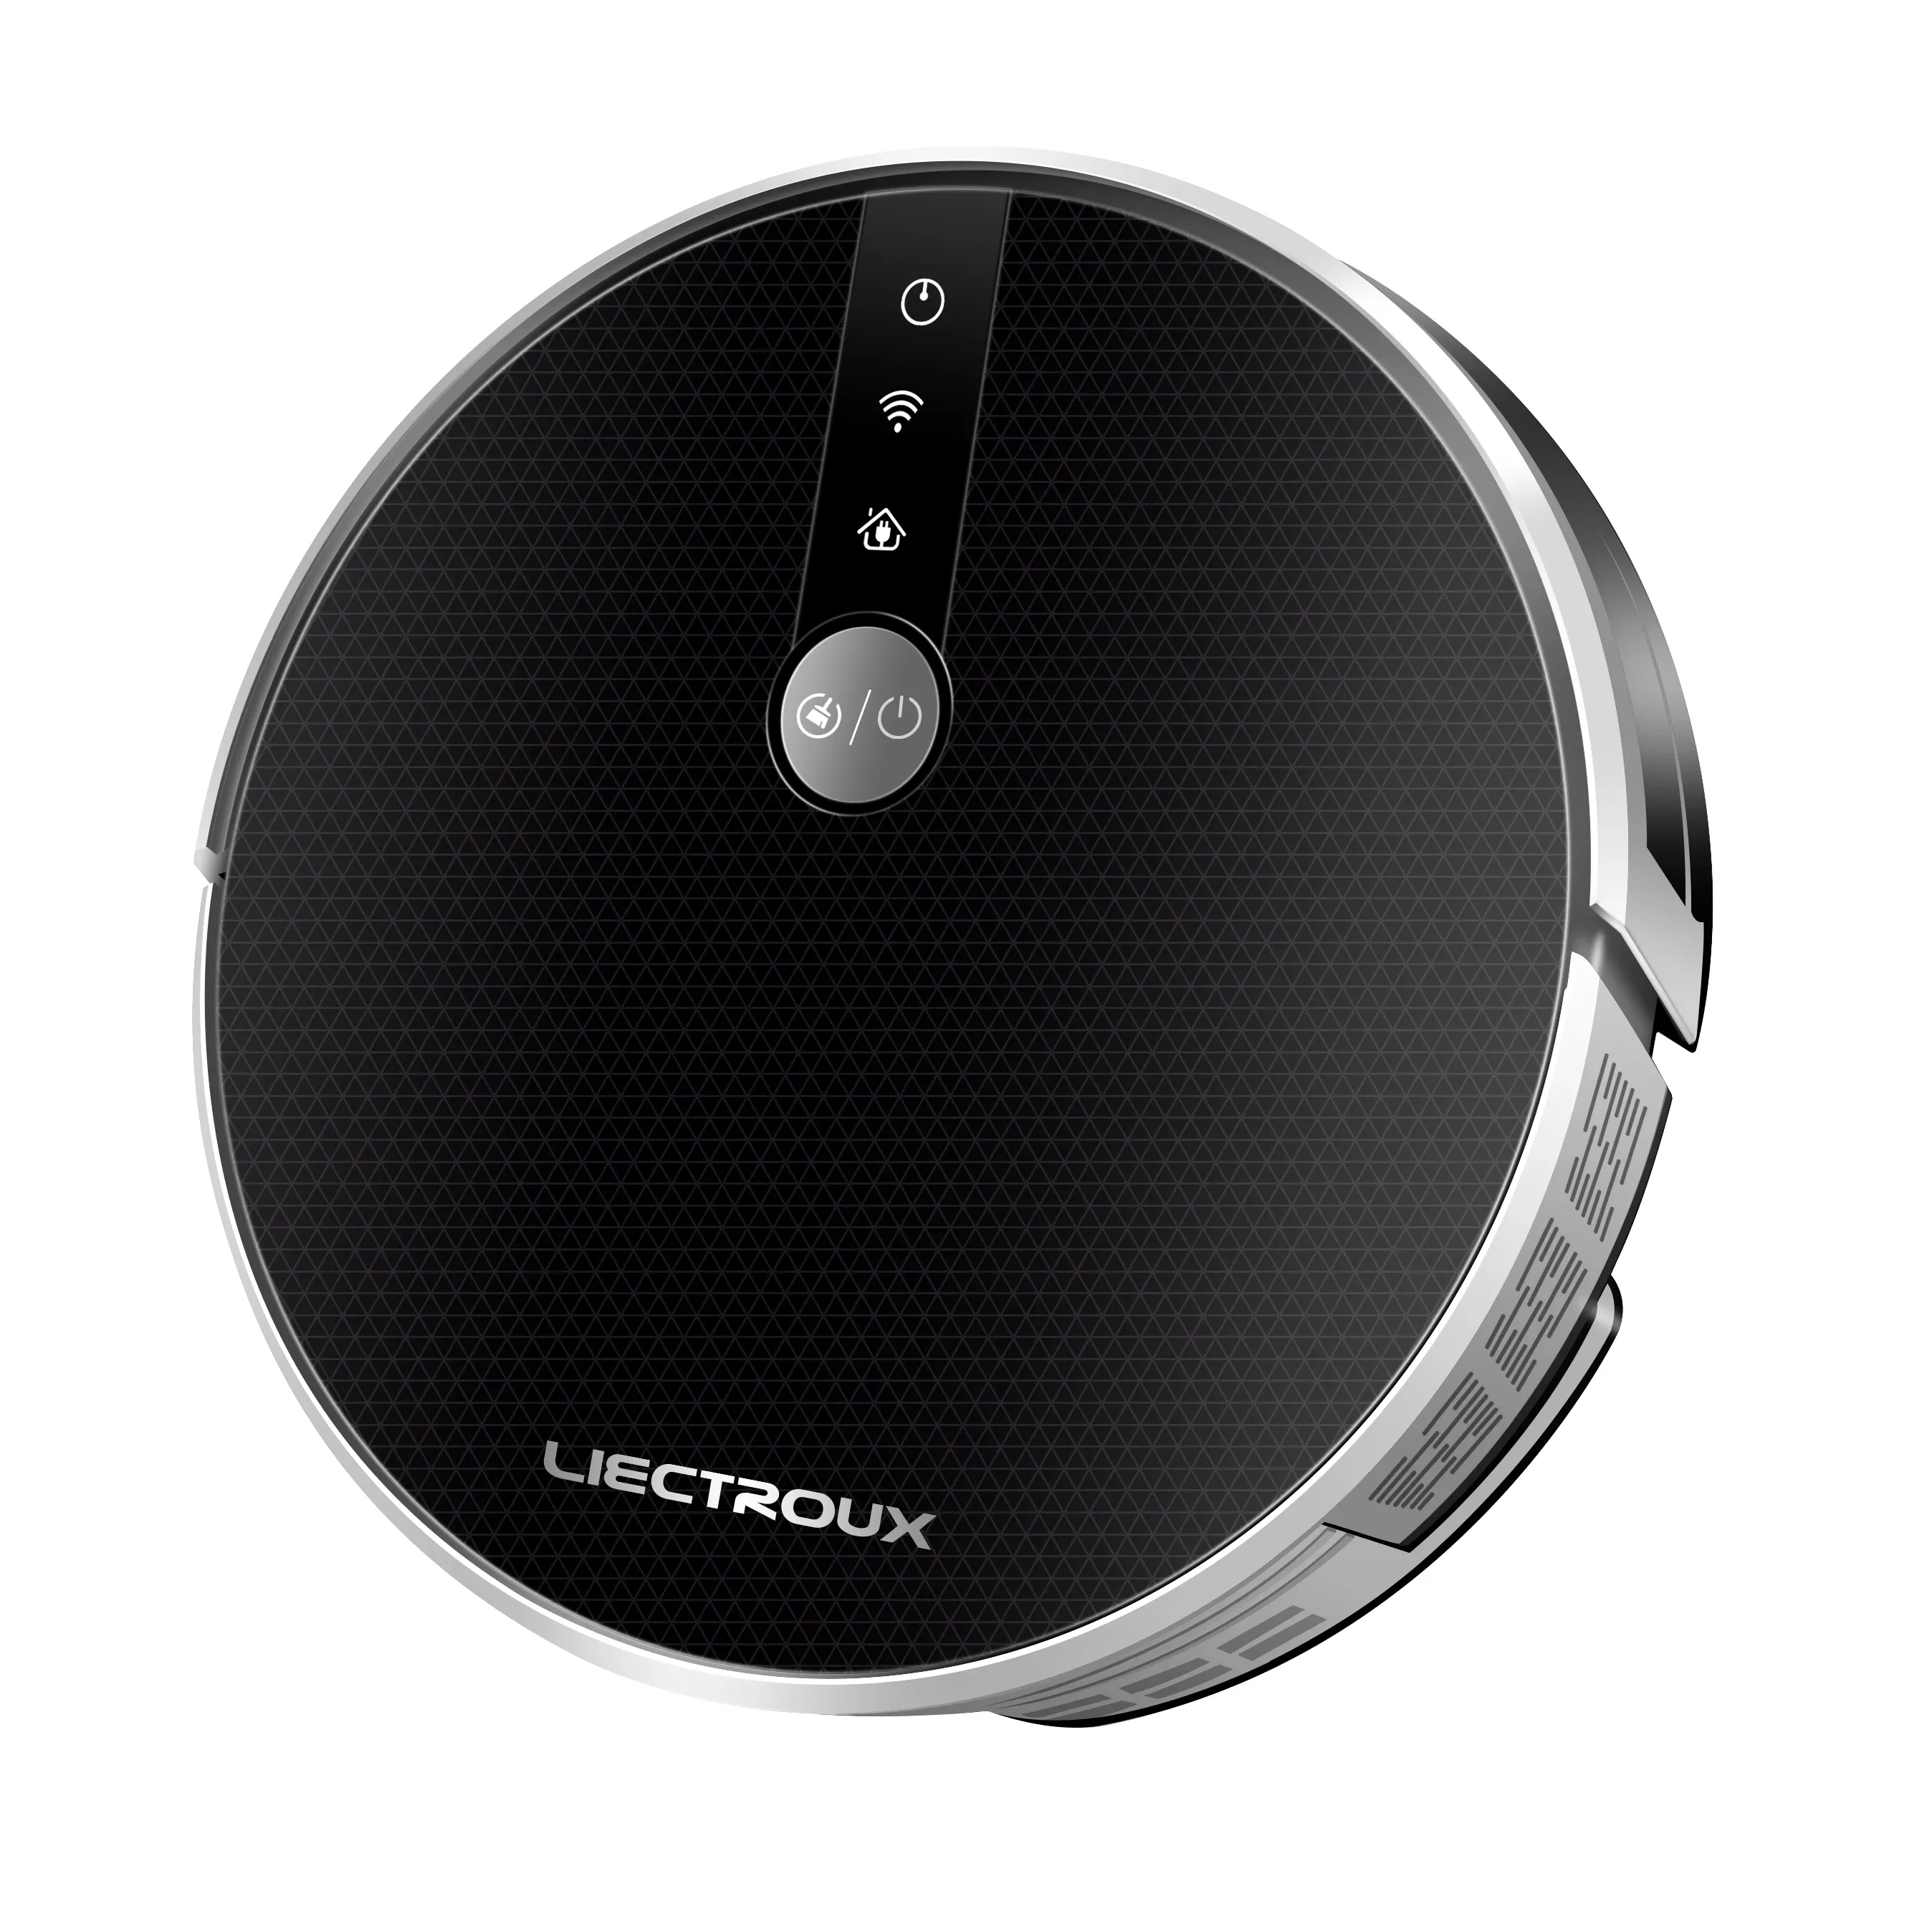
Available from:
Aliexpress.com
Amazon.com
Geekbuying.com
Install method:
Replace module
| GPIO # | Component |
|---|---|
| GPIO00 | User |
| GPIO01 | User |
| GPIO02 | User |
| GPIO03 | User |
| GPIO04 | User |
| GPIO05 | User |
| GPIO09 | None |
| GPIO10 | None |
| GPIO12 | User |
| GPIO13 | User |
| GPIO14 | User |
| GPIO15 | User |
| GPIO16 | User |
| GPIO17 | None |
{"NAME":"Liectroux C30B","GPIO":[1,1,1,1,1,1,0,0,1,1,1,1,1,0],"FLAG":0,"BASE":54}
WR3 module is connected to the main PCB with a long cable that can be cut down and connected to an ESP8266. A D1 Mini or an ESP-M3 without the pins soldered is preferable. You will also need some double tape to mount it in place
.jpg)
Once the ESP8266 is installed and flashed with Tasmota, select TuyaMCU module and activate publishing TuyaReceived to MQTT:
Backlog Module 54; SetOption66 1
Activate also this rule to inform the TuyaMCU that the WiFi connection is ok (this eliminates the problem with wifi module rebooting all the time):
Backlog Rule1 1; Rule1 on TuyaReceived#Cmnd=43 do SerialSend5 55aa002b0001042f endon
MCU Product ID: {"p":"imk0pcrtmyx9cbfg","v":"1.2.2","m":1}
{"TuyaReceived":{"Data":"55AA03070005010100010112","Cmnd":7,"CmndData":"0101000101","DpType1Id1":1,"1":{"DpId":1,"DpIdType":1,"DpIdData":"01"}}}
{"TuyaReceived":{"Data":"55AA030700050B050001001F","Cmnd":7,"CmndData":"0B05000100","DpType5Id11":"0x00","11":{"DpId":11,"DpIdType":5,"DpIdData":"00"}}}
{"TuyaReceived":{"Data":"55AA030700080E0200040000006489","Cmnd":7,"CmndData":"0E02000400000064","DpType2Id14":100,"14":{"DpId":14,"DpIdType":2,"DpIdData":"00000064"}}}
{"TuyaReceived":{"Data":"55AA03070005190100010029","Cmnd":7,"CmndData":"1901000100","DpType1Id25":0,"25":{"DpId":25,"DpIdType":1,"DpIdData":"00"}}}
{"TuyaReceived":{"Data":"55AA030700051A0400010431","Cmnd":7,"CmndData":"1A04000104","DpType4Id26":4,"26":{"DpId":26,"DpIdType":4,"DpIdData":"04"}}}
{"TuyaReceived":{"Data":"55AA030700051B040001002E","Cmnd":7,"CmndData":"1B04000100","DpType4Id27":0,"27":{"DpId":27,"DpIdType":4,"DpIdData":"00"}}}
{"TuyaReceived":{"Data":"55AA030700051C0400010635","Cmnd":7,"CmndData":"1C04000106","DpType4Id28":6,"28":{"DpId":28,"DpIdType":4,"DpIdData":"06"}}}
{"TuyaReceived":{"Data":"55AA030700051E0400010233","Cmnd":7,"CmndData":"1E04000102","DpType4Id30":2,"30":{"DpId":30,"DpIdType":4,"DpIdData":"02"}}}
{"TuyaReceived":{"Data":"55AA030700051F010001002F","Cmnd":7,"CmndData":"1F01000100","DpType1Id31":0,"31":{"DpId":31,"DpIdType":1,"DpIdData":"00"}}}
{"TuyaReceived":{"Data":"55AA03070008200200040000000037","Cmnd":7,"CmndData":"2002000400000000","DpType2Id32":0,"32":{"DpId":32,"DpIdType":2,"DpIdData":"00000000"}}}
{"TuyaReceived":{"Data":"55AA03070008210200040000000038","Cmnd":7,"CmndData":"2102000400000000","DpType2Id33":0,"33":{"DpId":33,"DpIdType":2,"DpIdData":"00000000"}}}
- DpType1Id1: Switch Sleep/Wakeup (useless)
- DpType5Id11: Fault Sensor
- DpType2Id14: Battery % in Hex
- DpType1Id25: Switch Pause/Resume
- DpType4Id26: Move Directions [0 “Front”, 1 “Back”, 2 “Right”, 3 “Left”, 4 “Stop”]
- DpType4Id27: Switch Vacuum State [0 “Standby” - 1 “Smart” - 2 “Spiral” - 3 “Single” - 4 “Wall Follow” - 5 “Go Charge”]
- DpType4Id28: Vacuum State Sensor
- DpType4Id30: Suction Power
- DpType1Id31: Switch Mute/Unmute
- DpType2Id32: Cleaned Area (useless)
- DpType2Id33: Cleaned Time
Home Assistant
I’ve added the Vacuum to Home Assistant, the configuration can be downloaded here https://github.com/Sthopeless/trvc/blob/master/vacuum_black.yaml
It is added to Home Assistant as a Package
I am using the Lovelace Vacuum Card
.png)
The icon without background:


