


Available from:
Aliexpress.com
Tinytronics.nl
Manufacturer:
Wemos.cc
| GPIO # | Component |
|---|---|
| GPIO00 | Rotary B_n 1 |
| GPIO01 | Relay 1 |
| GPIO02 | Relay 2 |
| GPIO03 | Relay 3 |
| GPIO04 | User |
| GPIO05 | BkLight |
| GPIO09 | User |
| GPIO10 | User |
| GPIO12 | SPI MISO |
| GPIO13 | SPI MOSI |
| GPIO14 | SPI CLK |
| GPIO15 | ??? |
| GPIO16 | ??? |
| GPIO17 | User |
{"NAME":"Lolin TFT 2.4 Touch Shield","GPIO":[224,225,226,1,1,6400,1,1,1,1,1,1,1,7264,736,672,0,1,992,704,0,1,6368,1,0,0,0,0,1,1,1,1,1,0,0,1],"FLAG":0,"BASE":1}{"NAME":"Lolin TFT 2.4 Touch Shield","GPIO":[6784,224,225,226,1,992,1,1,672,704,736,5920,5888,1],"FLAG":0,"BASE":18}How this was tested
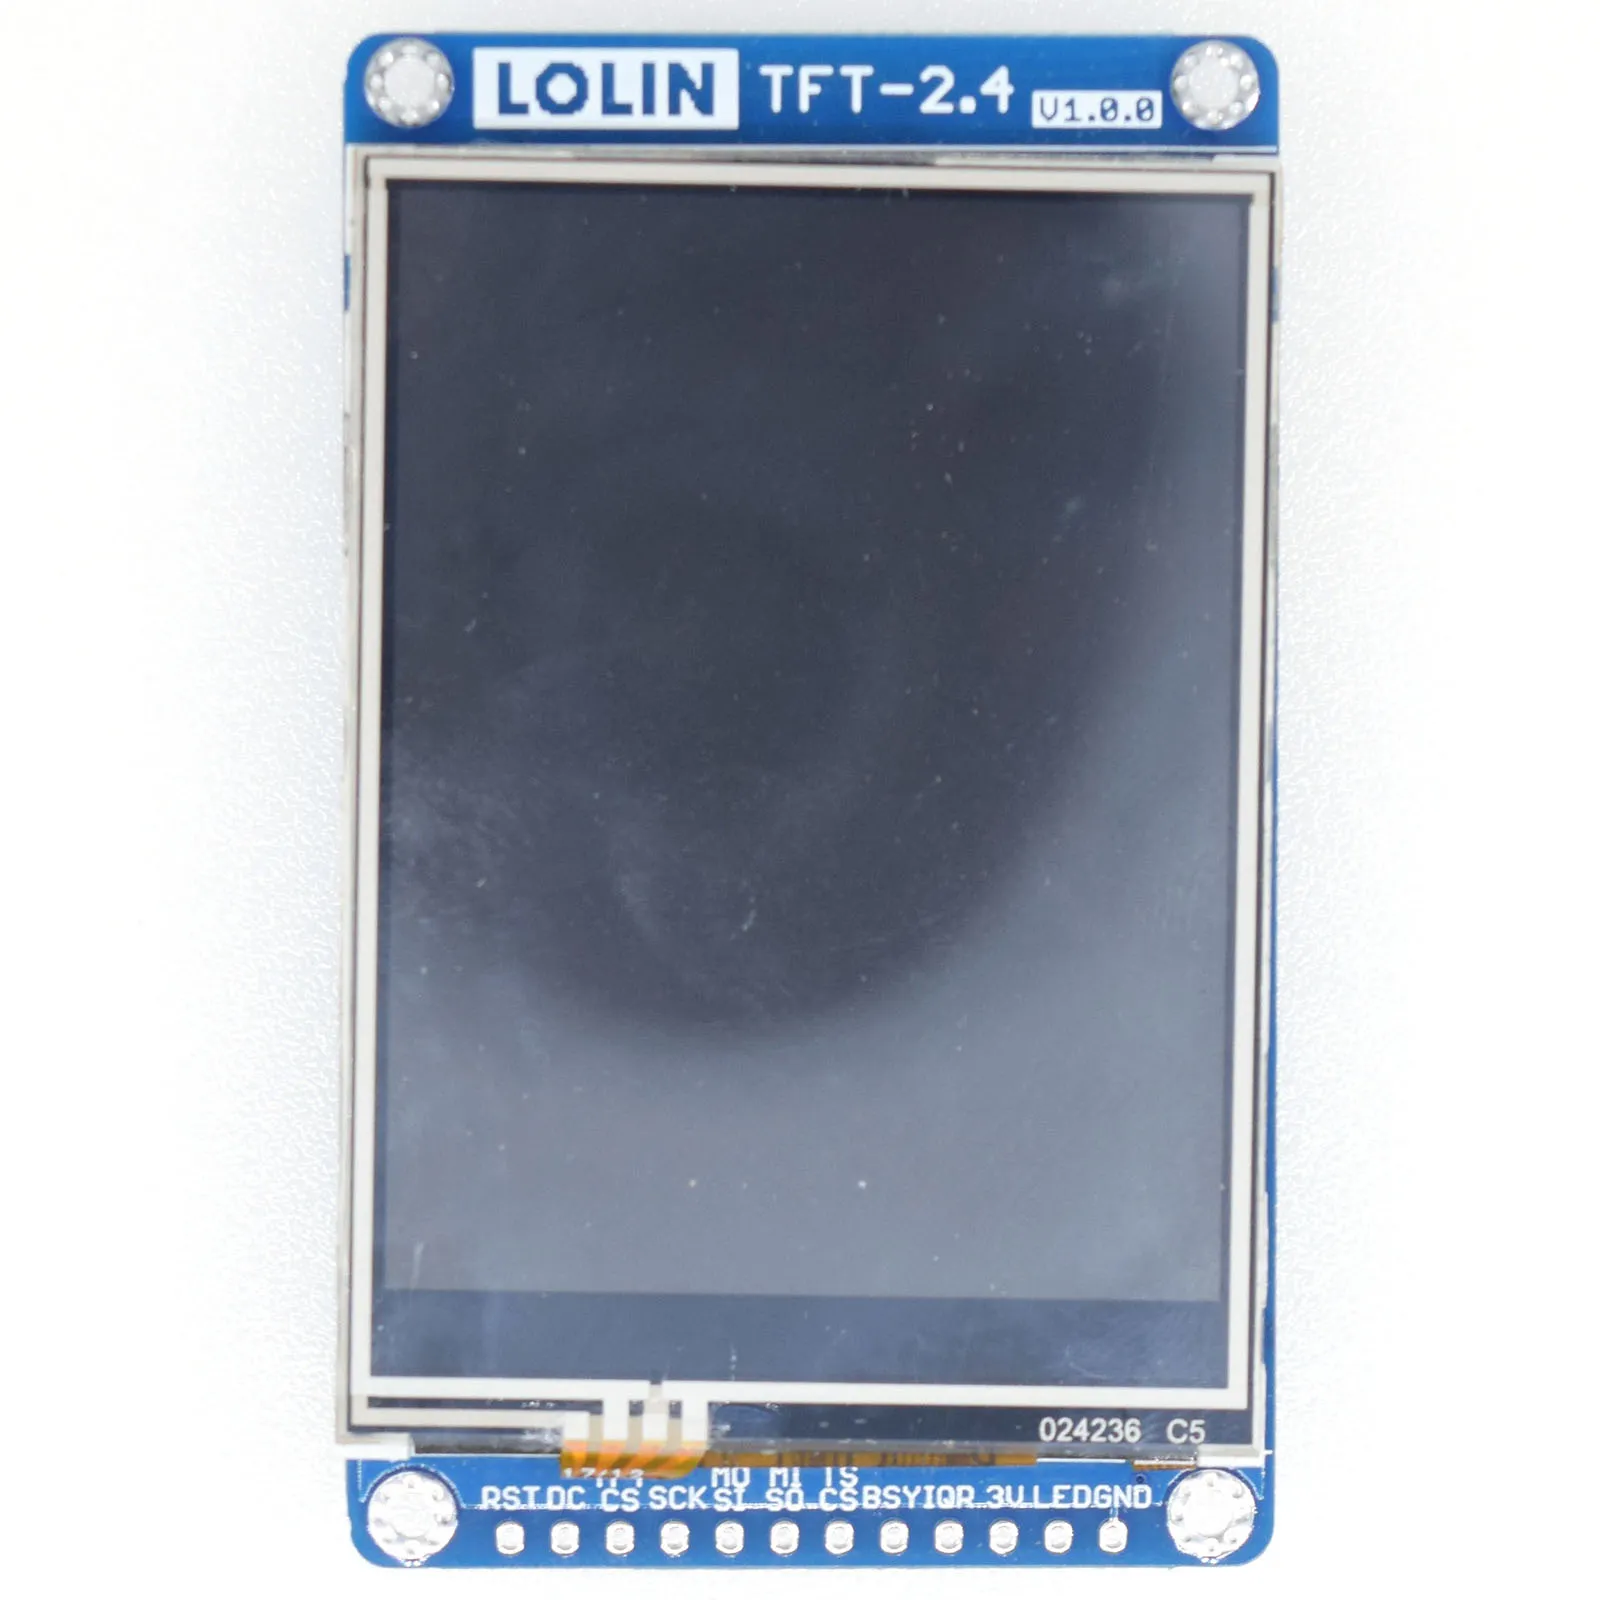
Display:
- TFT-2.4 v1.1.0
ESP:
- Lolin D1 Mini v3 ESP8266 with 4MB flash
- D1 Mini ESP32
Connection:
- D1 Mini directly on the back of the TFT shield, make sure you line up pins correctly
- or TFT I2C Connector Shield v1.1.0 and TFT ePaper 10P Cable
- If you want to put the D1 Mini ESP32 directly on the back of the display shield, make sure you only solder the 16 legs the D1 Mini ESP8266 has. The connector on the back of the display has the outer and inner pins 1-on-1 connected while on the ESP32 they are completely different.
Software:
- Tasmota v10.1.0
- PlatformIO CLI to build
- Tasmotizer to flash the D1 Mini v3 ESP8266
- Esptool to flash the D1 Mini ESP32
Remarks
- Don’t forget to enable the template using Configuration > Configure Module
- The last Toggle button in the Tasmota web interface can be used to enable/disable the display
Custom Build
To use all features of this touch shield, you will need to do a custom build with these settings in tasmota/user_config_override.h:
#define USE_SPI
#define USE_DISPLAY
#define USE_DISPLAY_ILI9341
#define USE_XPT2046
#define USE_TOUCH_BUTTONS
#define USE_UFILESYS   // Required for USE_TOUCH_BUTTONS to work
#define USE_SCRIPT
#undef USE_RULES
I used platformio run -e tasmota and platformio run -e tasmota32 to build. (on MacOS or Linux)
Configure Display
In the Tasmota web interface paste in Consoles > Console:
Backlog
DisplayWidth 240;
DisplayHeight 320;
DisplayRows 40;
DisplayCols 34;
DisplayRotate 0;
DisplayFont 1;
DisplayMode 0;
Script for buttons
In the Tasmota web interface go to Consoles > Edit Script
Enable the checkbox Script enable
Paste this script:
>D
>B
->DisplayReinit
dt [B1C63488x45y15f2]Lolin TFT
dt [b0:20:60:200:60:10:10:1:3:Relay 1:]
dt [b1:20:140:200:60:10:10:1:3:Relay 2:]
dt [b2:20:220:200:60:10:10:1:3:Relay 3:]
Click Save
These dt lines are in fact DisplayText commands, the b0,b1,b2 create touch buttons. The numbers define position, size and colors.
Flash Command for ESP32
On Linux or MacOS:
esptool.py \
  --chip esp32 \
  --port /dev/tty.usbserial* \
  --baud 921600 \
  --before default_reset \
  --after hard_reset write_flash \
  -z \
  --flash_mode dout \
  --flash_freq 40m \
  --flash_size detect \
  0x1000 tools/Esptool/ESP32/bootloader_dout_40m.bin \
  0x8000 tools/Esptool/ESP32/partitions.bin \
  0xe000 tools/Esptool/ESP32/boot_app0.bin \
  0x10000 build_output/firmware/tasmota32.bin
The ESP8266 can easily be flashed with Tasmotizer.
Result
The buttons will switch the configured relays without any extra scripting or configuration.
