


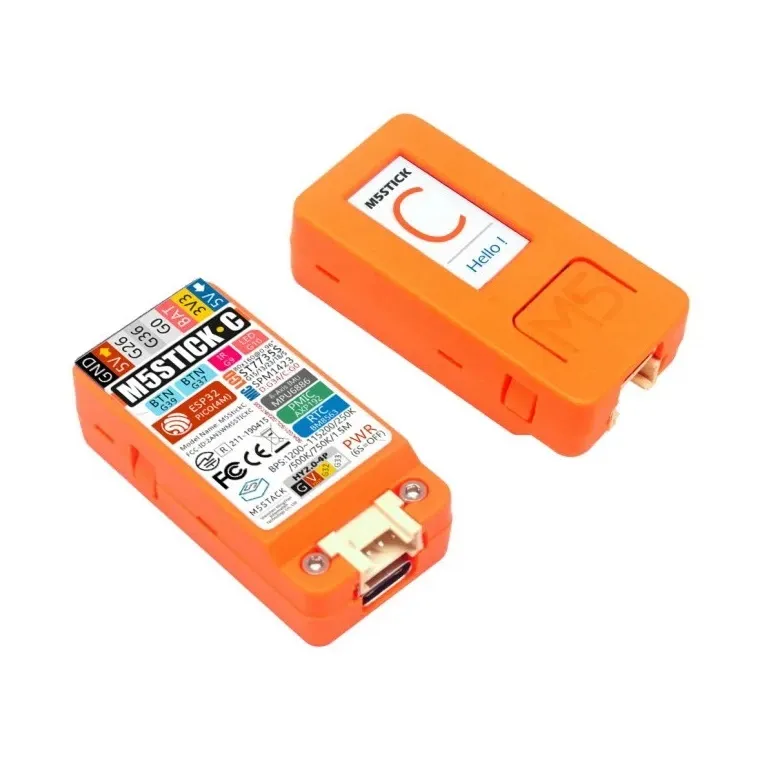
M5Stack M5StickC Display (K016-C)
Available from:
Aliexpress.com
Amazon.com
Manufacturer:
Shop.m5stack.com
| GPIO # | Component |
|---|---|
| GPIO00 | User |
| GPIO01 | None |
| GPIO02 | None |
| GPIO03 | None |
| GPIO04 | None |
| GPIO05 | SPI CS |
| GPIO09 | IRsend |
| GPIO10 | LedLinki |
| GPIO12 | None |
| GPIO13 | SPI CLK |
| GPIO14 | None |
| GPIO15 | SPI MOSI |
| GPIO16 | None |
| GPIO17 | None |
| GPIO18 | OLED Reset |
| GPIO19 | None |
| GPIO20 | None |
| GPIO21 | I2C SDA 2 |
| GPIO22 | I2C SCL 2 |
| GPIO23 | SPI DC |
| GPIO24 | None |
| GPIO25 | None |
| GPIO26 | User |
| GPIO27 | None |
| GPIO6 | None |
| GPIO7 | None |
| GPIO8 | None |
| GPIO11 | None |
| GPIO32 | I2C SDA 1 |
| GPIO33 | I2C SCL 1 |
| GPIO34 | User |
| GPIO35 | None |
| GPIO36 | User |
| GPIO37 | Button 1 |
| GPIO38 | Option A3 |
| GPIO39 | Button 2 |
Configuration for ESP32
{"NAME":"M5StickC","GPIO":[1,0,0,0,0,768,1056,576,0,736,0,704,0,0,1024,0,0,641,609,800,0,0,1,0,0,0,0,0,640,608,1,0,1,32,6210,33],"FLAG":0,"BASE":1}
Use code
For esptool.py download f.e.
The device will restart and will be automagically configured.
BLAKADDER17 when buying from shop.m5stack.com store for a 5% discount.
Flashing
Flash using Tasmota Web Installer and select tasmota32-lvgl option.For esptool.py download f.e.
tasmota32-lvgl.factory.bin
and run esptool.py write_flash 0x0 tasmota32-lvgl.factory.bin.
Auto-configuration
After flashing Tasmota, open the web UI of the device and navigate to Configuration -> Auto-configuration. Select your device from the drop-down and click Apply Configuration.The device will restart and will be automagically configured.
See this example on how to use the microphone.
This device uses an FTDI serial-to-USB chip. If your device isn’t found install drivers.