


Available from:
Master.com.mx
Manufacturer:
Master.com.mx
Install method:
USB to Serial
| GPIO # | Component |
|---|---|
| GPIO00 | Button 1 |
| GPIO01 | None |
| GPIO02 | None |
| GPIO03 | None |
| GPIO04 | None |
| GPIO05 | Relay 2 |
| GPIO09 | Button 2 |
| GPIO10 | None |
| GPIO12 | Relay 1 |
| GPIO13 | Led_i 1 |
| GPIO14 | None |
| GPIO15 | None |
| GPIO16 | None |
| GPIO17 | None |
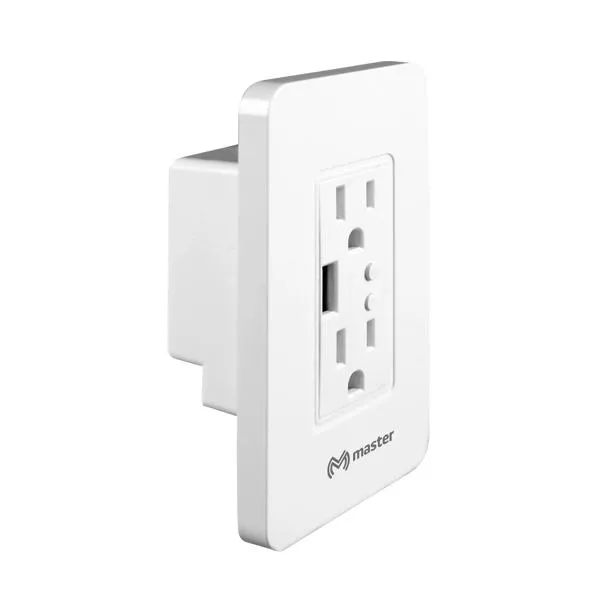
{"NAME":"Master_IOT-WLSOCKET","GPIO":[32,0,0,0,0,225,33,0,224,320,0,0,0,0],"FLAG":0,"BASE":18}Disconnect from mains. Completely remove the screws used to connect to mains, ground and neutral. Remove the back plastic cover, inside, disconnect the four pin cable from main board, then proceed to remove the front center face plate, you can access it from the sides of the device. There you will see another PCB board, remove those two phillips screws and carefully remove the board takeing care of the four pin cable so you wont rip it.
There you will se a ESP8285 wifi board, where you can access TX, RX, 3V, G and GPIO0 from the back and either solder some pins there or try to hold it with tape or something and us a TTL - USB to flash Tasmota.