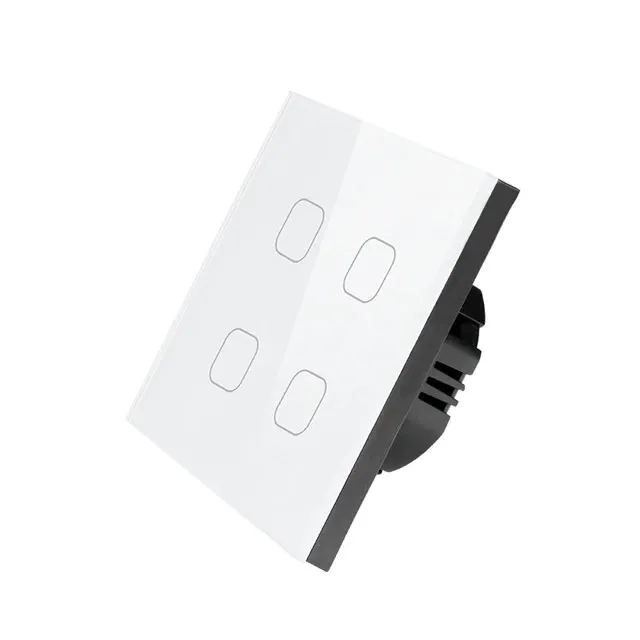
Available from:
Aliexpress.com
Aliexpress.com
Install method:
USB to Serial
| GPIO # | Component |
|---|---|
| GPIO00 | Button1 |
| GPIO01 | None |
| GPIO02 | None |
| GPIO03 | None |
| GPIO04 | Relay3 |
| GPIO05 | Relay2 |
| GPIO09 | Button2 |
| GPIO10 | Button3 |
| GPIO12 | Relay1 |
| GPIO13 | LedLinki |
| GPIO14 | Button4 |
| GPIO15 | Relay4 |
| GPIO16 | None |
| FLAG | None |
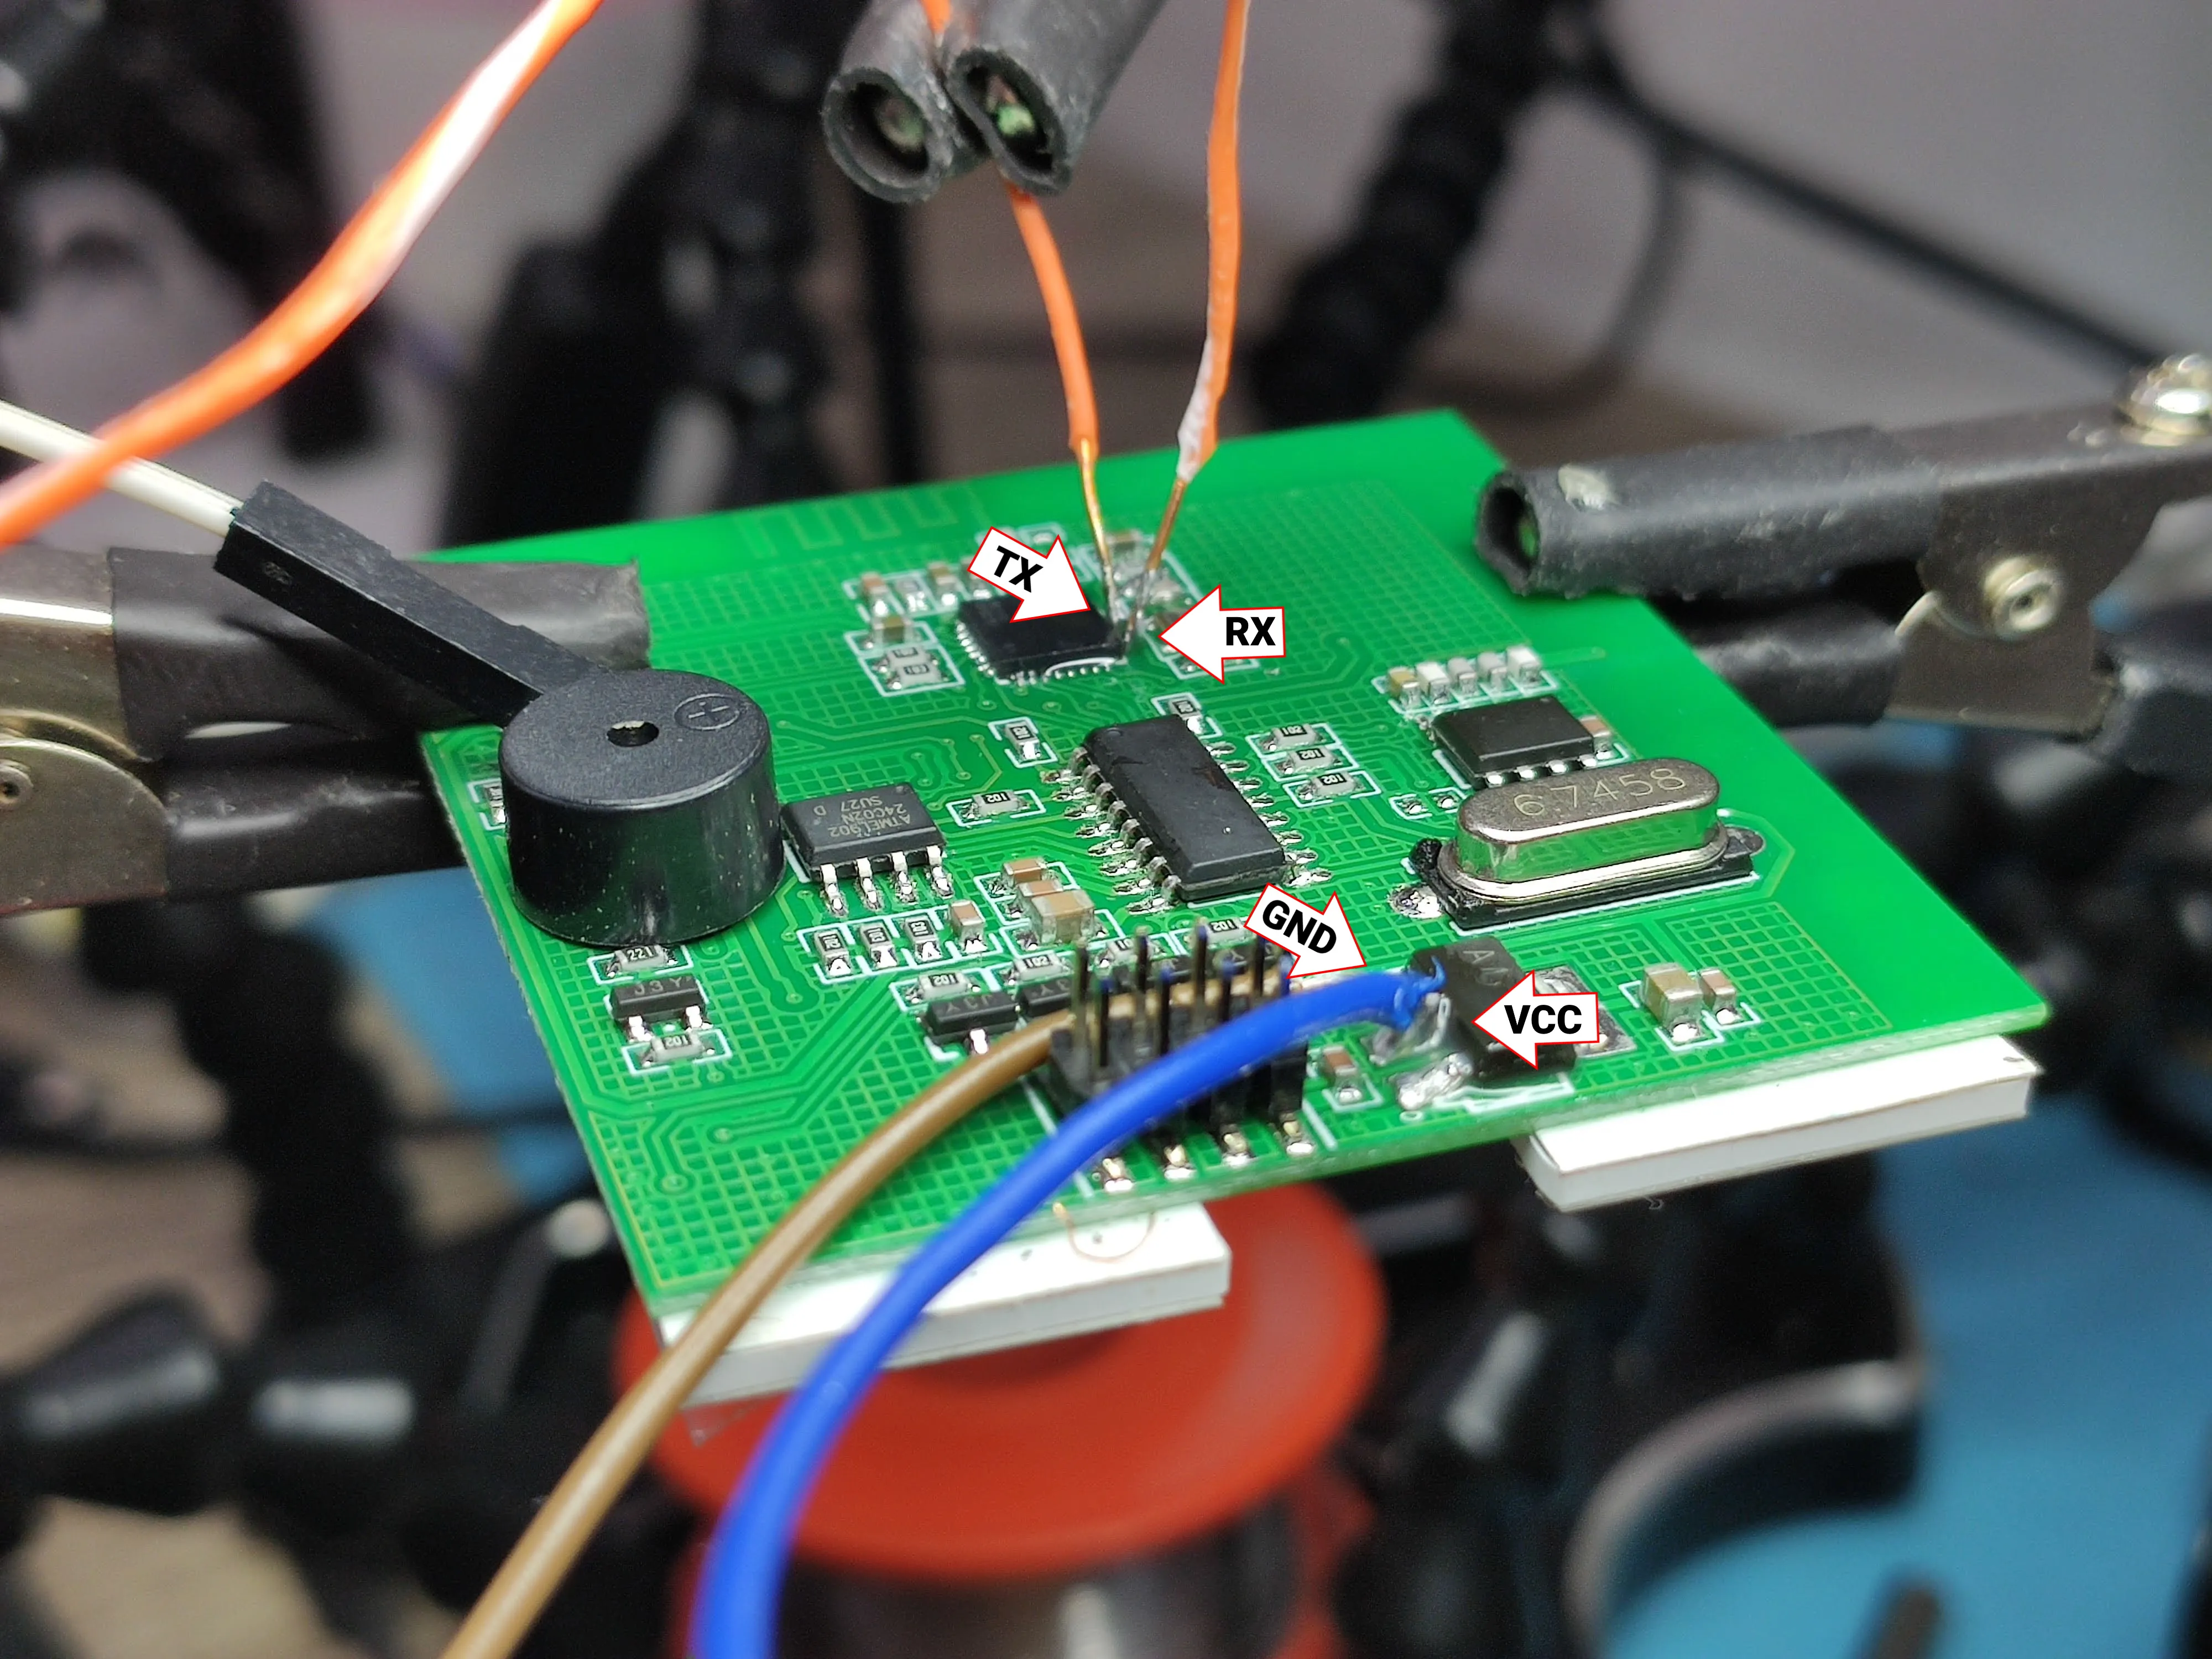
{"NAME":"Minitiger 4 Gang","GPIO":[17,0,0,0,23,22,18,19,21,158,20,24,0],"FLAG":0,"BASE":18}This switch is running on eWeLink app and needs to be serial flashed (cannot be Tuya-Converted). In this case that is not an easy job because it requires soldering TX and RX directly to ESP8285 chip pins.
VCC and GND are found on the AMS1117 voltage regulator and GPIO has to be grounded on the ESP8285 directly.
Buzzer is controlled through the Atmel 920 24C02N SU27 EEPROM and is not connected to an ESP8285 GPIO. Red LEDs for each switch are tied to the relay and cannot be controlled.
Once flashed you can still use 433 MHz RF. To pair a remote hold the button you want to map for 5 seconds until you hear a “beep”, press the button on the remote and another “beep” will sound as confirmation of successful pairing.


