


Available from:
Aliexpress.com
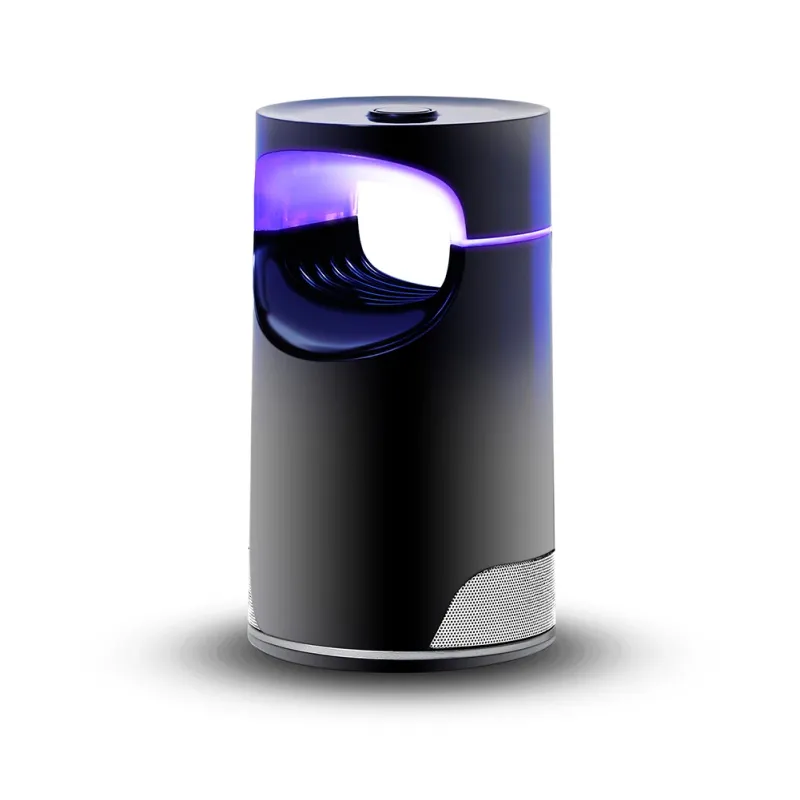
Install method:
USB to Serial
| GPIO # | Component |
|---|---|
| GPIO00 | Button1 |
| GPIO01 | None |
| GPIO02 | None |
| GPIO03 | None |
| GPIO04 | None |
| GPIO05 | None |
| GPIO09 | None |
| GPIO10 | None |
| GPIO12 | PWM1 |
| GPIO13 | Led1i |
| GPIO14 | None |
| GPIO15 | None |
| GPIO16 | None |
| FLAG | None |
{"NAME":"MosquitoKiller","GPIO":[17,0,0,0,0,0,0,0,37,56,0,0,0],"FLAG":0,"BASE":18}You can turn on/off (including FAN) and dim the LED. I could not turn on only the LED. If you want the status always LED on change GPIO13 to Led1
Carefully disassemble the device from the bottom to get access to the chip (at the very top :-)). The pins of the PSF-CLA chip are described on https://community.home-assistant.io/t/help-is-psf-bla-flash-able-with-tasmota/193042/2, you need GPIO 20-23 and ground GPIO0 while connecting the chip for flashing. A thin soldering iron is needed to get access to the pins of chip - not exactly an easy undertaking for beginners. See also https://twitter.com/DL7JP/status/1273025885625597957 .
Pinout
 .
.