


Available from:
Amazon.com
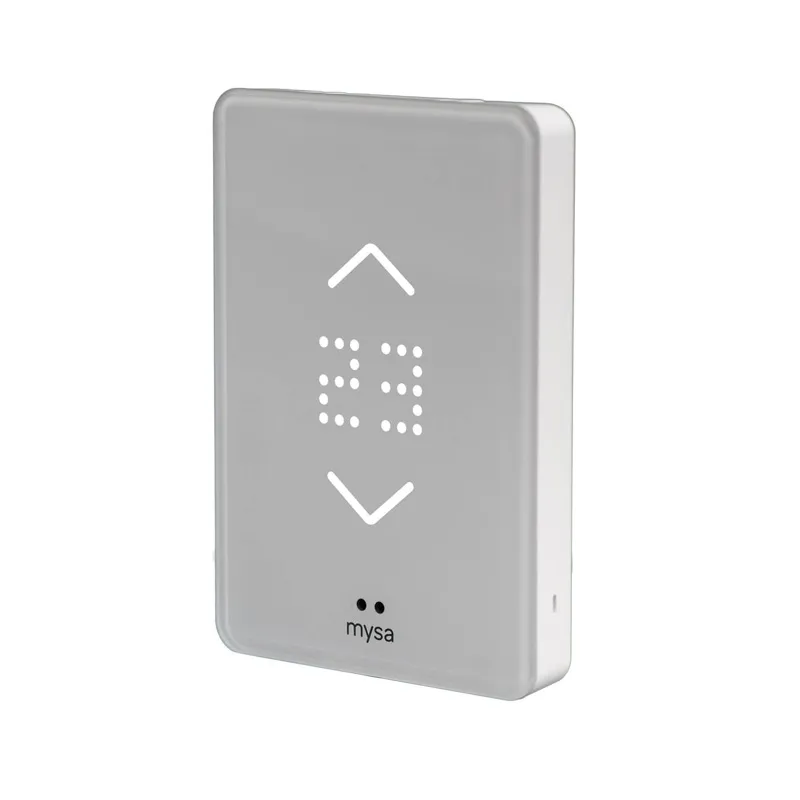
Shop.getmysa.com
Install method:
USB to Serial
| GPIO # | Component |
|---|---|
| GPIO00 | None |
| GPIO01 | None |
| GPIO02 | None |
| GPIO03 | None |
| GPIO04 | None |
| GPIO05 | None |
| GPIO09 | None |
| GPIO10 | None |
| GPIO12 | None |
| GPIO13 | None |
| GPIO14 | None |
| GPIO15 | None |
| GPIO16 | None |
| GPIO17 | None |
| GPIO18 | None |
| GPIO19 | None |
| GPIO20 | None |
| GPIO21 | None |
| GPIO22 | None |
| GPIO23 | None |
| GPIO24 | None |
| GPIO25 | Relay 1 |
| GPIO26 | None |
| GPIO27 | None |
| GPIO6 | None |
| GPIO7 | None |
| GPIO8 | None |
| GPIO11 | None |
| GPIO32 | I2C SDA 1 |
| GPIO33 | I2C SCL 1 |
| GPIO34 | None |
| GPIO35 | None |
| GPIO36 | None |
| GPIO37 | None |
| GPIO38 | None |
| GPIO39 | None |
{"NAME":"Mysa Thermostat","GPIO":[0,0,0,0,0,0,0,0,0,0,0,0,0,0,0,0,0,0,0,0,0,224,0,0,0,0,0,0,640,608,0,0,0,0,0,0],"FLAG":0,"BASE":1}This device requires a transplant of the microcontroller. The original microcontroller comes with efuse enabled, and cannot be reprogrammed. You will need a rework station to heat the chip and remove it carefully without melting the plastic frame.
This device works on split-phase 240V only. It does not require a neutral per-se. Consult with an electrician before attempting to wire this device.
The device periodically resets the onboard microcontroller every 3 seconds by pulling down the CHIP_PU pin as a protection. This protection can be turned off by adding a 10 kiloohm resistance between the + and the WDENn pads next to the microcontroller.
The device contains the following sensors. All of them are discovered by the I2C bus.
- HDC2010 Temperature and Humidity Sensor
- MAX11612 Analog to Digital Converter
- AT42QT1070 Touch Sensor
- IS31FL3731 LED Matrix Controller
To enable the devices, make sure to compile Tasmota with the following flags.
#ifndef USE_I2C
#define USE_I2C
#endif

#ifndef USE_HDC2010
#define USE_HDC2010
#endif

#ifndef USE_MAX11612
#define USE_MAX11612
#endif

#ifndef USE_AT42QT1070
#define USE_AT42QT1070
#endif

#ifndef USE_THERMOSTAT
#define USE_THERMOSTAT
#endif

#ifdef THERMOSTAT_SENSOR_NAME
#undef THERMOSTAT_SENSOR_NAME
#endif
#ifndef THERMOSTAT_SENSOR_NAME
#define THERMOSTAT_SENSOR_NAME "HDC2010"
#endif

#ifndef USE_PI_AUTOTUNING
#define USE_PI_AUTOTUNING
#endif
Once the device is reassembled, running and configured, the thermostat can be enabled by adding a rule. Make sure to review the default settings and adjust them accordingly. Consult the Thermostat documentation for more details.
Rule1 on system#boot do Backlog THERMOSTATMODESET 1; CONTROLLERMODESET 0; ClimateModeSet 0; TEMPTARGETSET 23; SENSORINPUTSET 1; TIMEMINACTIONSET 1; TIMEMAXACTIONSET 5; TIMEALLOWRAMPUPSET 10; TIMERAMPUPCYCLESET 15 TELEPERIOD 30 endon
Rule1 1