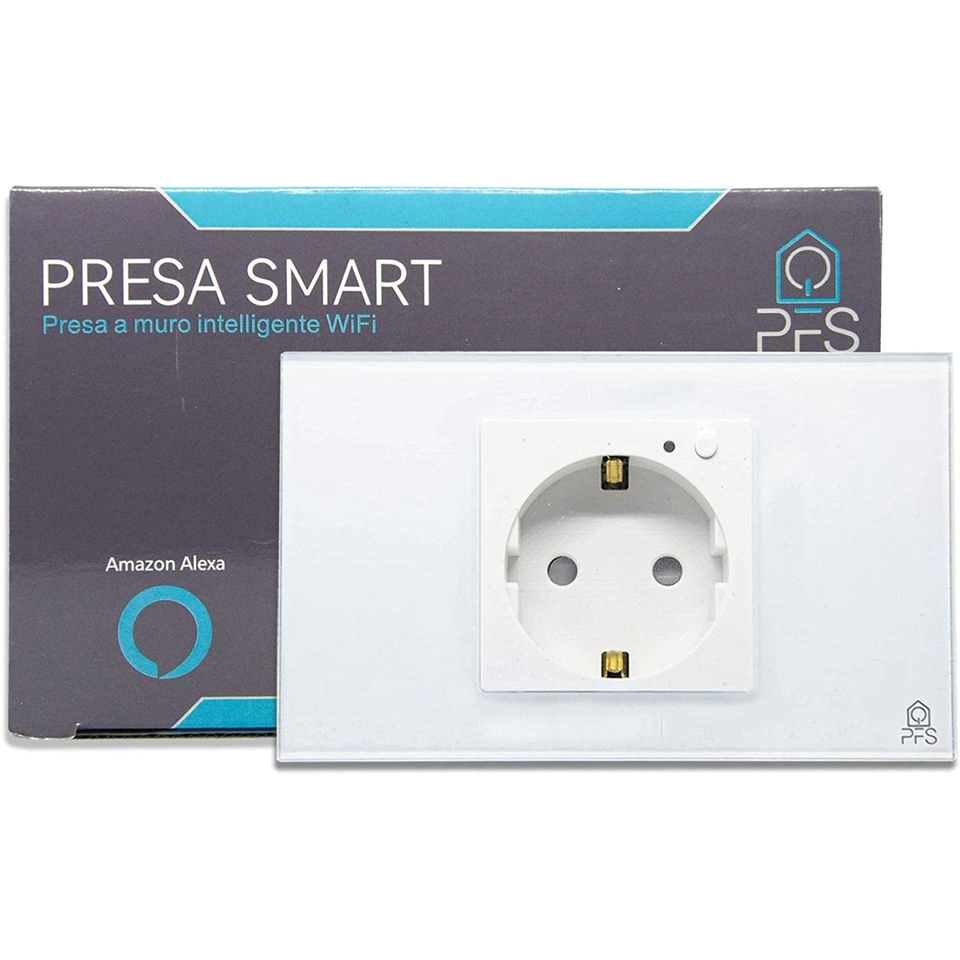
PFS Presa Smart Wall Outlet

Available from:
Amazon.it
Manufacturer:
Facebook.com
Install method:
Replace module
| GPIO # | Component |
|---|---|
| GPIO00 | User |
| GPIO01 | User |
| GPIO02 | User |
| GPIO03 | User |
| GPIO04 | Led 1 |
| GPIO05 | Led 2 |
| GPIO09 | User |
| GPIO10 | User |
| GPIO12 | Relay 1 |
| GPIO13 | Button 1 |
| GPIO14 | None |
| GPIO15 | User |
| GPIO16 | User |
| GPIO17 | User |
Configuration
{"NAME":"PFS_PresaSmart","GPIO":[1,1,1,1,288,289,1,1,224,32,0,1,1,1],"FLAG":0,"BASE":18}
This device uses
WB2S
module which needs to be replaced with
ESP-02S, WT-01N or WT32C3-01N. Besides the module, this process will require a heat gun, soldering tools and moderate soldering skill.
Disassembly tips:
Be careful when you remove the glass plate as I broke the catches.
You should have to enlarge the ground screw hole, as the screw will not allow the pcb to come out.
The PFS smart plug comes with a Tuya WB2S chip, you can simply remove it and replace it with a TYWE2S (ESP8285) chip, as they are essentially identical.
- GPIO4: Red Led
- GPIO5: Blue Led
- GPIO12: Relay
- GPIO12: Button
- GPIO14: I couldn’t figure out what it does


