


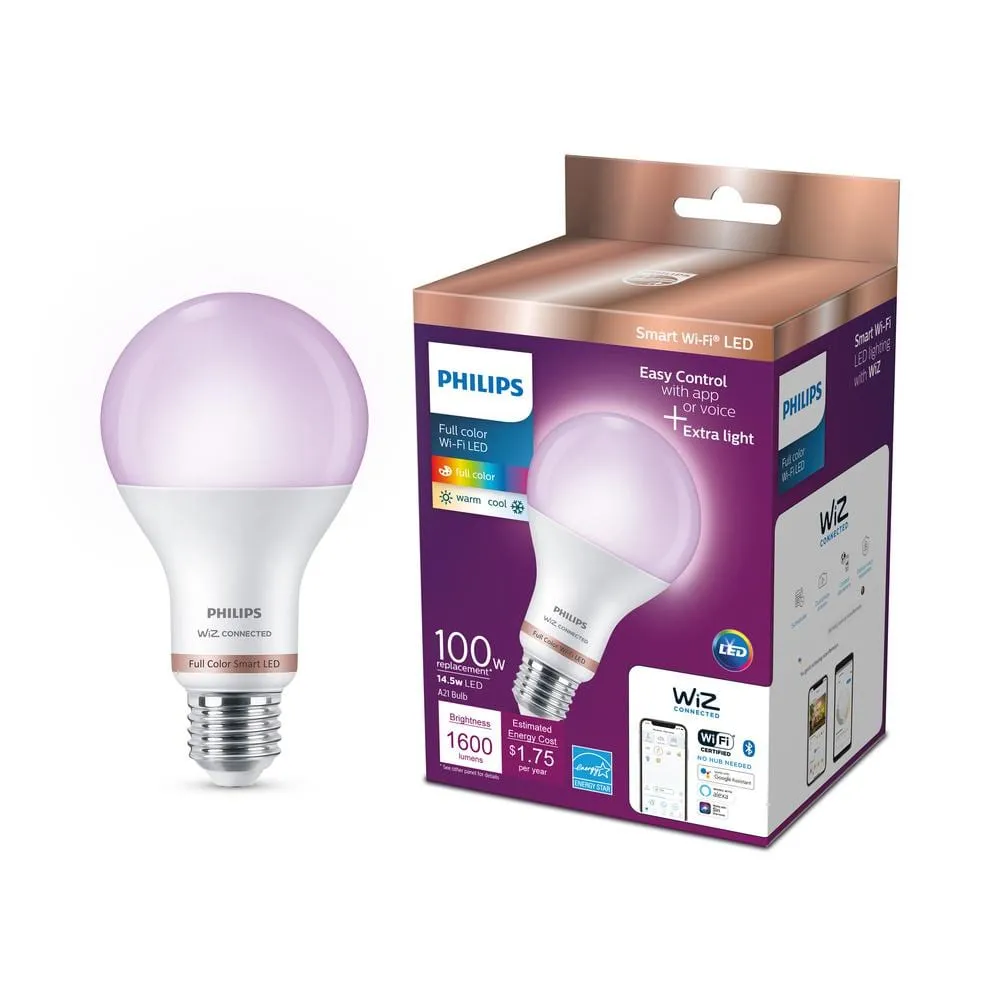
Available from:
Homedepot.com
Manufacturer:
Usa.lighting.philips.com
Install method:
USB to Serial
| GPIO # | Component |
|---|---|
| GPIO00 | None |
| GPIO01 | None |
| GPIO02 | PWM 4 |
| GPIO03 | None |
| GPIO04 | PWM 5 |
| GPIO05 | None |
| GPIO09 | None |
| GPIO10 | None |
| GPIO12 | None |
| GPIO13 | None |
| GPIO14 | None |
| GPIO15 | None |
| GPIO16 | None |
| GPIO17 | None |
| GPIO18 | None |
| GPIO19 | None |
| GPIO20 | None |
| GPIO21 | None |
| GPIO22 | None |
| GPIO23 | None |
| GPIO24 | None |
| GPIO25 | PWM 1 |
| GPIO26 | PWM 2 |
| GPIO27 | PWM 3 |
| GPIO6 | None |
| GPIO7 | None |
| GPIO8 | None |
| GPIO11 | None |
| GPIO32 | None |
| GPIO33 | None |
| GPIO34 | None |
| GPIO35 | None |
| GPIO36 | None |
| GPIO37 | None |
| GPIO38 | None |
| GPIO39 | None |
{"NAME":"WiZ RGBCCT A19 Bulb","GPIO":[0,0,419,0,420,0,0,0,0,0,0,0,0,0,0,0,0,0,0,0,0,416,417,418,0,0,0,0,0,0,0,0,0,0,0,0],"FLAG":0,"BASE":1,"CMND":"so92 1"}tasmota32solo1... binaries.
Serial flashed - doesn’t run Tuya. (Do not connect to mains while flashing.)
EAN: 046677562700
Disassembly
Plastic dome is glued, excessively, but still possible to remove with time and a razor. The LED board must be levered out, which is difficult. There’s a small opening under the metal clip on the far end (away from pins) which can be used - however it’s quite easy to accidently remove that clip when removing the board. To remove the main board, you can use a razor to remove the terminal on the bottom of the bulb. After that, you should be able to remove the main board from the bulb.

Flashing
If you don’t have a steady hand, removing the capacitor to the right of the chip is recommended while initially flashing. Otherwise, connect IO0 to ground when powering and continue as usual.

