


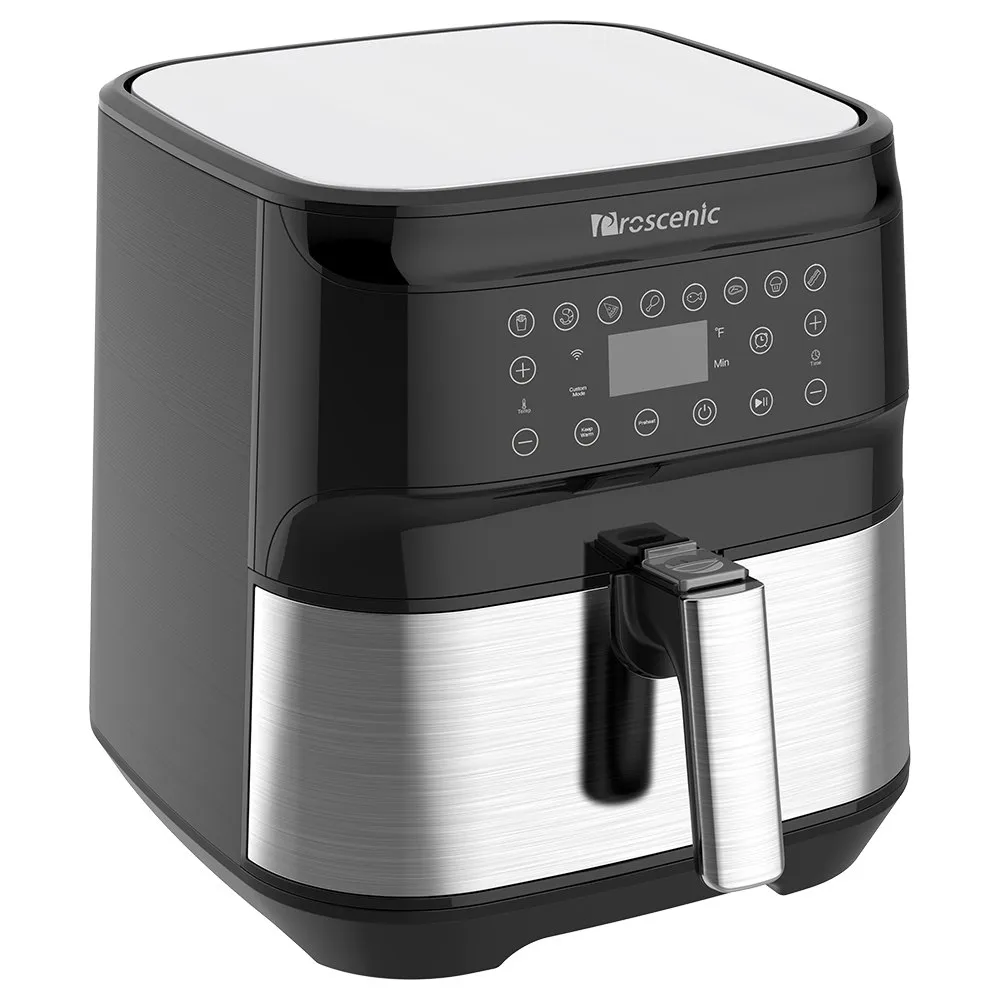
Available from:
Amazon.co.uk
Amazon.com
Geekbuying.com
Aliexpress.com
Manufacturer:
Proscenic.com
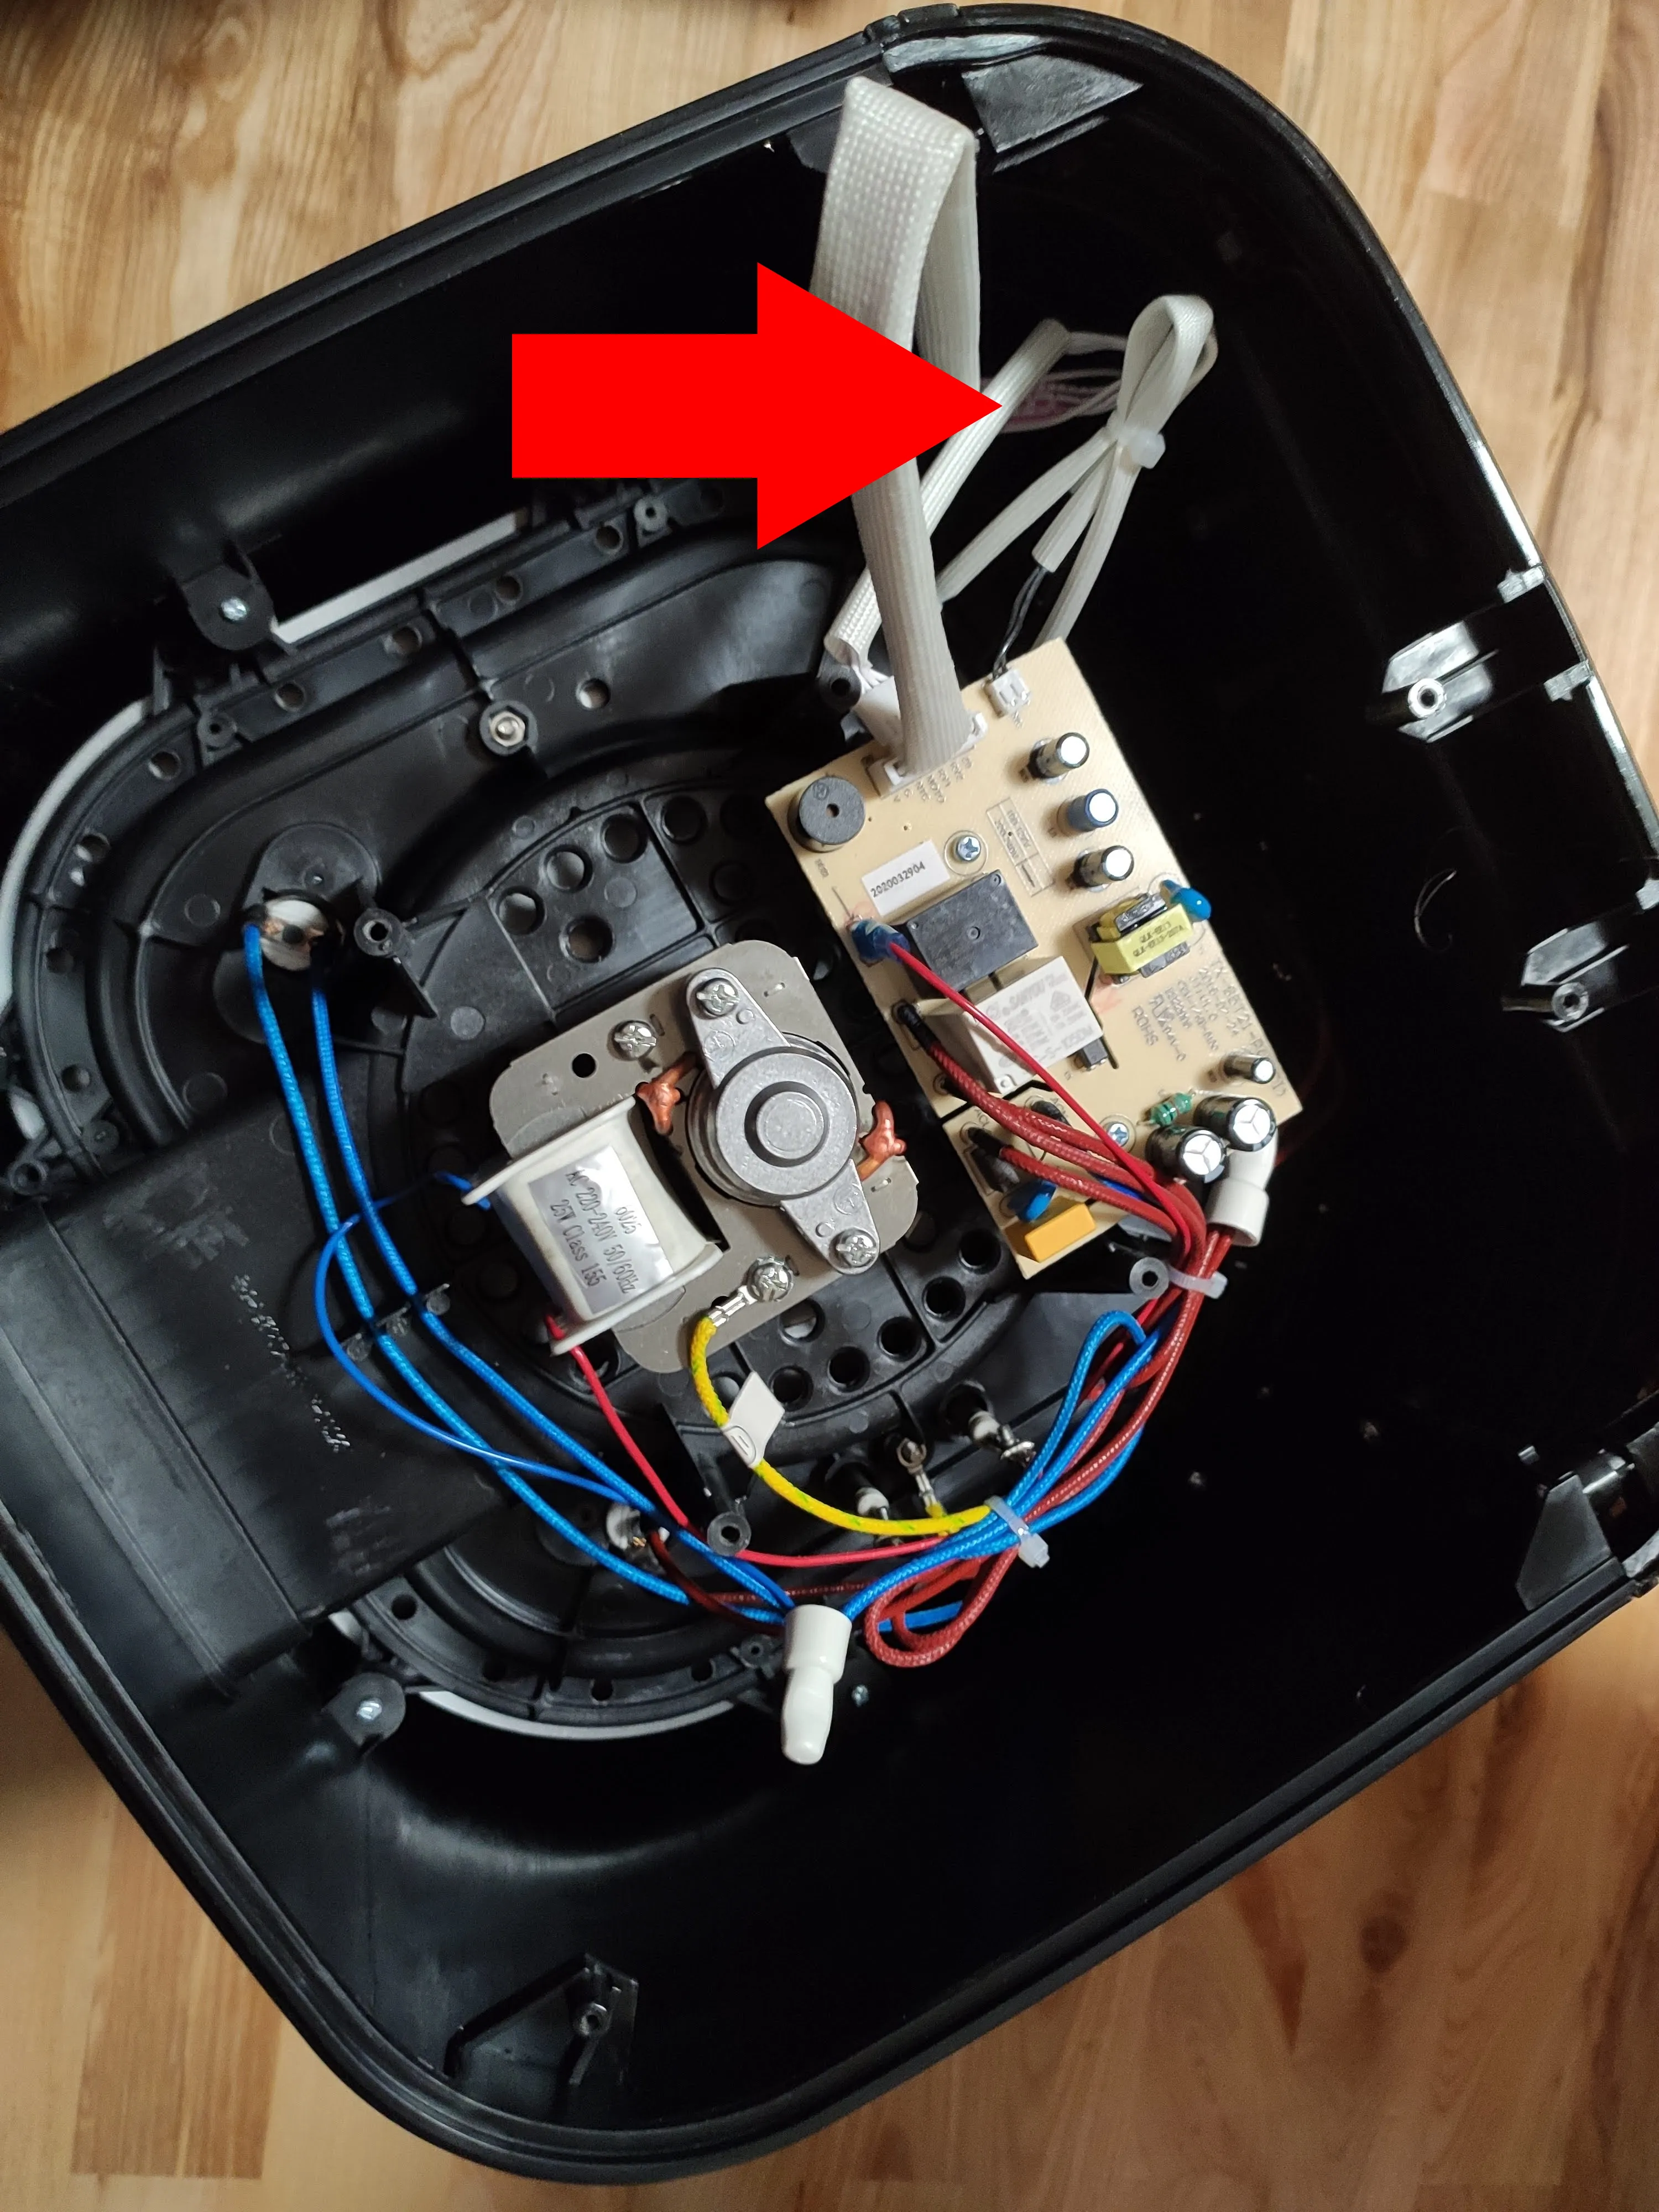
Install method:
Replace module
| GPIO # | Component |
|---|---|
| GPIO00 | None |
| GPIO01 | Tuya Tx |
| GPIO02 | None |
| GPIO03 | Tuya Rx |
| GPIO04 | None |
| GPIO05 | None |
| GPIO09 | None |
| GPIO10 | None |
| GPIO12 | None |
| GPIO13 | None |
| GPIO14 | None |
| GPIO15 | None |
| GPIO16 | None |
| GPIO17 | None |
{"NAME":"Proscenic T21","GPIO":[0,2272,0,2304,0,0,0,0,0,0,0,0,0,0],"FLAG":0,"BASE":54}
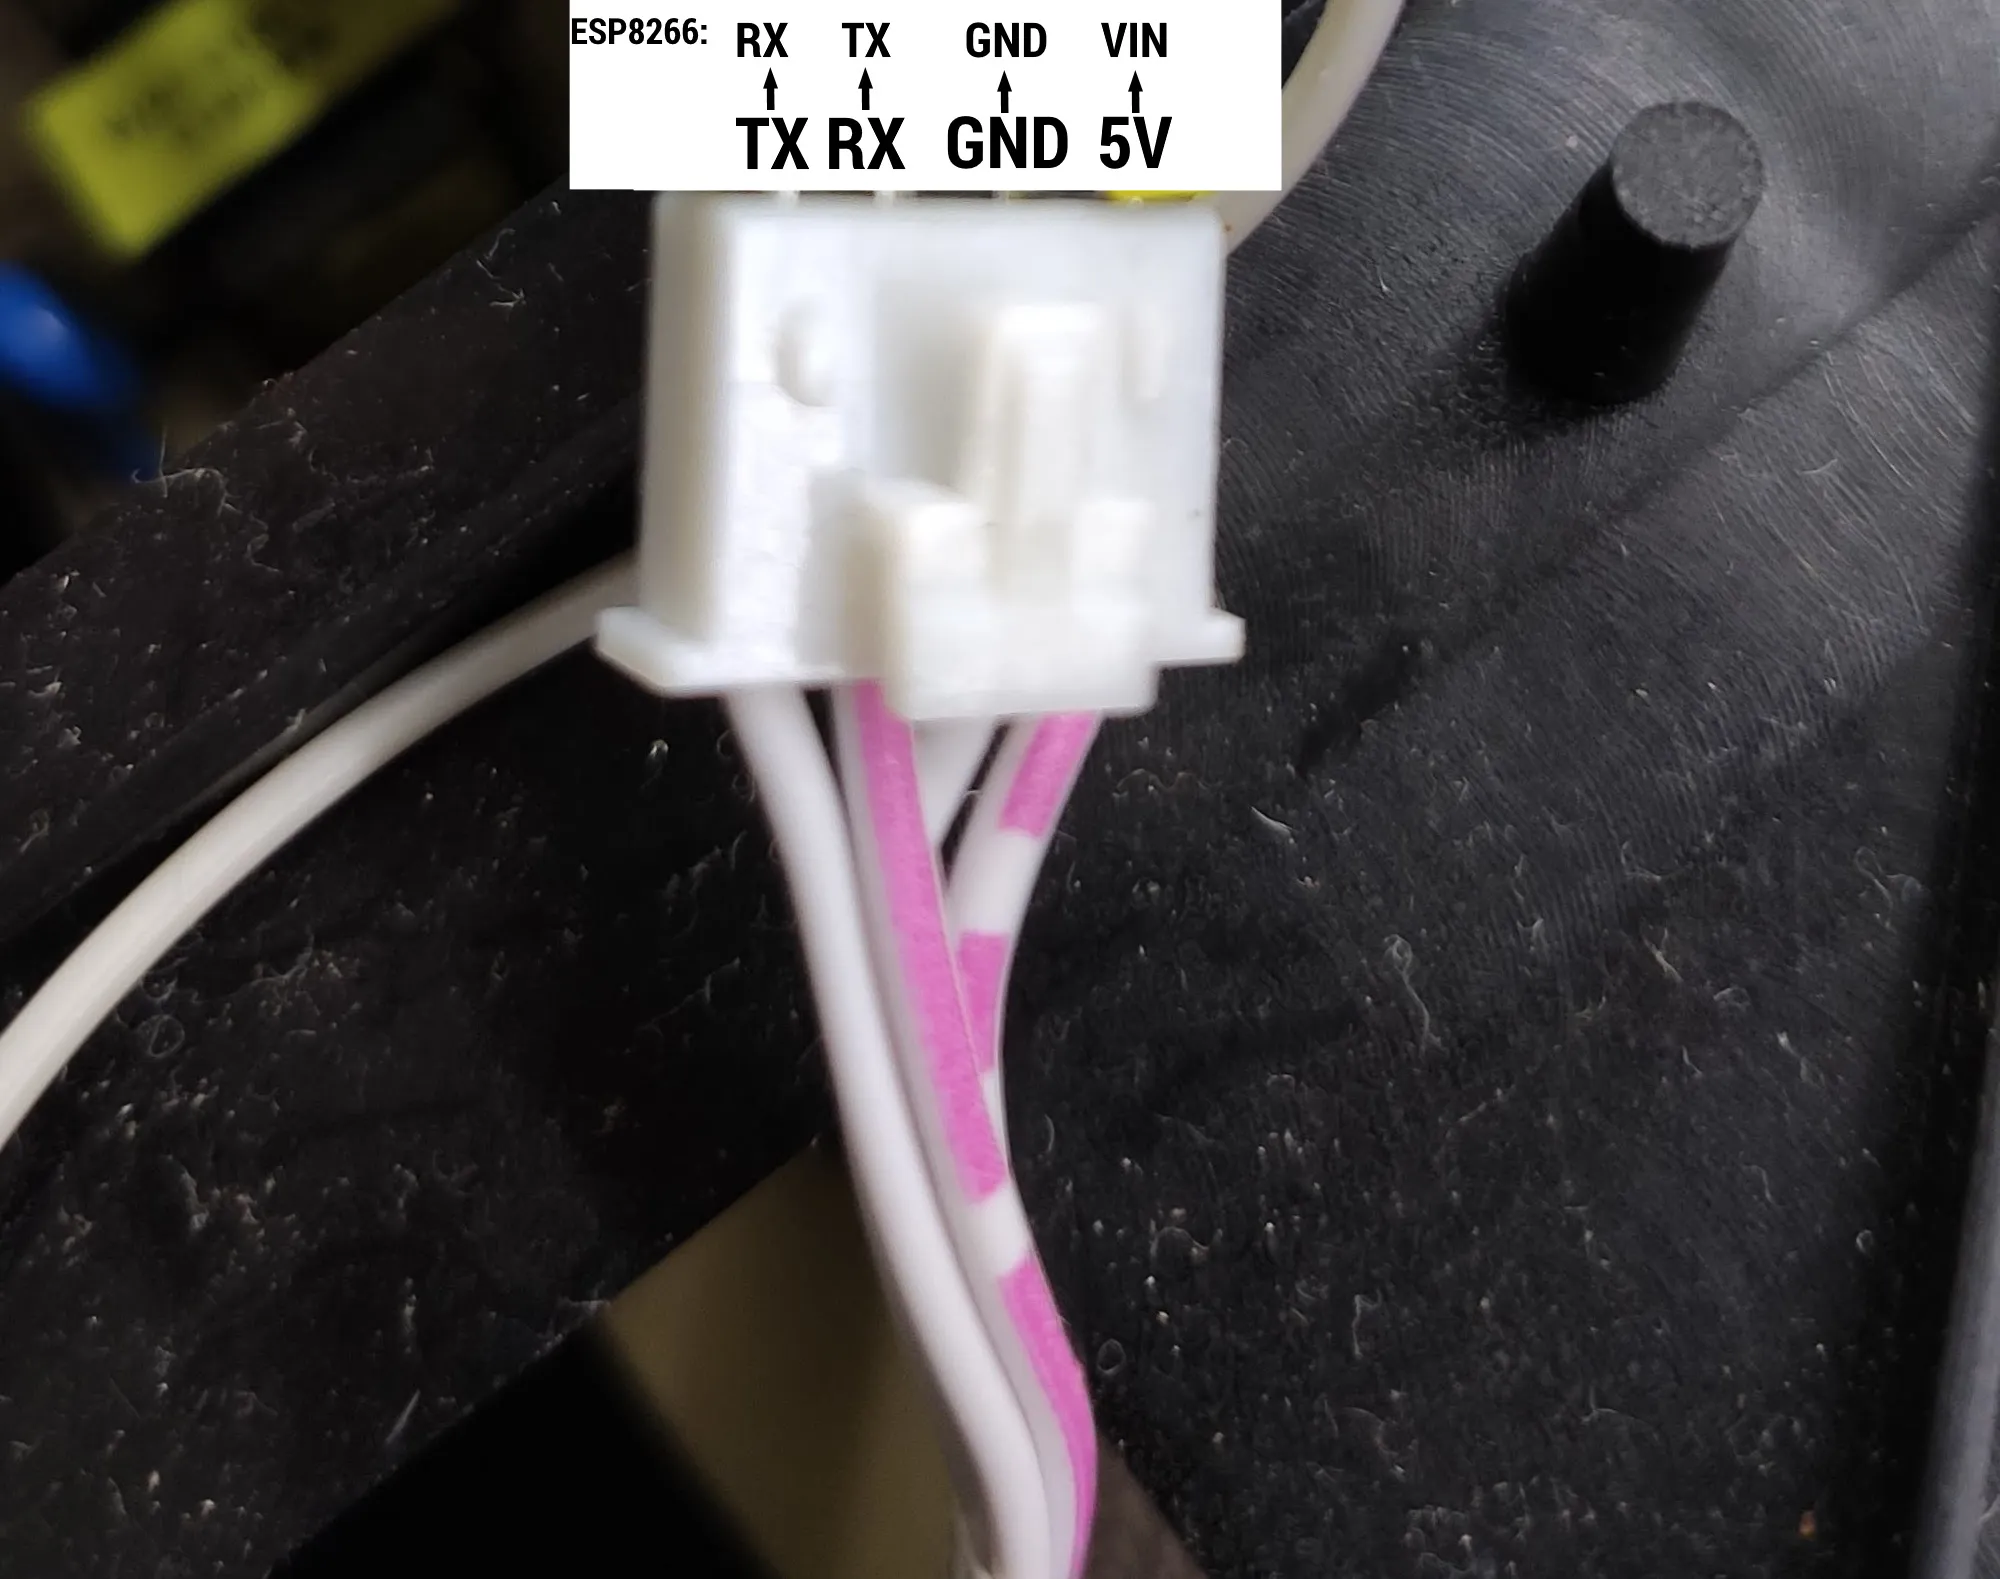
While not supported with the existing hardware, the Wi-Fi module is contained on a separate board connected to the main PCB with a 4 pin PH2.54 connector. This board can be easily replaced with a NodeMCU or any other 5V powered board or module and wired to the connector using Dupont cables. Once you open it its much easier than having to solder to a Wi-Fi module.
The top lid is held by 4 big plastic clips. Use a thin prying tool to slowly go around until all the 4 clips are loose enough to lif the lid. Unscrew and remove the protective plastic grid to get access to the Wi-Fi module which is screwed in on the front plate.
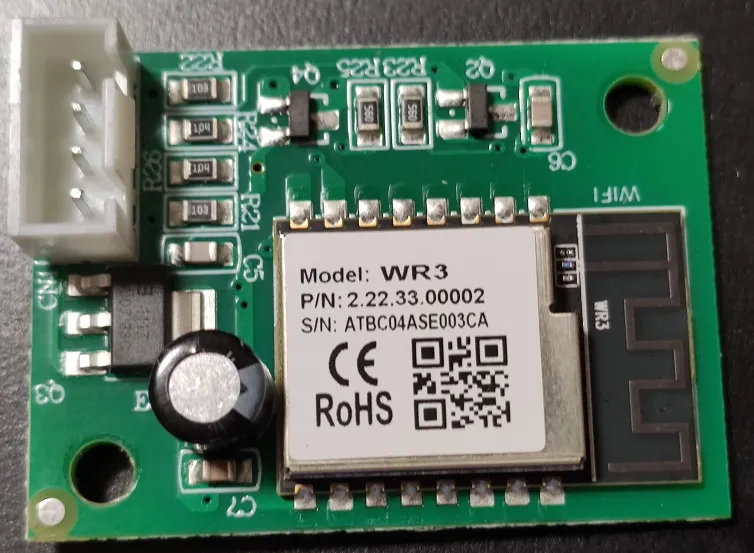
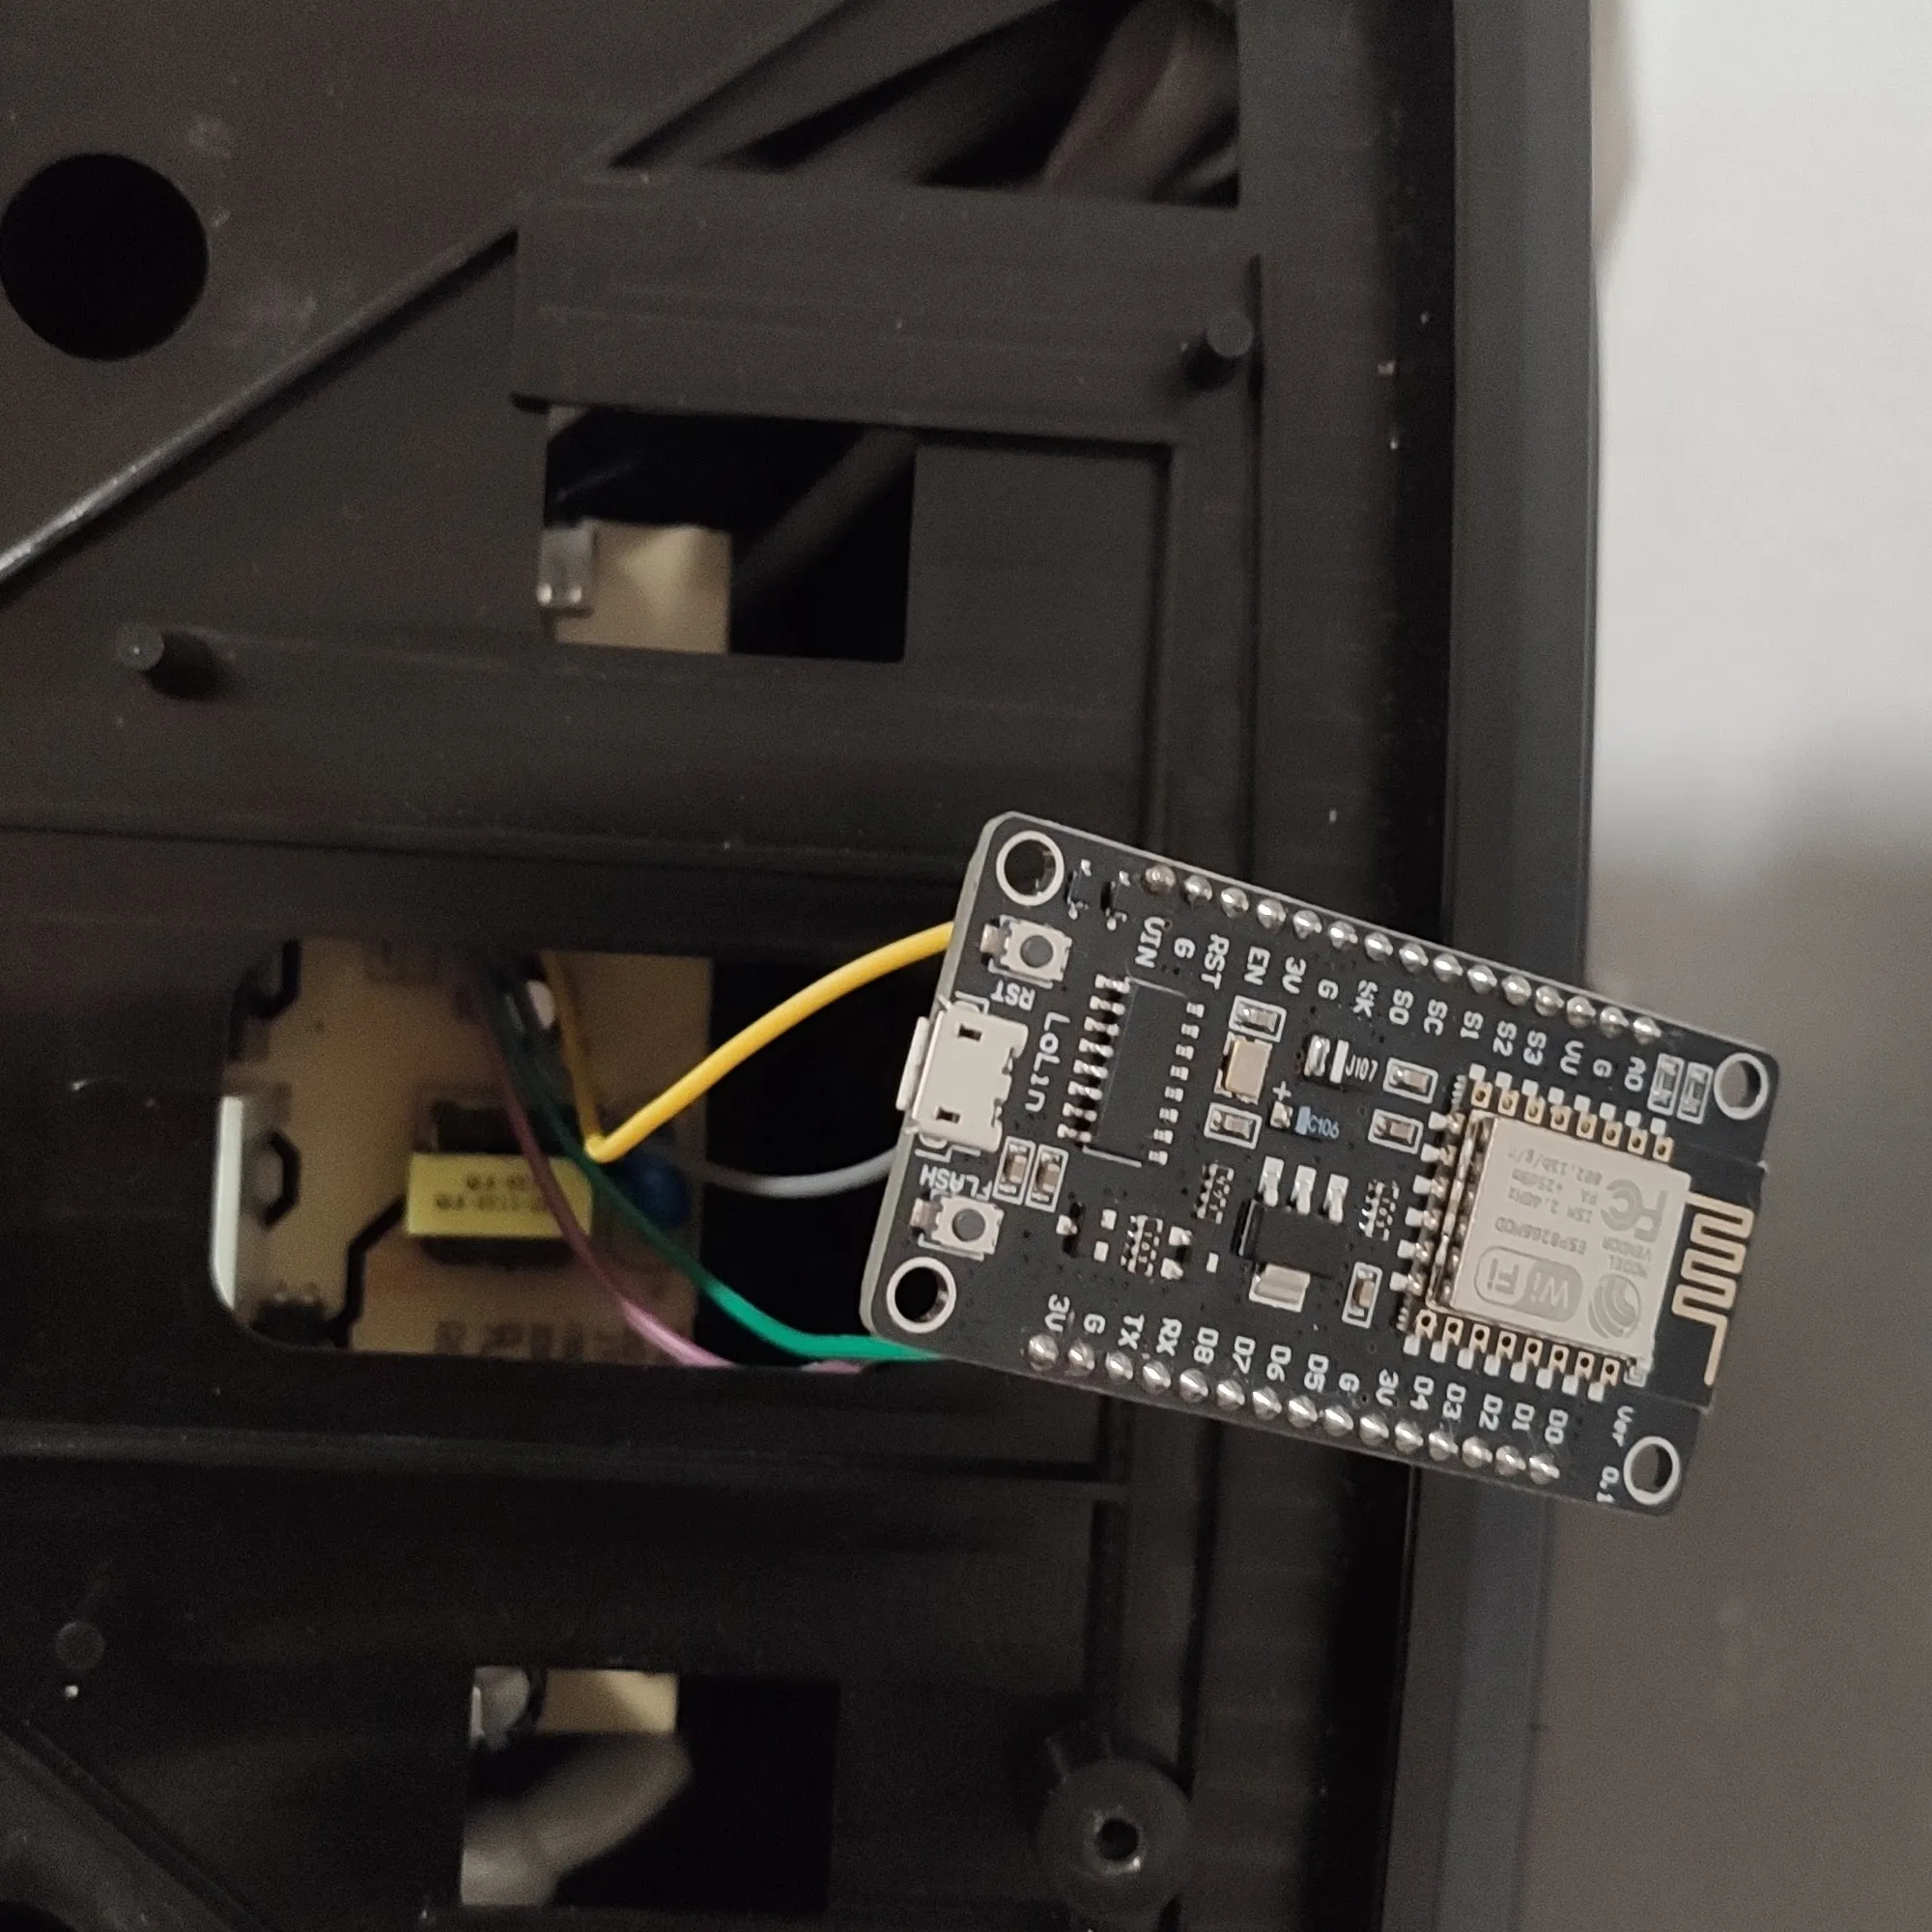
Connect the pins to the connector following the pinout.
Functions
- dpId 1 = (Type1) power on/off
- dpId 2 = (Type1) start/pause cooking
- dpId 3 = (Type4) cookbook
- 0 - none
- 1 - fries
- 2 - shrimp
- 3 - pizza
- 4 - chicken
- 5 - fish
- 6 - steak
- 7 - muffin
- 8 - bacon
- 9 - preheat
- 10 - custom mode
- dpId 5 = (Type4) cooking mode
- 0 - standby
- 1 - delayed cook
- 2 - cooking
- 3 - keep warm
- 4 - off
- 5 - cooking complete
- dpId 6 = (Type2) set delayed start timer in minutes (5-720)
- dpId 7 = (Type2) set cooking timer in minutes (1-60)
- dpId 8 = (Type2) cook time remaining in minutes
- dpId 10 = (Type2) current temperature???
- dpId 12 = (Type5) error status
- dpId 102 = (Type1) tray inserted/removed status
- dpId 103 = (Type1) cooking temperature in °F
- dpId 104 = (Type1) keep warm program active/inactive
- dpId 105 = (Type2) set keep warm timer in minutes
- dpId 106 = (Type1) delayed start timer 1 - timer on, 0 - timer off
- dpId 107 = (Type2) internal temperature
- dpId 108 = (Type1) ???
- dpId 109 = (Type3) undecyphered status data point
Configuration
MCU Product ID: {"p":"ngdn90sk1yqmk9ww","v":"1.0.2","m":0}
After configuring Wi-Fi, MQTT and setting Module 54
Configure Tuya functions
Backlog TuyaMCU 11,1; TuyaMCU 12,2; TuyaMCU 13,104; TuyaMCU 14,106; TuyaMCU 61,3; TuyaMCU 71,107; TuyaMCU 72,103; TuyaMCU 81,8;
Finish configuring
Backlog TuyaEnumList 1,10; TempRes 0;
- Power1 turns the air fryer on/off
- Power2 starts/pauses cooking program
- Power3 turn on/off keep warm option
- Power4 turn on/off delayed cooking start option
- Temperature sensor shows the internal temperature in °C
- TemperatureSet shows the set Cooking Temperature in °F
- Timer1 shows remaining cook time
- TuyaEnum1 changes cookbook mode
- TuyaSend2 103,x to set target temperature
- TuyaSend2 6,x to set delayed cooking start timer
- TuyaSend2 7,x to set cooking time timer
- TuyaSend2 105,x to set keep warm timer
You can label webbuttons with emojis:
Backlog WebButton1 🔌; WebButton2 ⏯️; WebButton3 🍲; WebButton4 ⏳
Extra
I removed the very annoying buzzer from the relay PCB and replaced it with a DFPlayer MP3 player that triggers on dpId reports with actual sound prompts. Demo on YouTube
Home Assistant Configuration
Guide with Home Assistant blueprints on https://blakadder.com