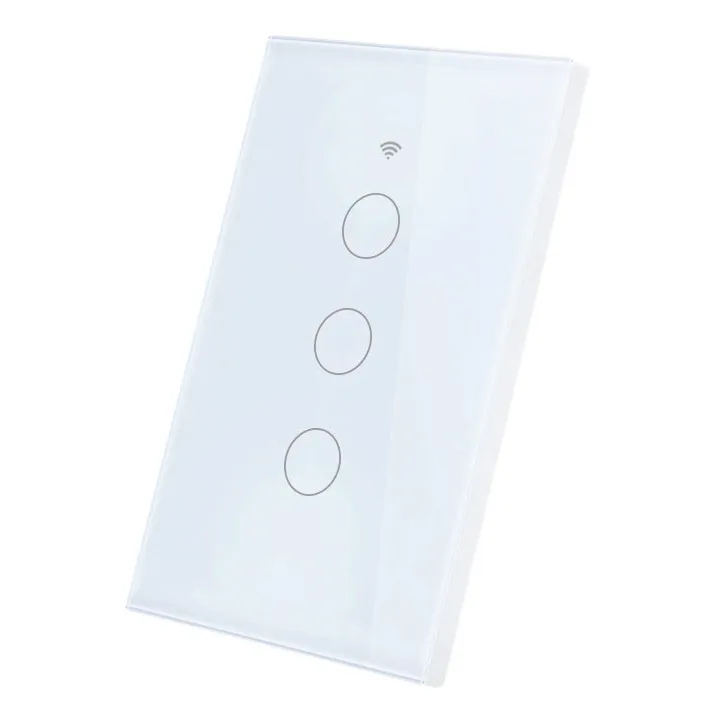
Shawader 3Ch Touch Light Switch (WLS028 3)

Available from:
Aliexpress.com
Manufacturer:
Shawader.aliexpress.com
Install method:
USB to Serial
| GPIO # | Component |
|---|---|
| GPIO00 | None |
| GPIO01 | Output Lo |
| GPIO02 | None |
| GPIO03 | Button_n 3 |
| GPIO04 | Button_n 1 |
| GPIO05 | Button_n 2 |
| GPIO09 | None |
| GPIO10 | None |
| GPIO12 | Relay 2 |
| GPIO13 | Relay 3 |
| GPIO14 | Relay 1 |
| GPIO15 | None |
| GPIO16 | None |
| GPIO17 | None |
Configuration
{"NAME":"ShawaderTuya3C","GPIO":[0,3872,0,66,64,65,0,0,225,226,224,0,0,0],"FLAG":0,"BASE":18}Flashing
Installation was done over serial as Tuya version was to new for Tuya Convert to work.
- Open the device and locate the 6 pads on the back of the button PCB (not the relay PCB).
- The pinout for the 6 pads is as follows (starting from left if pads is in upper right corner):
- 3.3V
- RXD
- TXD
- GPIO0 (Boot mode pin)
- RES12K
- GND
Solder cables to the pins and then do as follows:
- Connect GND.
- Connect RXD to TX on USB to Serial converter.
- Connect TXD to RX on USB to Serial converter.
- Connect GPIO0 to GND.
- Connect RES12K to GND.
- Connect 3.3V.
- Disconnect RES12K from GND.
- (Optional) make backup of original firmware.
- Flash tasmota using the USB to Serial converter.
Setup
Enable the template and execute the following command:
Backlog ButtonTopic1; ButtonTopic2; ButtonTopic3; SetOption13 1;


