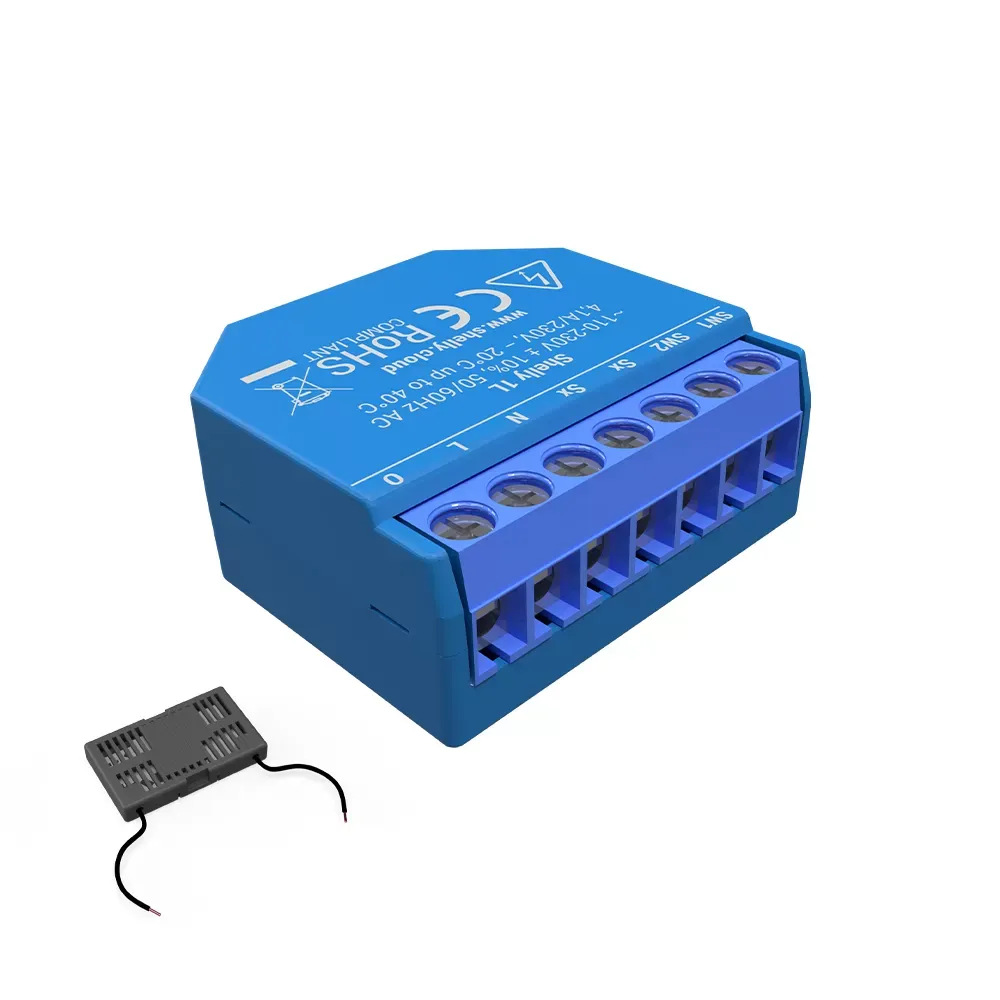
Available from:
Amazon.de
Domadoo.fr
Aliexpress.com
Idealo.de
Manufacturer:
Shelly.cloud
Install method:
MgOS to Tasmota
| GPIO # | Component |
|---|---|
| GPIO00 | Led_i 1 |
| GPIO01 | None |
| GPIO02 | None |
| GPIO03 | None |
| GPIO04 | Switch_n 1 |
| GPIO05 | Relay 1 |
| GPIO09 | None |
| GPIO10 | None |
| GPIO12 | None |
| GPIO13 | None |
| GPIO14 | Switch_n 2 |
| GPIO15 | None |
| GPIO16 | None |
| GPIO17 | ADC Temp |
{"NAME":"Shelly 1L","GPIO":[320,0,0,0,192,224,0,0,0,0,193,0,0,4736],"FLAG":0,"BASE":18}Flashing Shelly device OTA without serial connection
Any Shelly devices can be reflashed to the latest Tasmota OTA without physical connection with the help of mgos-to-tasmota.
Your Shelly device must be connected to your Wifi, configured with gateway and DNS and have access to the Internet. Be sure to have a reliable power connection as well as a reliable Wifi connection. Power or Wifi loss will make your device unresponsive and recovery will go through serial flashing.
- Open a web browser to your Shelly device
- In the address bar of your browser type the following :
http://shellyip/ota?url=http://ota.tasmota.com/tasmota/shelly/mg2tasmota-Shelly1L.zip
replaceshellyipwith the actual IP address of your Shelly.
After flashing, which can take a few minutes, the Shelly device will restart with lastest Tasmota
and create an AP tasmota-XXXXX. From there follow standard configuration procedure. Don’t forget
to enter the template at the end of the configuration.
Flashing Shelly1L with serial
See pinout below. Follow recommendations from the Tasmota documentation regarding serial flashing.


