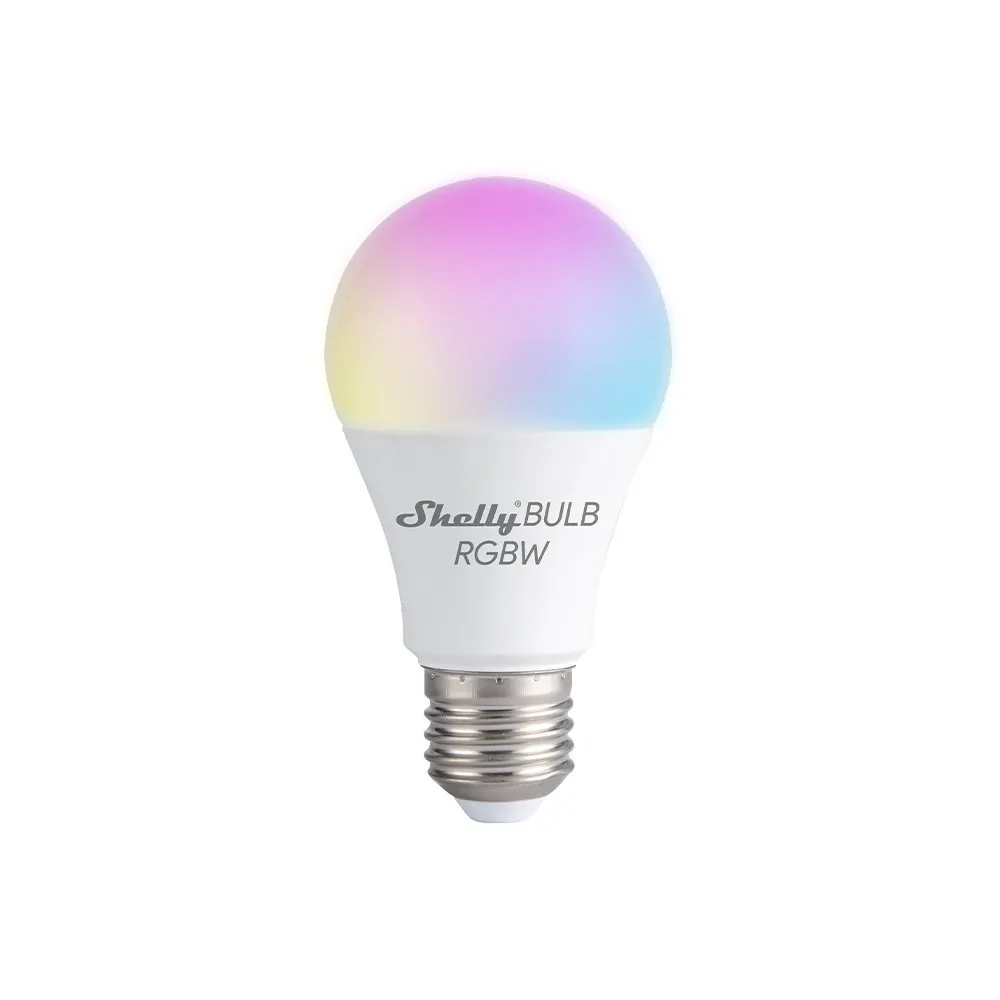
Available from:
Wesmartify.de
Aliexpress.com
Amazon.com
Amazon.de
Manufacturer:
Shelly.cloud
Install method:
MgOS to Tasmota
| GPIO # | Component |
|---|---|
| GPIO00 | None |
| GPIO01 | None |
| GPIO02 | None |
| GPIO03 | None |
| GPIO04 | None |
| GPIO05 | PWM 4 |
| GPIO09 | None |
| GPIO10 | None |
| GPIO12 | PWM 2 |
| GPIO13 | PWM 1 |
| GPIO14 | PWM 3 |
| GPIO15 | None |
| GPIO16 | None |
| GPIO17 | ADC Temp |
{"NAME":"Shelly Duo RGBW","GPIO":[0,0,0,0,0,419,0,0,417,416,418,0,0,4736],"FLAG":0,"BASE":18,"CMND":"AdcParam 2, 32000, 1000, 3950|SetOption37 128|SetOption106 1|SetOption107 0|WebButton1 COLOR|WebButton2 WHITE|SetOption42 85|Fade ON|Speed 2|SetOption91 1|Rule1 ON POWER2#state=1 DO POWER1 OFF ENDON ON POWER1#state=1 DO POWER2 OFF ENDON ON Dimmer1#State DO POWER2 OFF ENDON ON Dimmer2#State DO POWER1 OFF ENDON|Rule1 ON"}
### This template enables :
- Separate control of RGB and White channels with brightness control (SetOption37 to split them and virtual CT mode)
- 2 buttons COLOR and WHITE to toggle the power of eatch channel (can be renamed by modifying the template)
- Fading with speed 2 (can be adjusted in the console up to 40) (Fade at boot and power on)
- A rule which turns off one channel when the user turns on the other one, so RGB and White are not active at the same time. This is personnal preference so there is a minimalist template lower down.
- Temperature monitoring (±5°C, not accurate but gives a rough idea). Safety cut off(?) lowered at 85°C instead of the default (SetOption42).
Minimal template (without fading and rule):
{"NAME":"Shelly Duo RGBW","GPIO":[0,0,0,0,0,419,0,0,417,416,418,0,0,4736],"FLAG":0,"BASE":18,"CMND":"AdcParam 2, 32000, 1000, 3950|SetOption37 128|SetOption106 1|SetOption107 0|WebButton1 COLOR|WebButton2 WHITE|SetOption42 85"}
Thank’s to @jwiesel for the base template. Here is some of his researches :
- Correct OTA mgos firmware
- Pogo clip for serial flashing
- White blend mode:
SetOption105 1 - Virtual CT mode:
SetOption106 1andSetOption107 0
Troubleshooting
After replacing the Shelly Firmware by Tasmota and connecting the buld to your wifi, the Tasmota Web-UI might not come up, although the device IP is connected.
To fix the issue, recover the bulb via PowerCycle, connect to the “tasmota-…” wifi again and open the Tasmota Web-UI.
Instead of selecting your network, open the Console via URL http://tasmota-ip/cs and enter reset 1. Now you can connect the bulb to your network and the Web-UI will come up as expected.


