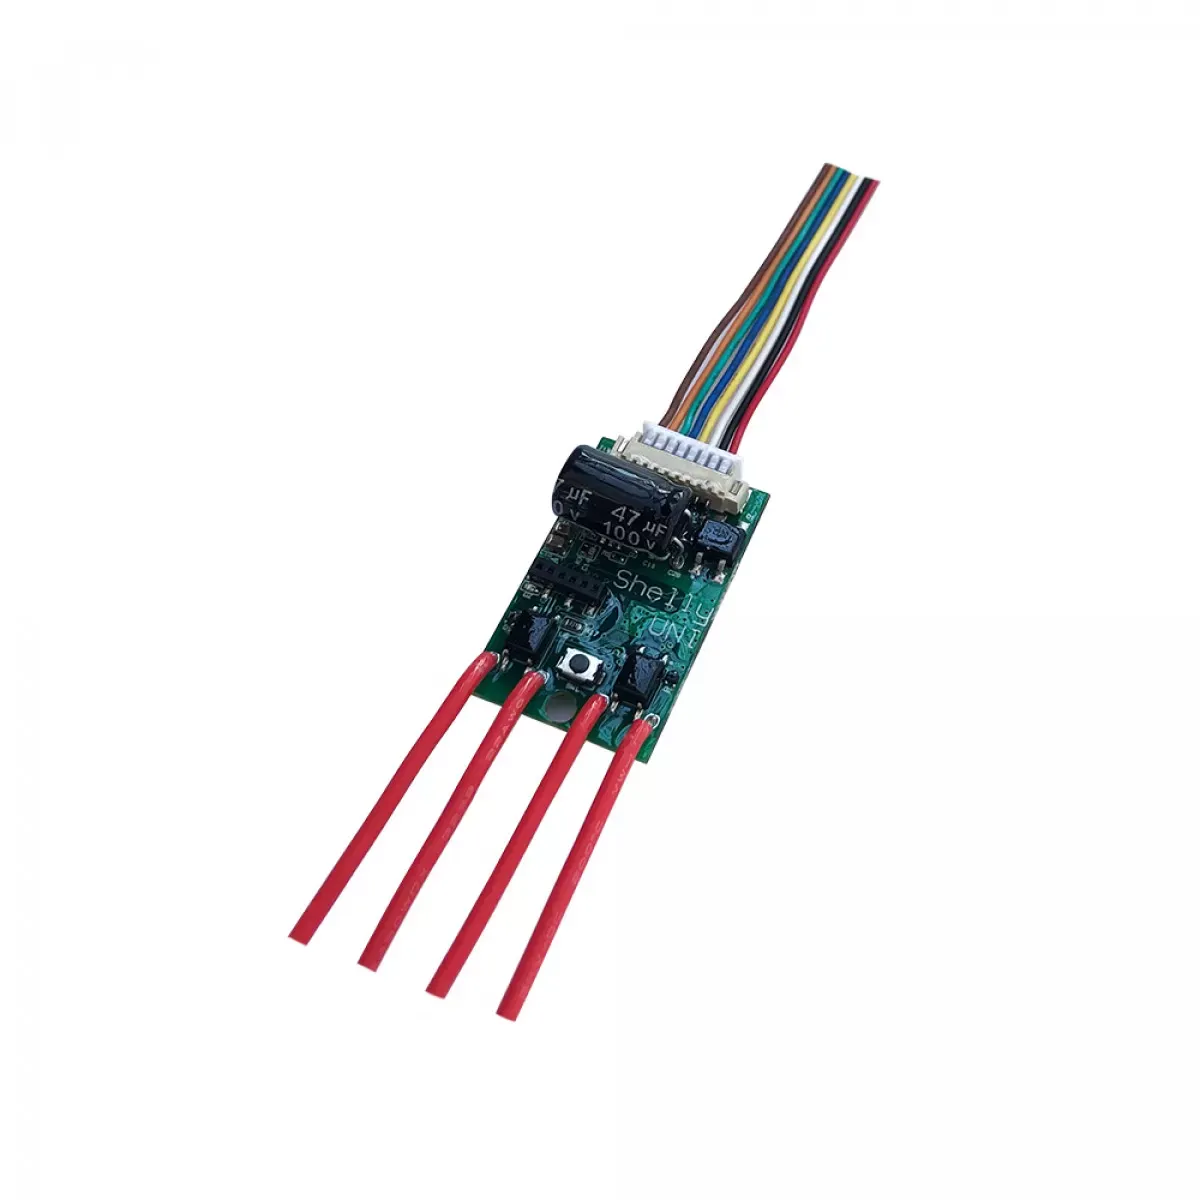
Shelly Universal Input/Output Module (UNI)

Available from:
Amazon.de
Domadoo.fr
Aliexpress.com
Manufacturer:
Shelly.cloud
Install method:
MgOS to Tasmota
| GPIO # | Component |
|---|---|
| GPIO00 | Led_i 1 |
| GPIO01 | None |
| GPIO02 | None |
| GPIO03 | None |
| GPIO04 | Relay 2 |
| GPIO05 | AM2301 |
| GPIO09 | None |
| GPIO10 | None |
| GPIO12 | Switch_n 1 |
| GPIO13 | Switch_n 2 |
| GPIO14 | Switch_n 3 |
| GPIO15 | Relay 1 |
| GPIO16 | None |
| GPIO17 | ADC Range 1 |
Configuration
{"NAME":"Shelly Uni","GPIO":[320,0,0,0,225,1216,0,0,192,193,194,224,0,4864],"FLAG":0,"BASE":18}Serial Connection
Shelly UNI comes with a partially exposed programming/debug header which can be used to flash Tasmota on the device. A serial-to-USB adapter is needed as well as a reliable 3.3 V source with at least 350 mA drive capability. The following diagram shows the device pinout.

Flash Mode
To be able to flash the Tasmota firmware you need to get into flash mode. Therefore connect a wire from GPIO0 to ground. For further information have a look at Hardware Preparation.


