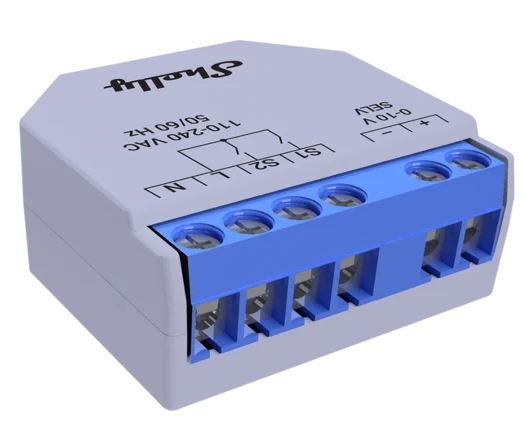
Shelly Plus 0-10V Dimmer Dimmer Module (SNDM-00100WW)

Available from:
Manufacturer:
Shelly.com
Install method:
MgOS32 to Tasmota32
| GPIO # | Component |
|---|---|
| GPIO00 | Led 1 |
| GPIO01 | None |
| GPIO02 | None |
| GPIO03 | None |
| GPIO04 | Switch_n 1 |
| GPIO05 | None |
| GPIO09 | None |
| GPIO10 | None |
| GPIO12 | None |
| GPIO13 | None |
| GPIO14 | None |
| GPIO15 | None |
| GPIO16 | None |
| GPIO17 | None |
| GPIO18 | Switch_n 2 |
| GPIO19 | User |
| GPIO20 | None |
| GPIO21 | None |
| GPIO22 | None |
| GPIO23 | None |
| GPIO24 | None |
| GPIO25 | Button 1 |
| GPIO26 | PWM_i 1 |
| GPIO27 | None |
| GPIO6 | None |
| GPIO7 | None |
| GPIO8 | None |
| GPIO11 | None |
| GPIO32 | ADC Temp |
| GPIO33 | None |
| GPIO34 | None |
| GPIO35 | None |
| GPIO36 | None |
| GPIO37 | None |
| GPIO38 | None |
| GPIO39 | None |
Configuration for ESP32
{"NAME":"Shelly Plus 0-10V Dimmer","GPIO":[288,0,0,0,192,0,0,0,0,0,0,0,0,0,193,1,0,0,0,0,0,32,448,0,0,0,0,0,4736,0,0,0,0,0,0,0],"FLAG":0,"BASE":1}
WARNING!!! Devices with firmaware v1.10+ cannot be flashed OTA anymore
The device will restart and will be automagically configured.
Auto-configuration
After flashing Tasmota, open the web UI of the device and navigate to Configuration -> Auto-configuration. Select your device from the drop-down and click Apply Configuration.The device will restart and will be automagically configured.
Use Tasmota v9.5.0.9+. Older versions do not work.
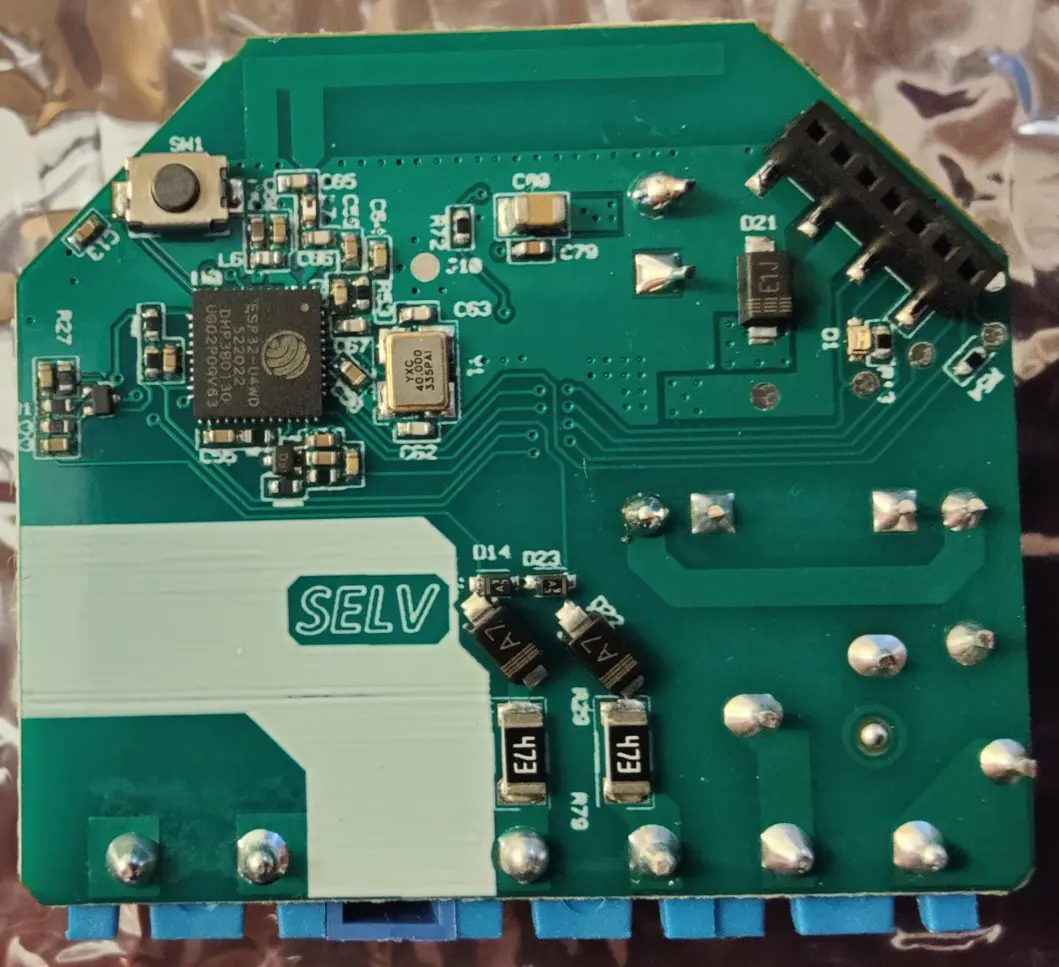
Known versions (printed on the board):
- v0.2.2
 Similar to the Shelly Plus 1 in pinout, but with an extra switch input.


