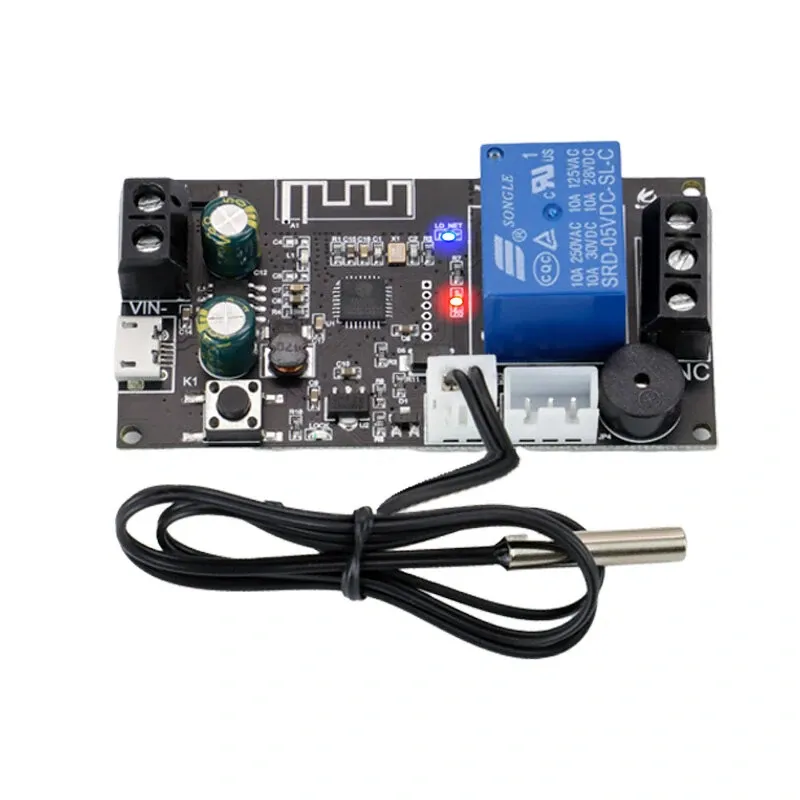
Available from:
Aliexpress.com
Banggood.com
Manufacturer:
Alibaba.com
Install method:
USB to Serial
| GPIO # | Component |
|---|---|
| GPIO00 | None |
| GPIO01 | None |
| GPIO02 | LedLink |
| GPIO03 | None |
| GPIO04 | Buzzer |
| GPIO05 | Relay 1 |
| GPIO09 | None |
| GPIO10 | None |
| GPIO12 | Led_i 1 |
| GPIO13 | User |
| GPIO14 | Button 1 |
| GPIO15 | None |
| GPIO16 | None |
| GPIO17 | ADC Temp |
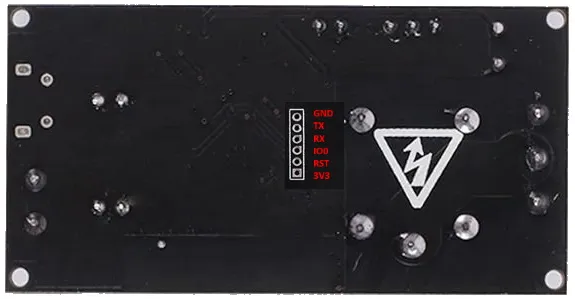
{"NAME":"XY-WFT1","GPIO":[0,0,544,0,480,224,0,0,320,1,32,0,0,4736],"FLAG":0,"BASE":18,"CMND":"BuzzerPwm 1"}It is possible to use solid core 24 AWG wires to make the connection without needing to solder them to the Sinilink board, but they may need soldering to a connector for the USB to serial adapter. Alternatively, you can strip some Ethernet Cat5e cable, which has the perfect diameter to fit in this board without soldering. For those who don’t remember Connect your cables tr to rx and rx to tx To flash board, connect gnd wire to 4 pin IO and turn on power. Just wait a few second and you can flash tasmota.

There is no data for the provided thermistor probe so the temperature values are off. If you connect the DS18B20 sensor on the 3-pin port, you need to set the GPIO13 to DS18x20 1.


